 International
 Singapore
 Malaysia
 Thailand
 Vietnam
Your shopping cart is empty!

Add Games to RetroPie Wirelessly
Disclaimer: This tutorial assuming you have prior knowledge and experience on handling Raspberry Pi, SSH and Linux or Raspbian OS Command Line Interface.
Introduction
This tutorial can be use to transfer basically any file from two different computers wirelessly. You need to be in a local network, means that both of these computer need to connect to a same wifi network.
This tutorial will demonstrate this method by showing how to add games to a GPi CASE 2 running Retropie on Raspberry Pi CM4 eMMC. You can follow this tutorial on how to install RetroPie on CM4 eMMC with GPi CASE 2.
Requirements
- A wifi network
- Install Putty if you are using Windows computer. Refer to this tutorial on how to install Putty
Note: If you are following up from this tutorial on how to install RetroPie on CM4 eMMC with GPi CASE 2, you don't need to prepare anything as everything is done from there.
IP Address
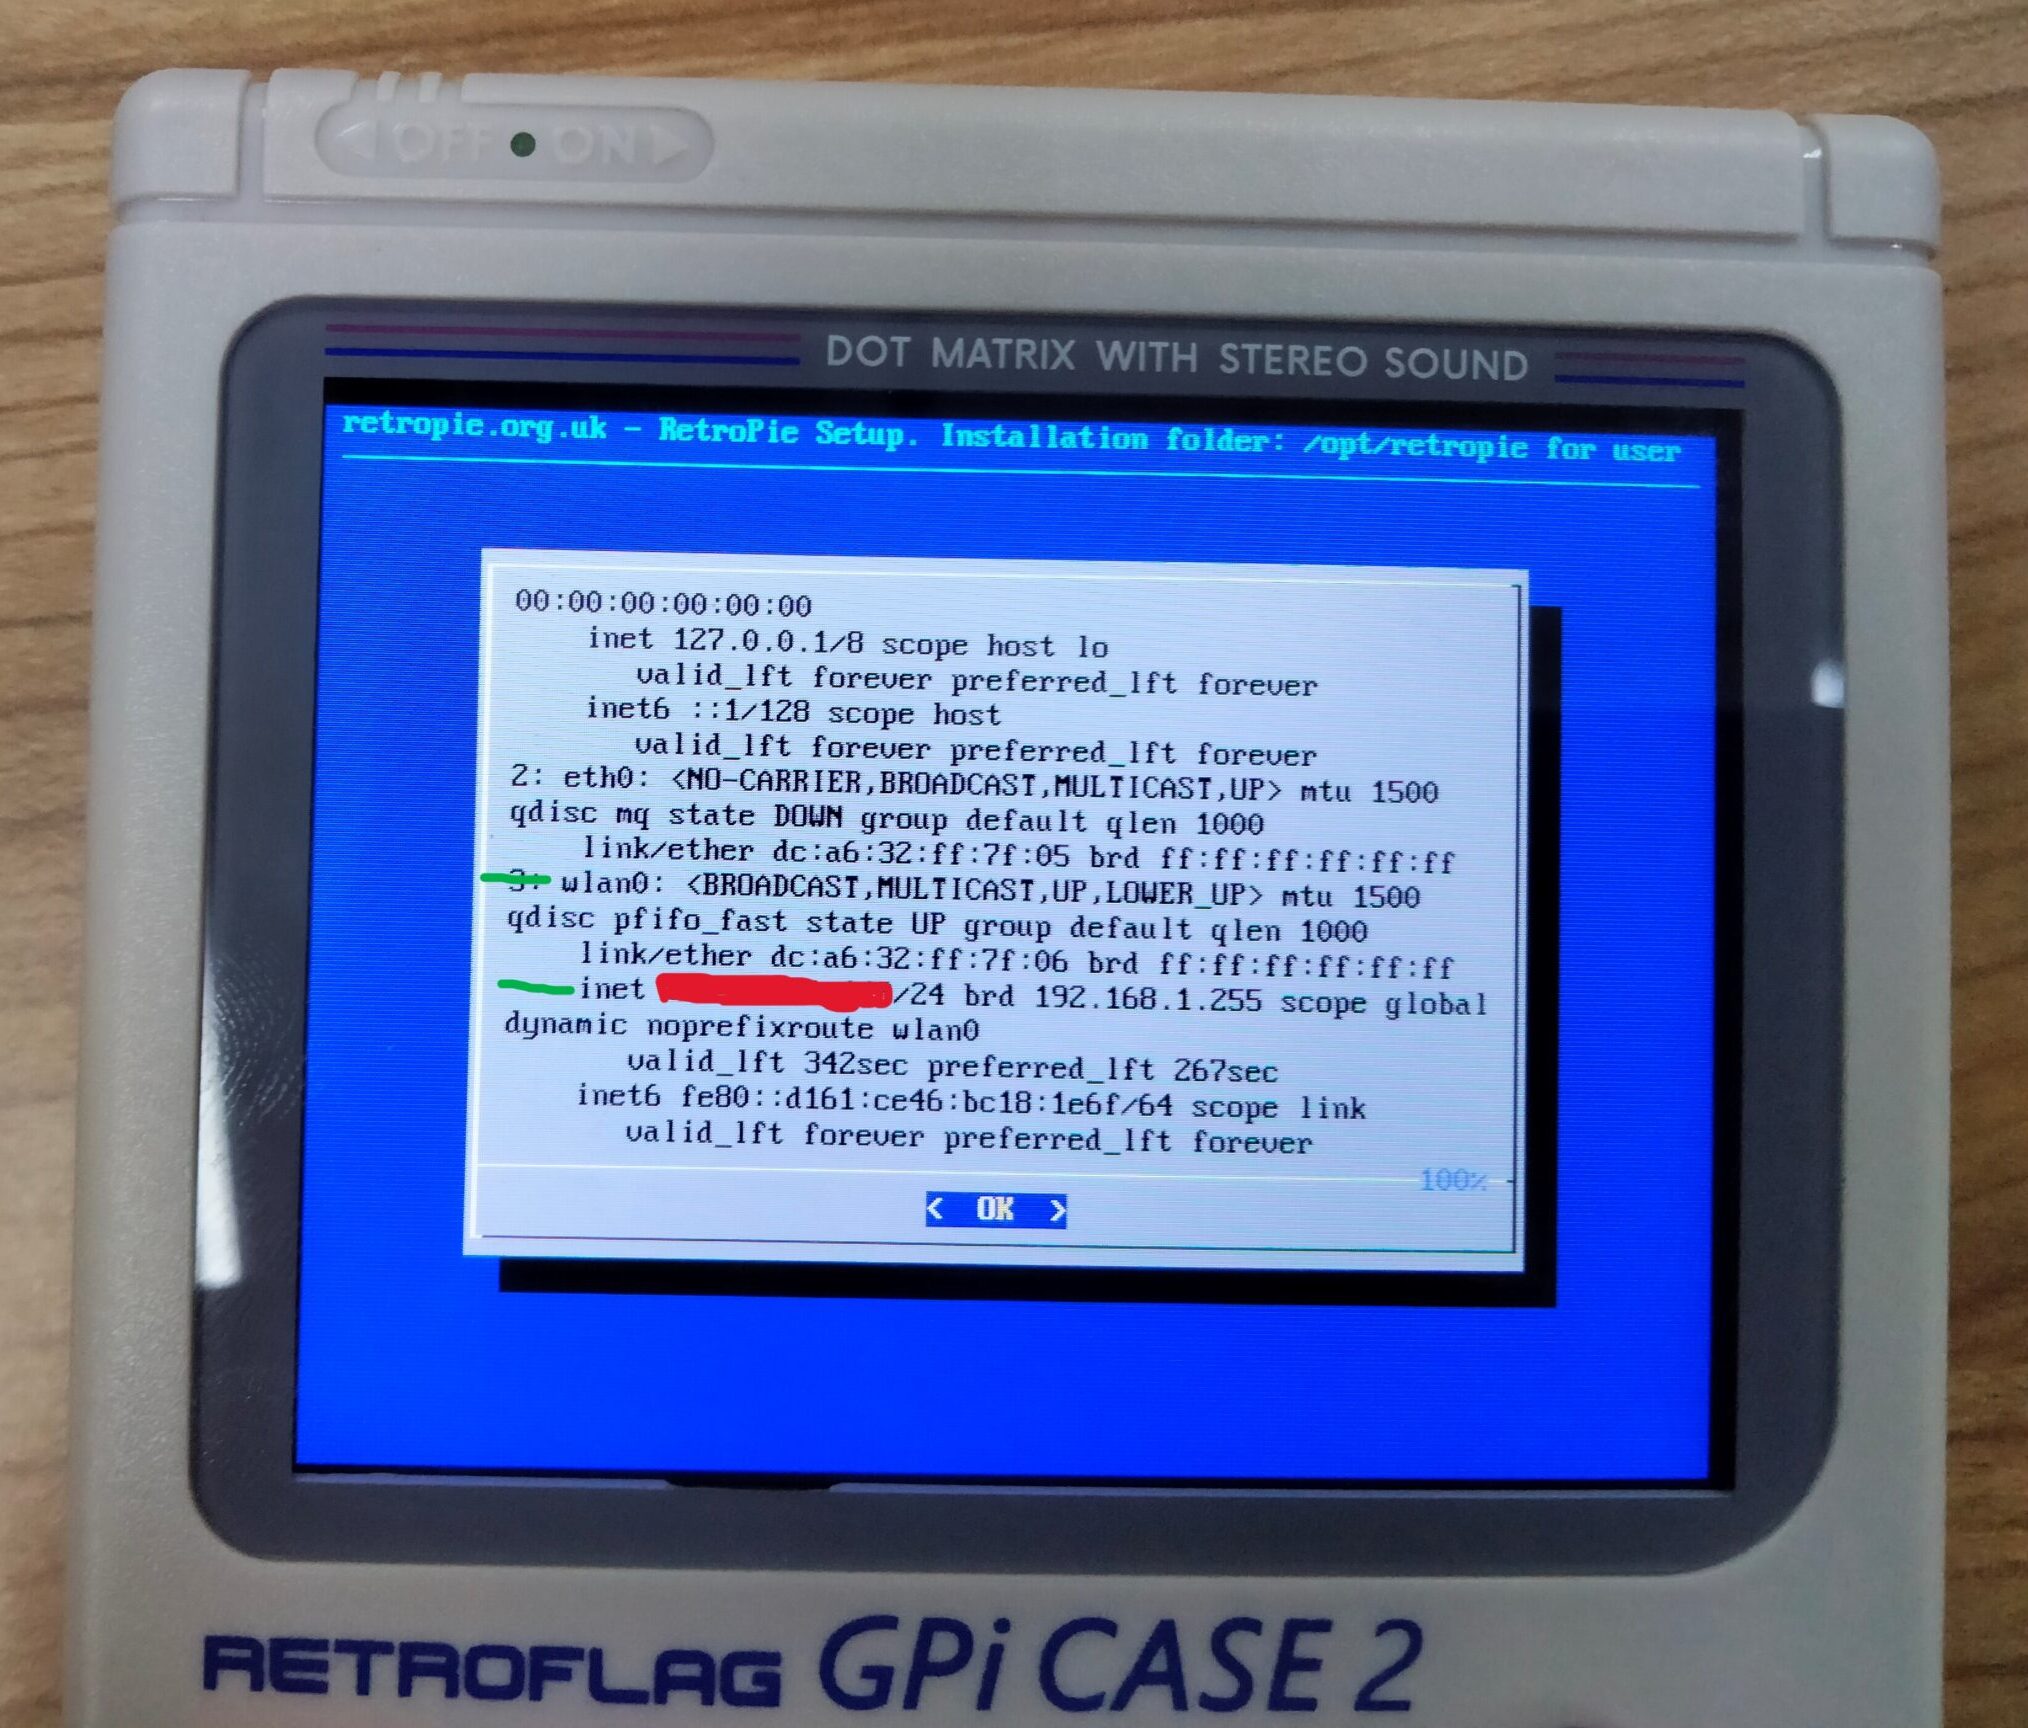
You need to know the IP address of the receiving computer. Normally you type this in the terminal either physically on the receiving computer or using SSH, to find the IP:
ifconfig
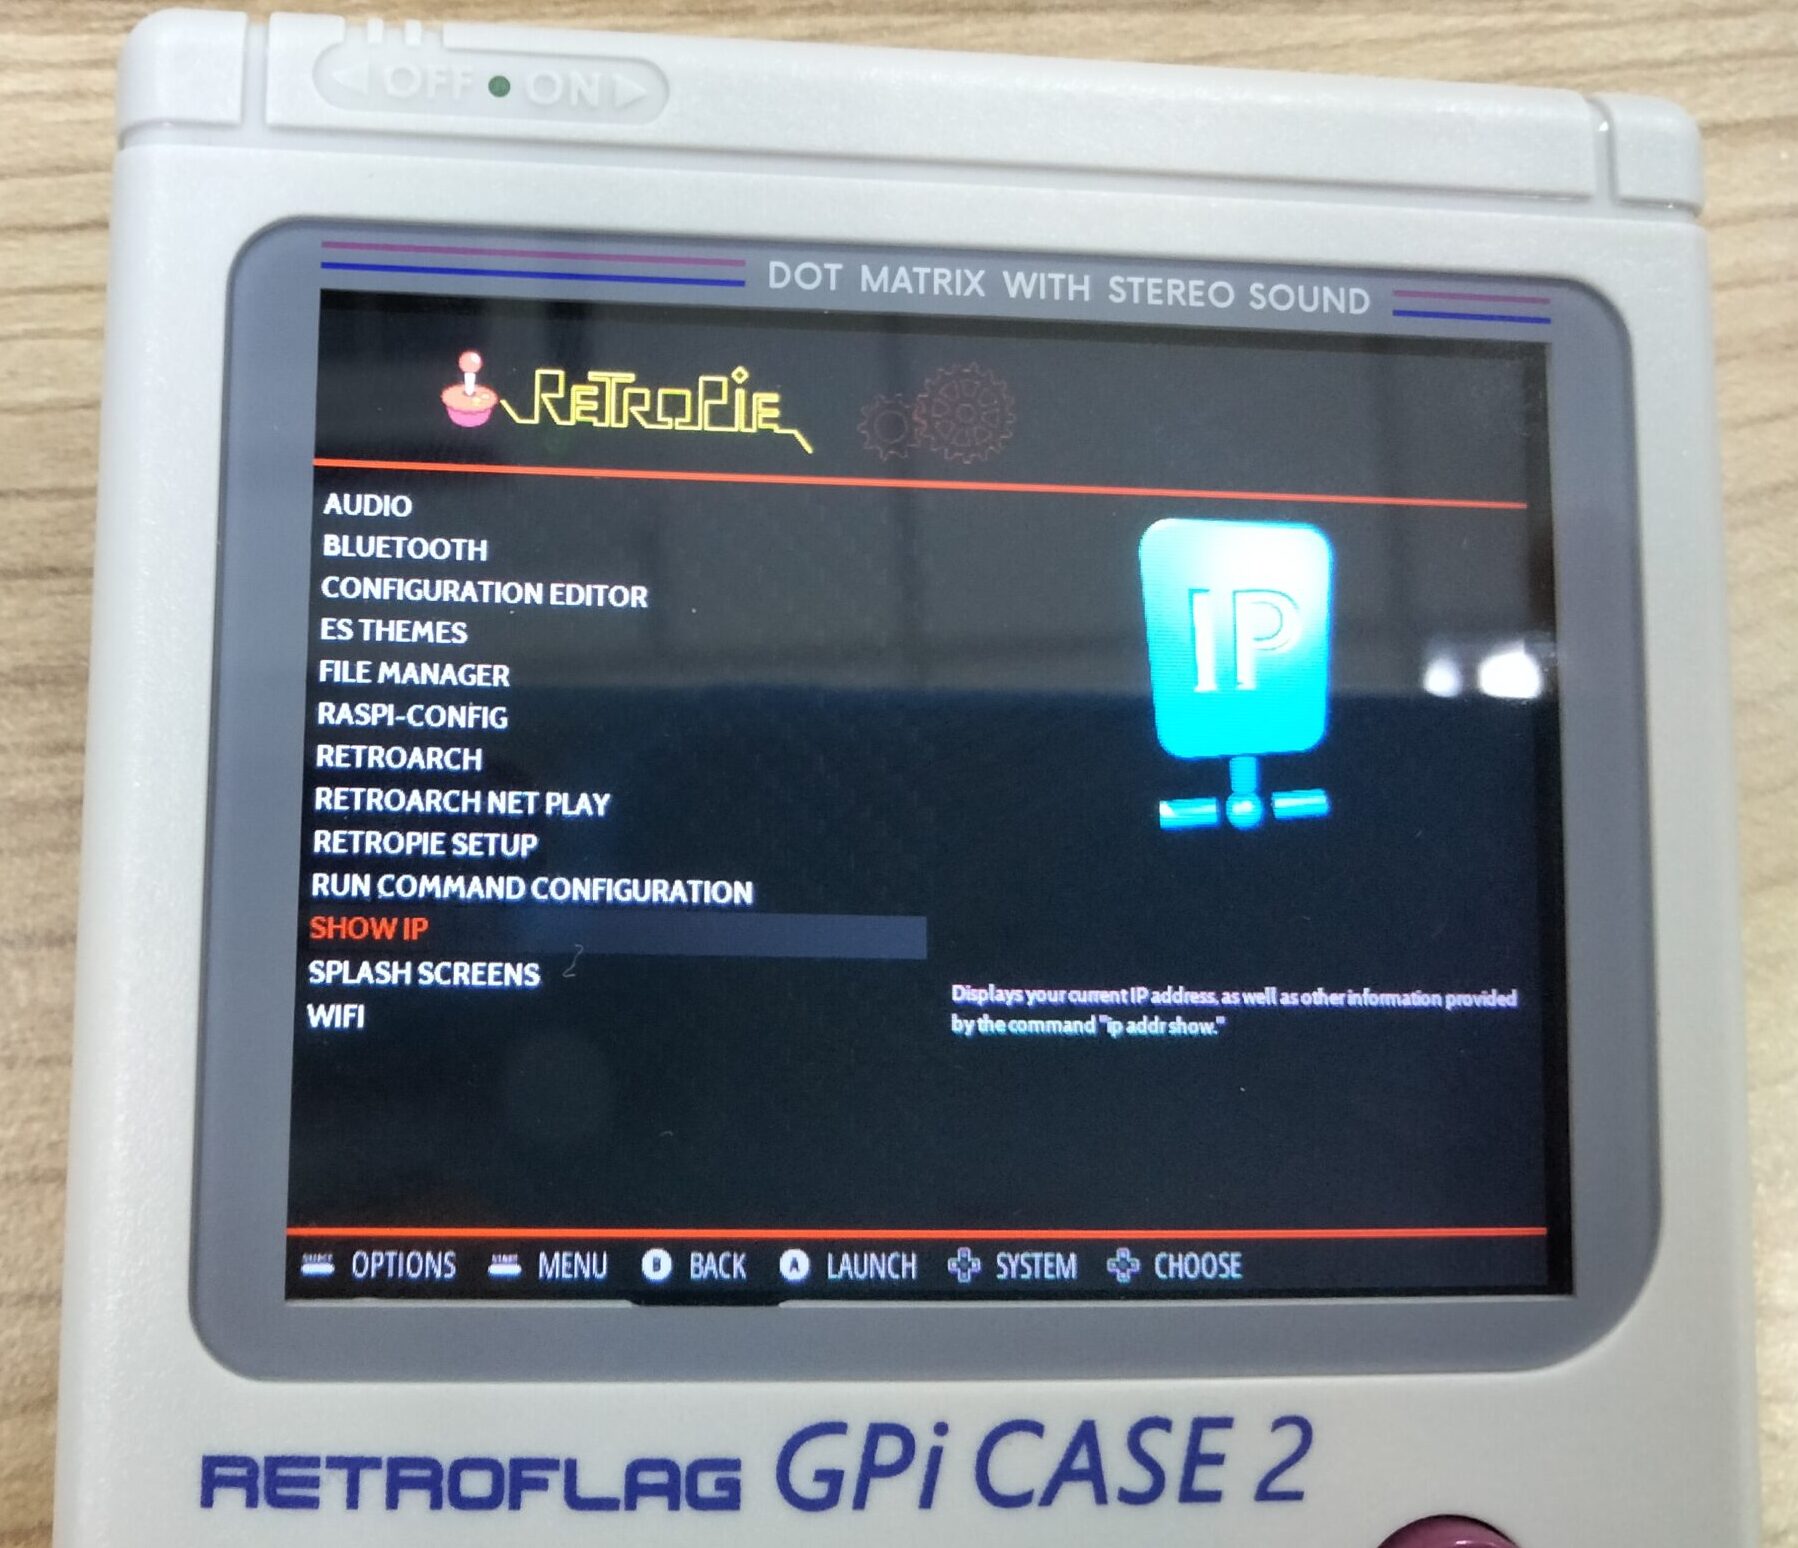
On GPi CASE 2, you can easily select Show IP in the RetroPie configuration menu. Both ifconfig and RetroPie menu will show almost the same output. Take note of the inet IP Address of wlan0.
Directory
The Sending Computer
You need to know the path for your file that you want to transfer. For example, here I prepared a game in a new folder called Games, inside the Downloads folder. For certain emulator like Playstaion 1, you need to extract the game files from the zip file. Some other emulator does not require to unzip, so just leave it in zip format inside the folder. I will be transferring a Playstation 1 game, Crash Team Racing from a Windows computer.
IMPORTANT: We do not provide the retro games files. You need to find it yourself at your own risk. Beware of dangerous websites and links.
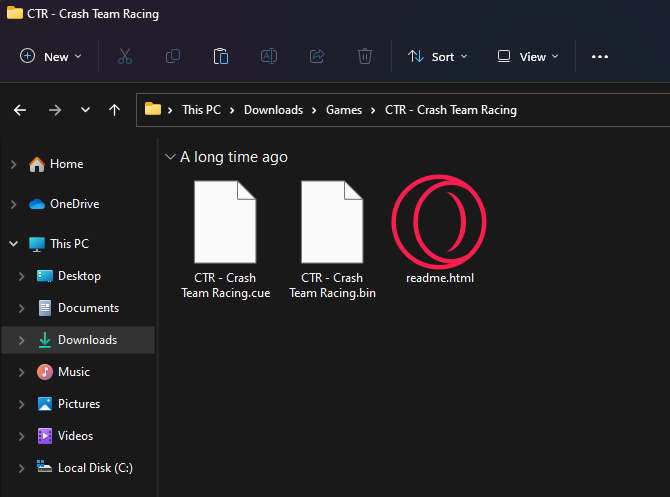
Pay attention to the path on the top bar because you will need this later.
The Receiving Computers
You also need to know where to put your file that you will be receiving. In this example, I will be sending the games to GPi CASE 2 which running RetroPie. In RetroPie, you need to put a game files inside its emulator folder. If you put it in wrong emulator folder, the RetroPie will not detect the games. Emulators folder are located here in RetroPie:
/home/pi/RetroPie/roms/
There are around 70 emulator folders in here. For example, we want to add a Playstation 1 game, so the folder will be 'psx' folder. The final path will be:
/home/pi/RetroPie/roms/psx
You can refer to RetroPie Documentation to find out the folder name of your emulator.
Note: Pay attention that some emulator are not supported for Raspberry Pi boards. For example PS2, Nintendo 3DS and Nintendo Wii. RetroPie on Raspberry Pi boards will never detect the game even if you transfer it correctly.
Transfer the Files
We will be using SCP (Secure Copy Protocol) to transfer the file. SCP is pre-installed in any Linux OS such as Raspberry Pi OS. For windows, you need to install Putty to be able to use SCP command.
Here are the basic SCP command:
Copy from A to B while logged in to B
scp /path/to/file_source username@ip:/path/to/destination
Copy from B to A while logged in to A
scp username@ip:/path/to/file_source /path/to/destination
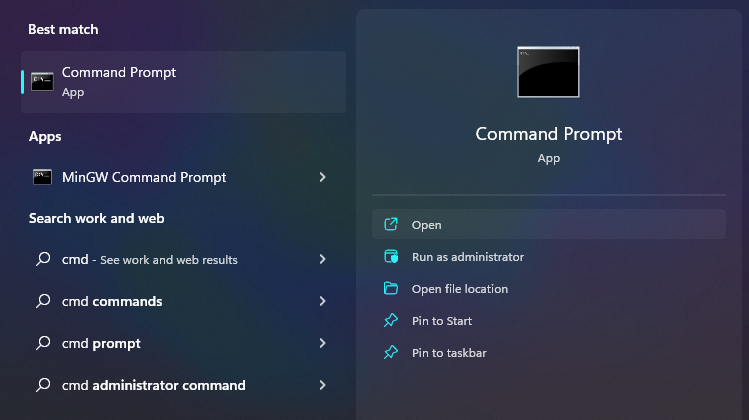
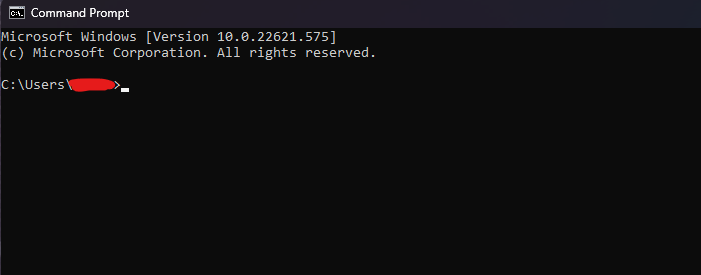
1: Open Windows CMD
Open Windows CMD not as administrator. The red marks indicate your windows username.
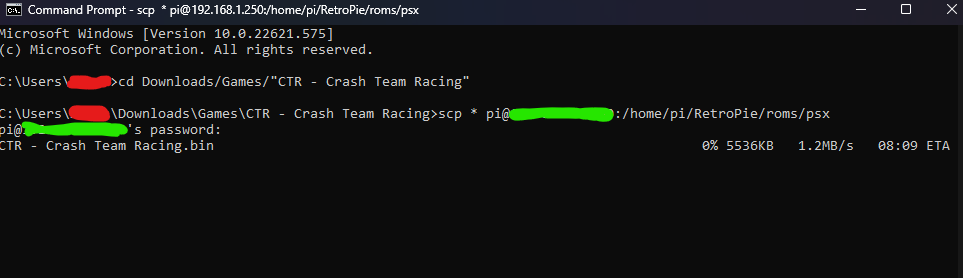
2: Go to your games folder
For this example, I will go to my Games folder that I created in the Downloads folder.
cd Downloads/Games/"Your Folder Name"

3: Copy your games
Use scp to copy the game files to the receiving computer. The symbol '*' represent 'all', thats mean we are transferring all the files inside our Games folder.
Green marks represent the IP Address of the receiving computer. For RetroPie, use 'pi' and 'raspberry' for the username and password respectively. Your transfer should start shortly.
scp * pi@ip.address:/home/pi/RetroPie/roms/psx
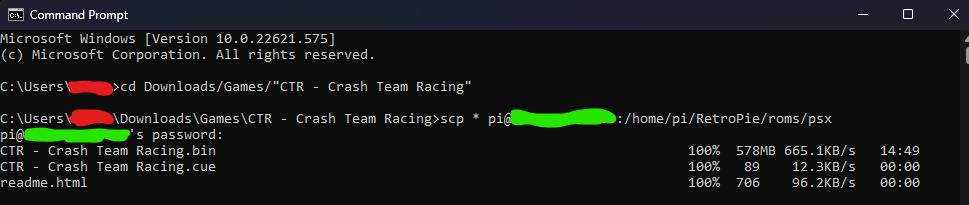
Wait until the transfer is finished and you are done.
Ready to Play!
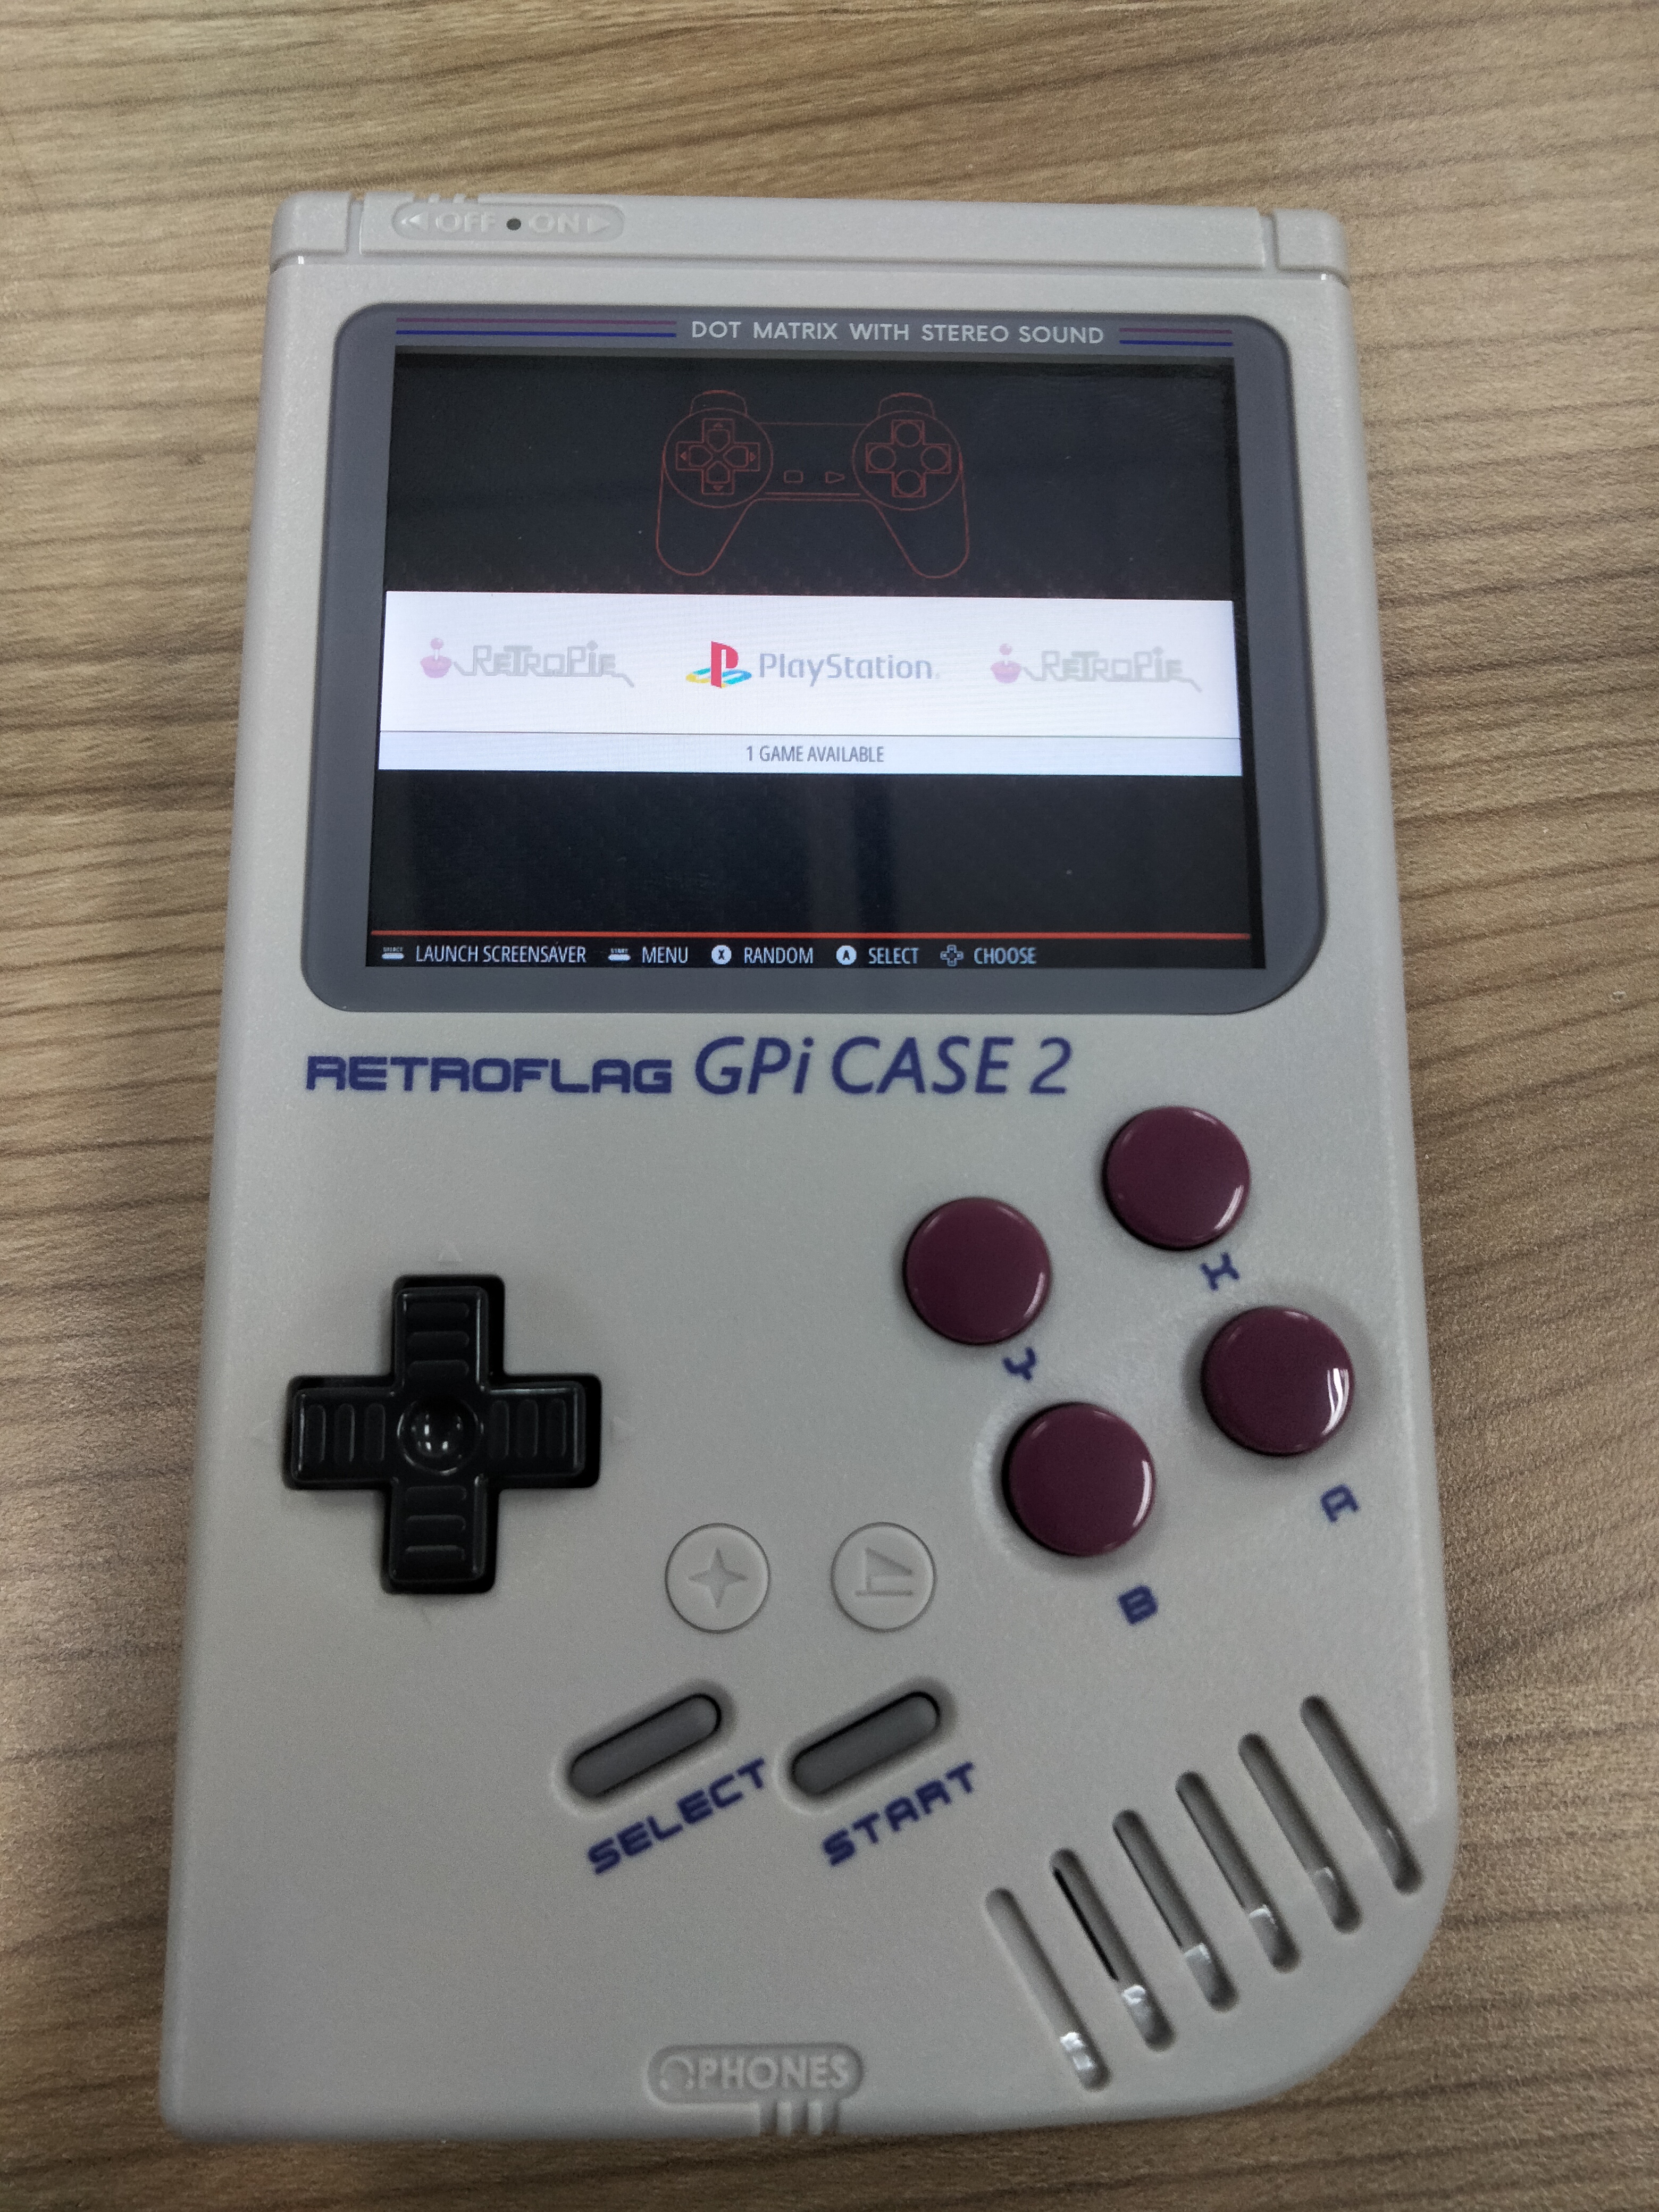
Reboot your GPi CASE 2 and your game should appear in the RetroPie main menu.
You can add as much games as your storage have. Make sure you have the Raspberry Pi CM4 that have enough storage for your gaming needs. Enjoy your games with your cute and powerful GPi CASE 2!