 International
 Singapore
 Malaysia
 Thailand
 Vietnam
Your shopping cart is empty!

RBT Automatic Plant Watering Project - Automatic Pet Feeder
- Hao Zhen Goh
- 29 Jul 2022
- Tutorial
- Beginner
- 418
Do you know that by using the same component from the Auto Plant Watering Project Kit can be turned into an automatic pet feeder?
Let’s try it out now!
Hardware Preparation
You will need to own a complete set of RBT Auto Plant Watering Kit. But if you haven’t tried the RBT Auto Plant Watering Kit, select one of the options below to find out more!
If you already owned the RBT Auto Plant Watering Kit, then you may just skip the Hardware and Software Preparation section.
Additional components
- A box (big enough for a water cup)
- Cardboard
- Double Sided Tapes (At least 5) & masking tapes
- Scissors / Cutter knife
Hardware Setup
Let’s make a box that can keep the water reservoir and food for your pet.
- Prepare a suitable box that is big enough to place a cup of water inside the box. (Not necessarily have to use Cytron Maker Box)

- Cut the three holes shown in the figures below.

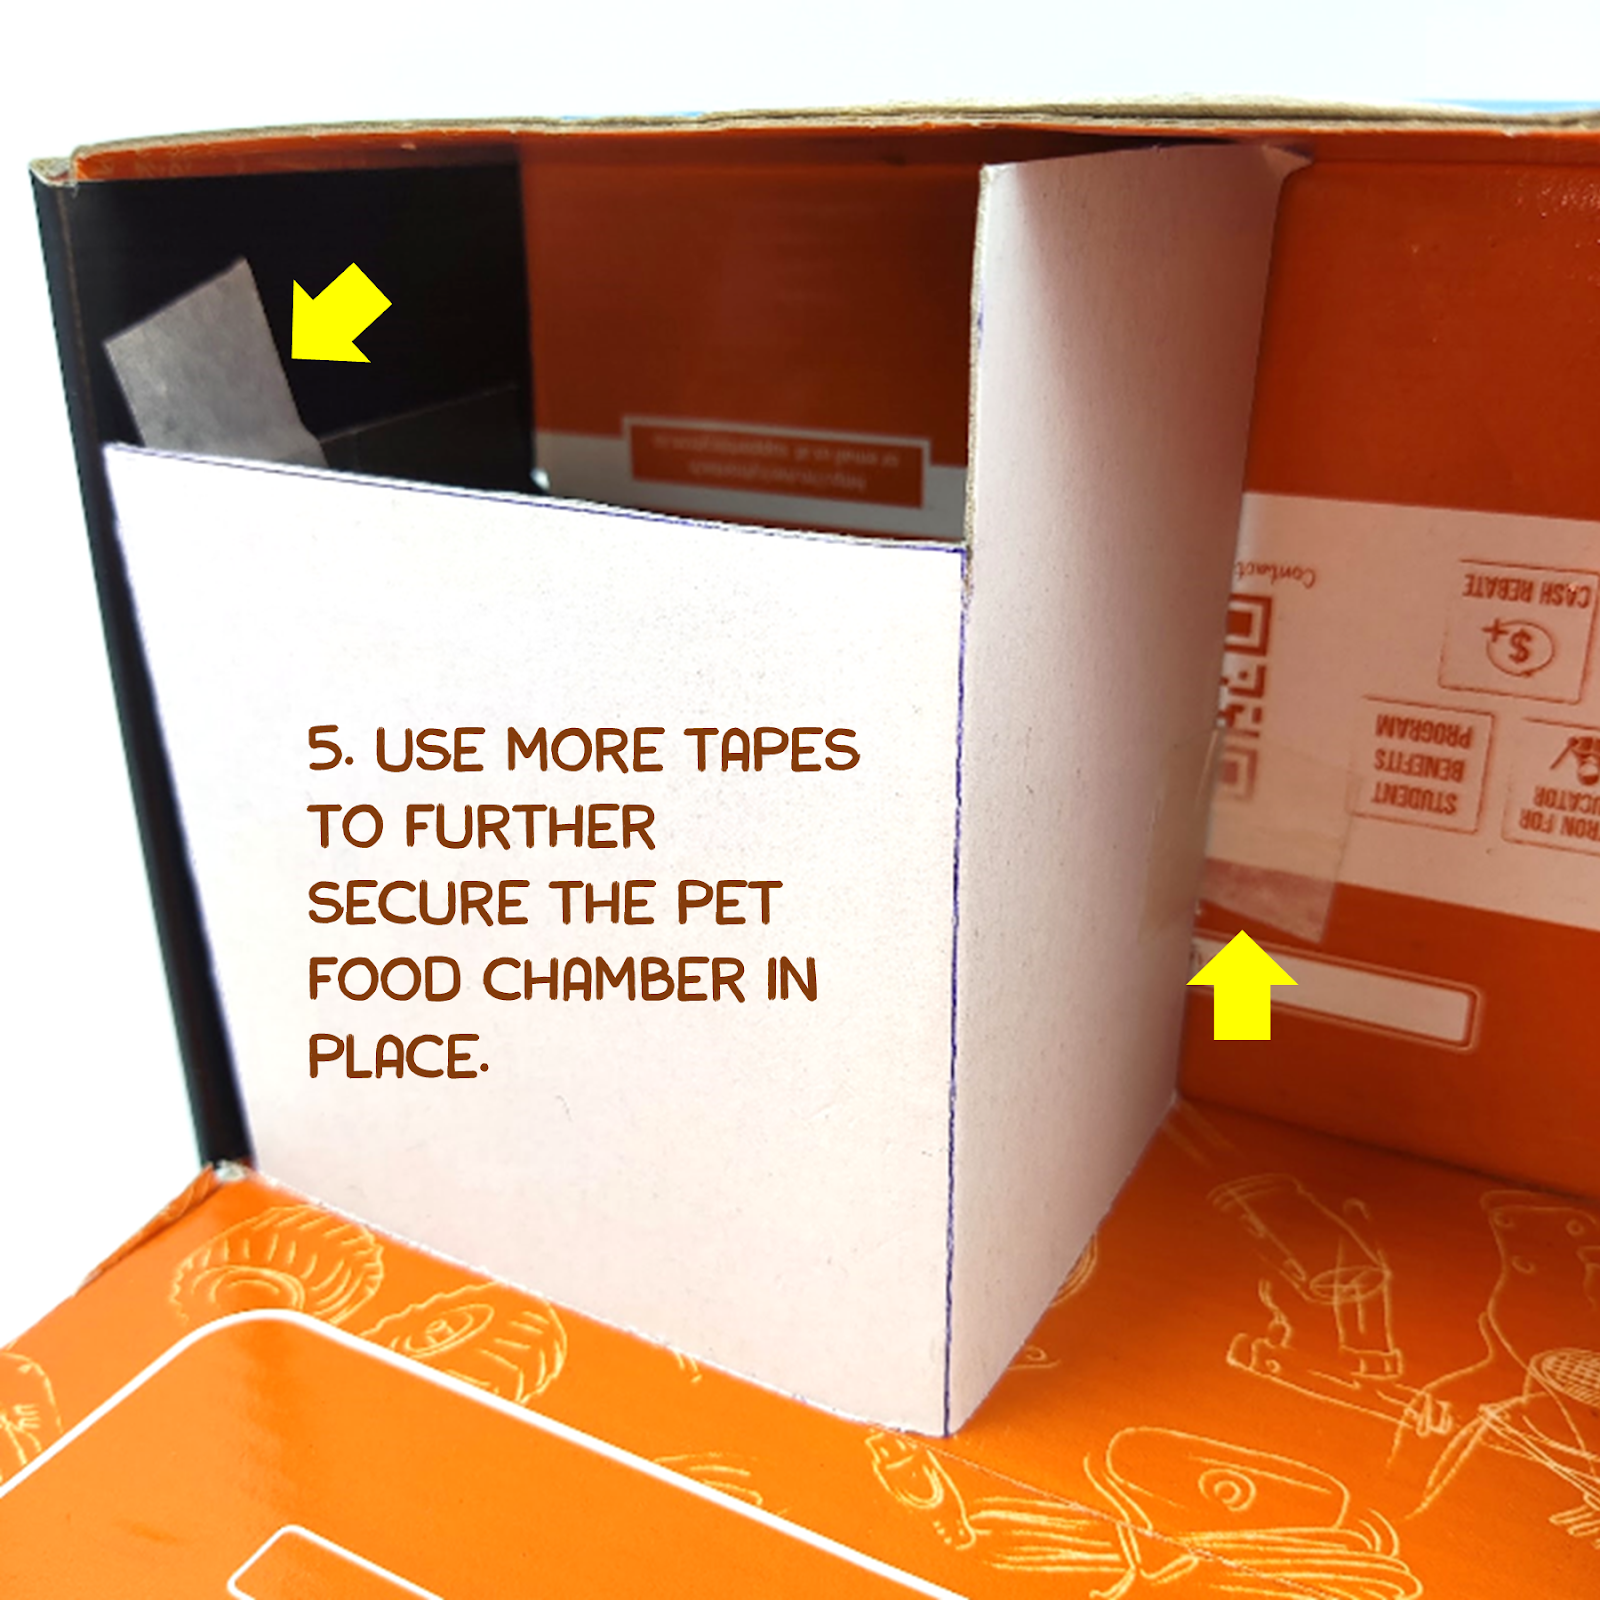
Now, let’s do the internal design of the box,
- Cut out several pieces of cardboards as shown in the figure below.


- Use tapes or double sided tape to stick the cardboards together, then attach the cardboards inside your box to form a chamber that allows you to store the pet food.
Then we will need to have a cover for our food storage and it will be connected to the servo motor that controls the opening and closing of the cover.
- Cut out a piece of cardboard which is big enough to cover the hole you made under the box. You may trim it into any shape you like as long as it can cover up the hole on the box.


- Attach the servo motor horn at the back of the cardboard by using a double sided tape.

- Poke a hole (using a pen or pencil) at one end of the cardboard, this will be the screw hole on the cardboard.

- Attach the servo horn together with the cardboard to the servo motor shaft and use a screw and screwdriver to secure the entire servo motor horn in place.

- Attach the servo motor at the side of the box by using a double sided tape, make sure the cardboard can cover up the hole you made on the box.

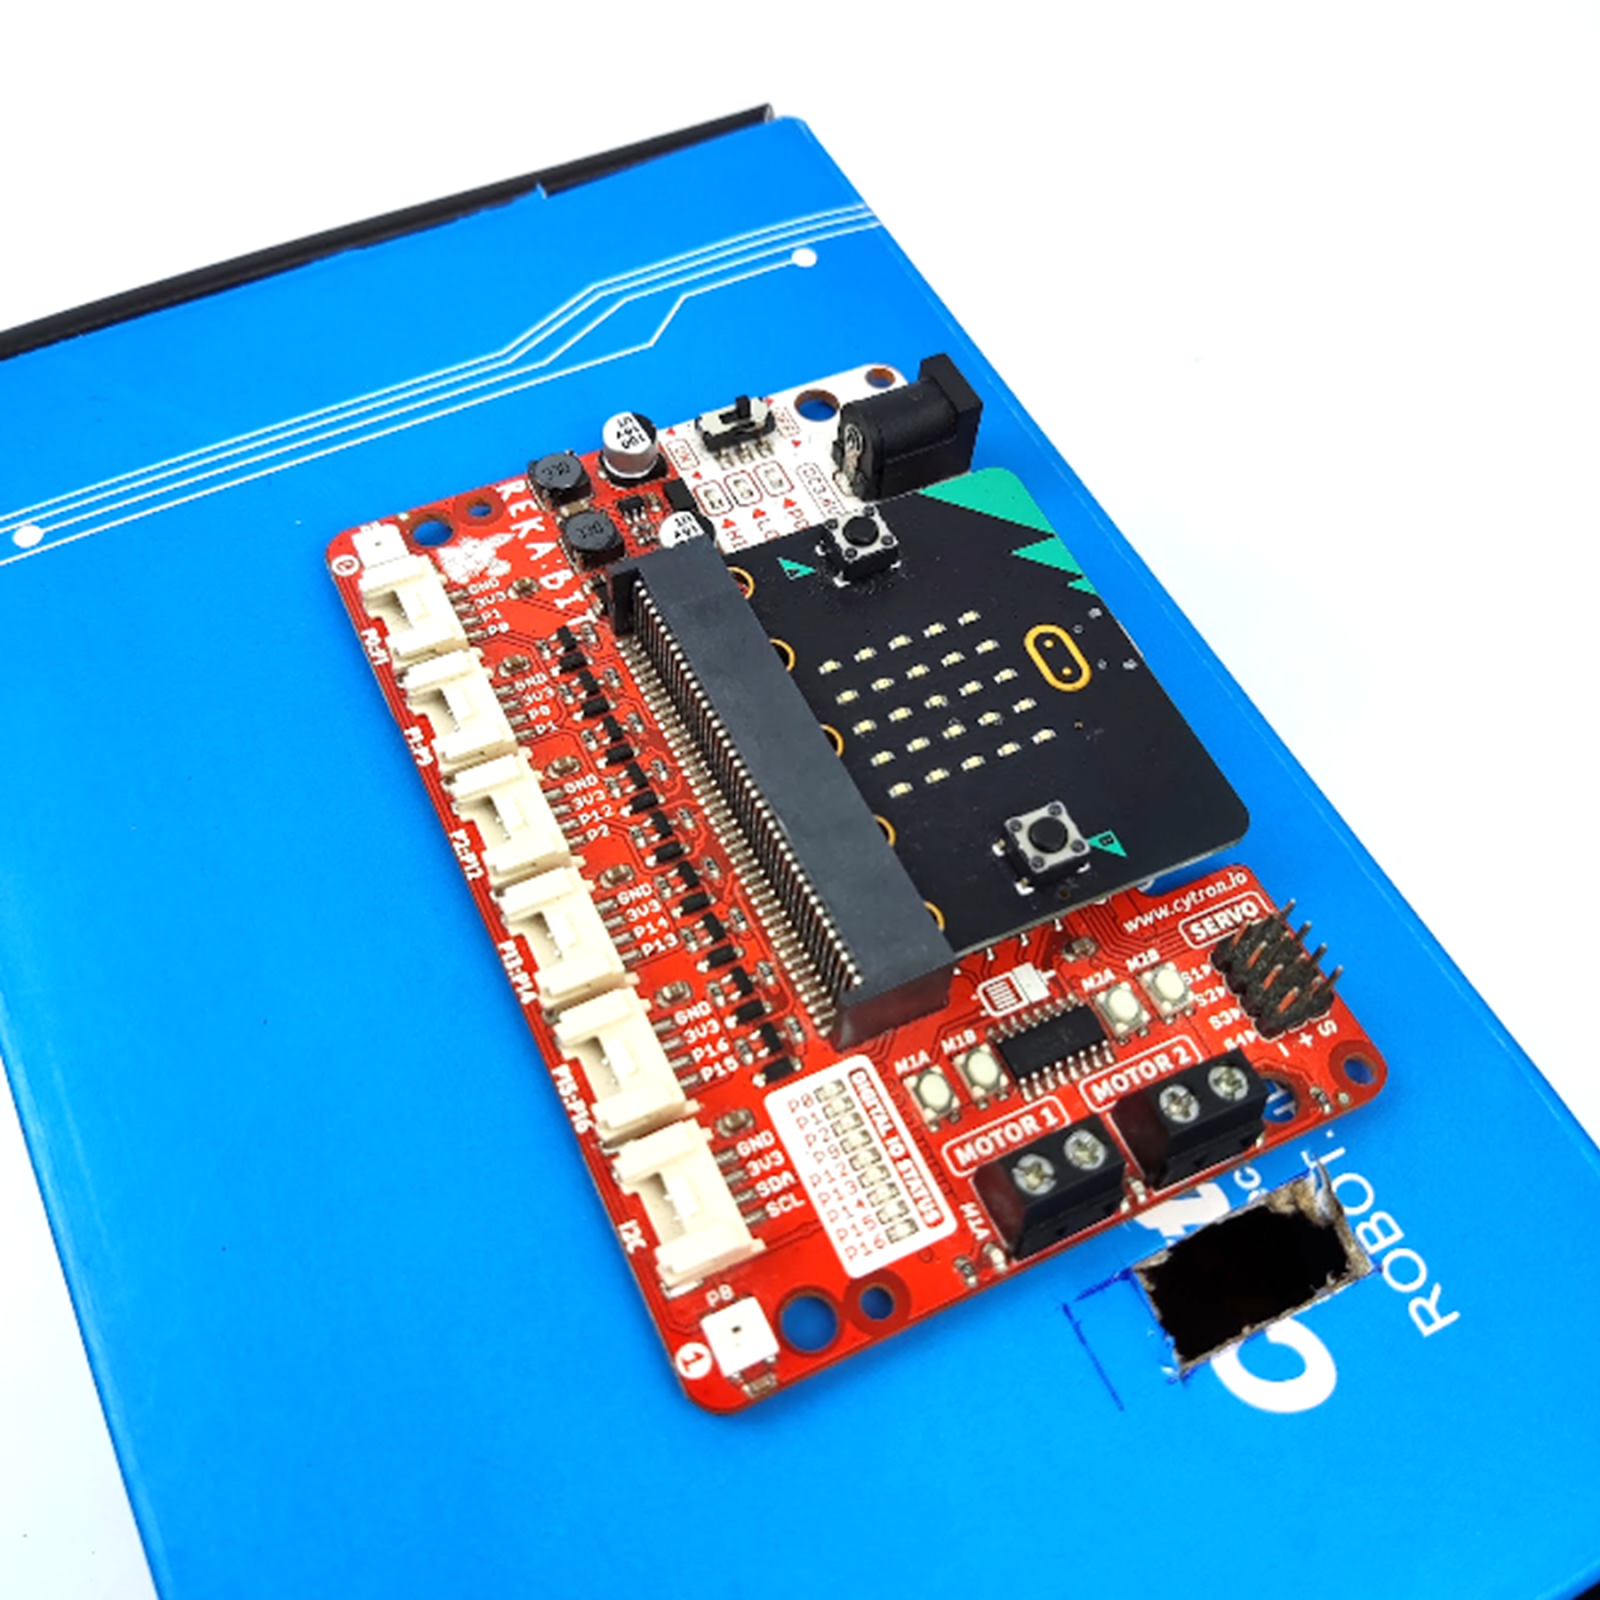
Let’s attach the REKA:BIT on the box and connect every component together.
- Use 2 double sided tape to attach the REKA:BIT on the box.
Note: Detach the lego legs before you attach it on the box.
- Connect your Maker Soil Moisture Sensor to P2:P12 port by using the grove cable.

- Connect the Servo motor cable together with the servo extension to S1 port.

- Place the water pump which is connected to the water pipe in the “water cup” side of the box.
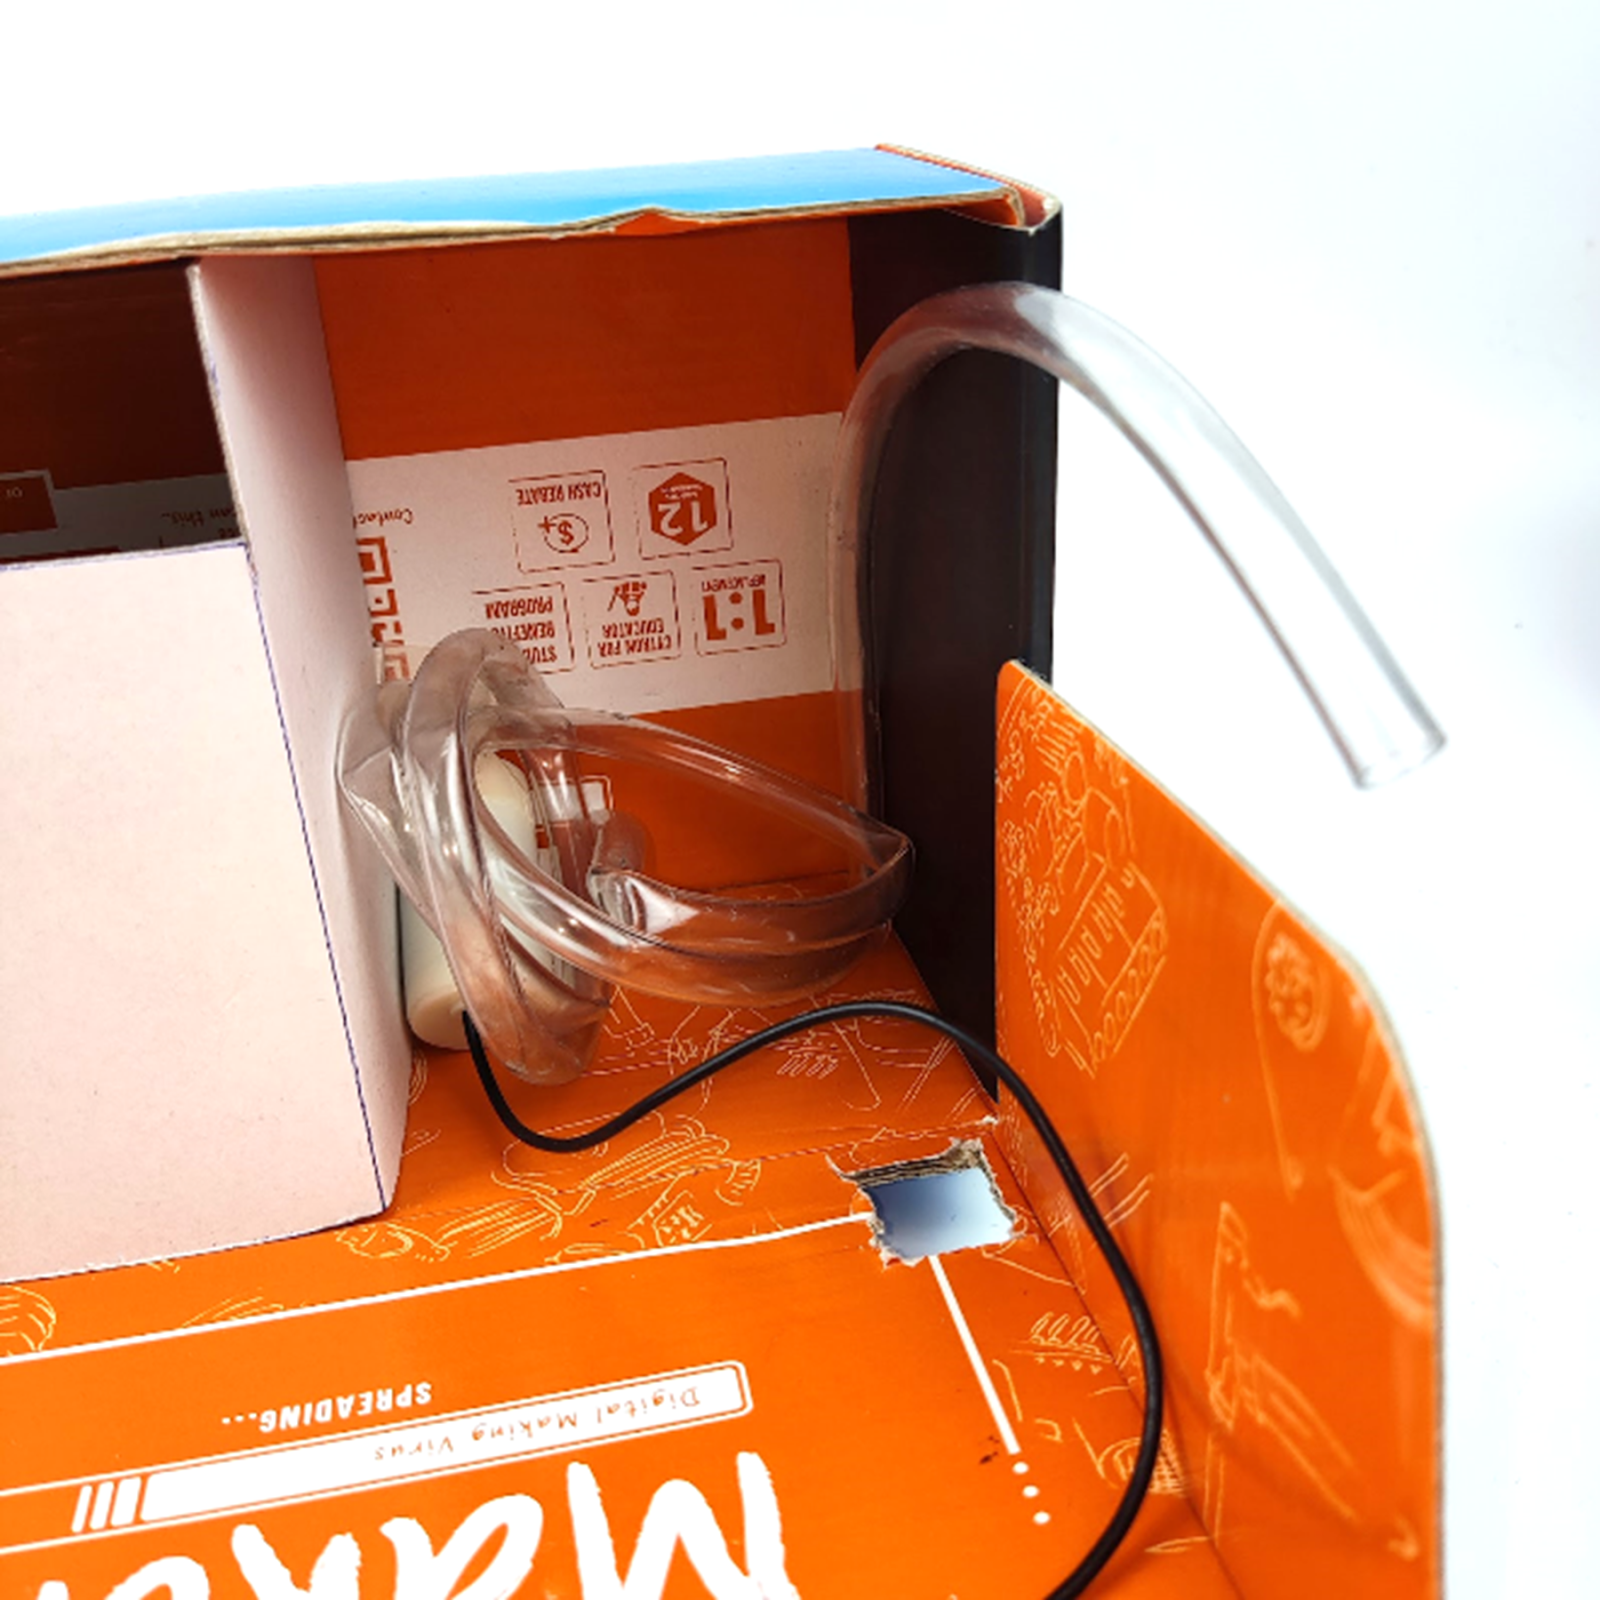
- Feed the outlet of the water pipe through the bigger hole (lower position) of the box.
- Feed the water pump wires through the smaller hole (upper position) and into the M2 port of REKA:BIT, then tighten the wires in the motor port with a screwdriver.


What does the code do?
- Able to detect whether there is water left in the pet bowl.
- Able to refill the water in the pet bowl when there is no water.
- Able to fill the pet bowl with food during “meal’s time”.
- Have a variable to store the information about the number of times of watering the plants.
- Able to add the number of times of refilling the pet bowl either with pet food or water.
- Notify you (in words/sound/RGB) to refill the water bottle when the water reservoir is out of water or there is no pet food left in the storage.
Let’s Feed your Pet!
We have done setting up the box and let’s start to make the REKABIT to feed your pet. By using the same code file from Lesson 5…
- Create several variables as listed below:
- Moisture Level
- Number of times (Water)
- Number of times (Food)
- Maximum (Water)
- Maximum (Food)
- Add the following blocks to your code.You can find those blocks in the category drawer according to their respective colours.
You may find the simple explanation and description of the code at the end of this tutorial.


- Flash the codes to your REKABIT, make sure that the USB data cable is connected to your REKABIT.
- Attach the entire pet feeder system to the wall or tie it to your pet cage.
- Fill up a cup of water.
- Submerge the water pump into the cup of water then place the cup of water inside the box.
- By using a double sided tape, attach the Maker Soil Moisture Sensor to the edge of the inner wall of your pet bowl.
Note: Clean you Maker Soil Moisture sensor before you use it to feed your pet.
- Connect it to a USB power supply or battery and turn it on and let’s start feeding your pet.
How does the code work?


Hope you enjoy playing around with this project kit. Thank you.
You are encouraged to further improve the code for higher efficiency and more advanced applications.
Hardware Components
")
Auto Plant Watering Kit for micro:bit (micro:bi...
$44.50 $44.50
x 1 unit(s)
")
Auto Plant Watering Kit for micro:bit (without ...
$27.00 $27.00
x 1 unit(s)
Auto Plant Watering Kit for micro:bit
$27.00++ $27.00
x 1 unit(s)
Related Posts

Smart Plant Monitor Using Microbit and Soil Moisture Sensor
Water is necessary for the life and survival of all plants, it is essential for the transportation of nutrients and sugars from the soil to the plants. In order to keep your plants alive and well you ..
RBT Auto Plant Watering Kit Project - Not Enough Water!
Nooooo, my plant is dying because I didn't refill the cup of water eventhough I turned on the auto plant watering system for days! What should I do?....
Monitoring Soil Moisture Using Blynk and micro:bit
With this IoT system, you can monitor the soil moisture of your plants using micro:bit and soil moisture sensor...