 International
 Singapore
 Malaysia
 Thailand
 Vietnam
Your shopping cart is empty!

DIY Automated Vacuum Cleaner Using REKA:BIT With Micro:bit
- Abdulrahman Alhamed
- 04 Sep 2021
- 753
Here, you are about to make an automated vacuum cleaner, it is super cool and efficient. This project will inspire you to make so many cool projects with REKA:BIT
Video Tutorial
Step 1: Components and Tools
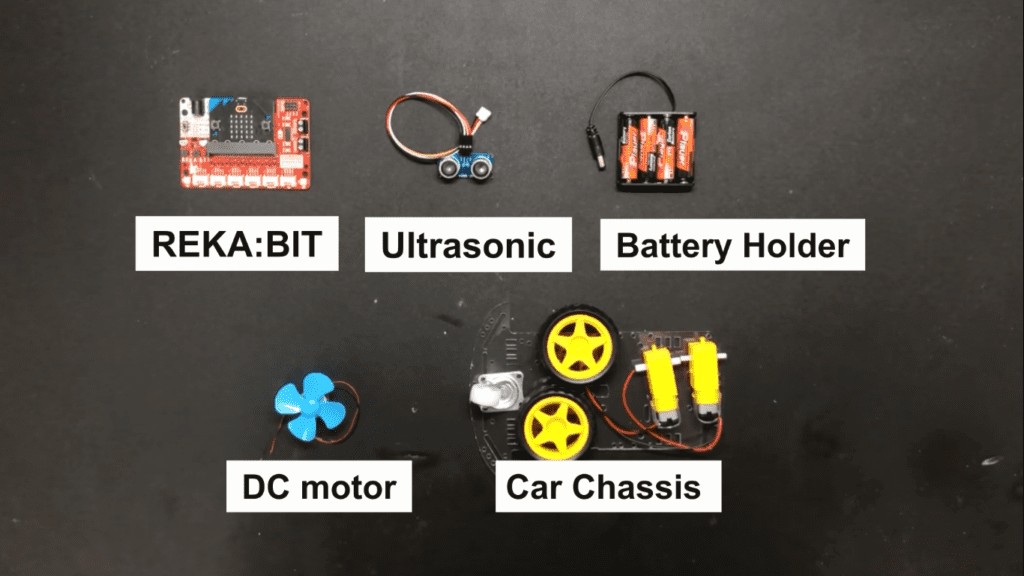
Electrical Components Required:
- 1x REKA:BIT board with micro:bit v2
- 1x Ultrasonic Sensor
- 1x Shaft Motor
- 1x 2WD Smart Robot Car Chassis
- 1x Battery Holder
Tools Required:
- 4 Blades 56mm Motor Propeller
- Cardboard
- Hot Glue Gun
- Scissor
- Tape
All listed components can be found on our website Cytron Technologies
Step 2: Assembly Car Chassis
Insert the fastener into the chassis after tearing off the yellow protection wrap of the chassis, the fastener, and the code wheel | 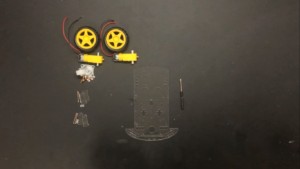 |
Fix the motor to the chassis, then insert and tighten the screws.(note: the copper sheet of the leading wire of the motor should face outward, the same side of the wheel) | 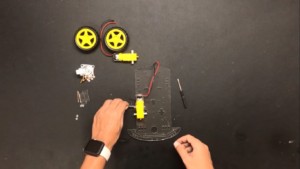 |
Insert the spacer and tighten the 8 screws to fix the hammer caster | 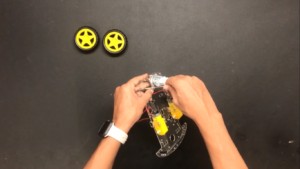 |
Hold tight and insert the motor (protection fastener) into the wheel
| 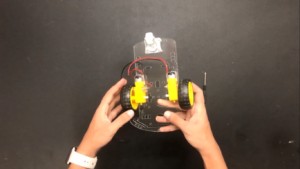 |
Installation completed | 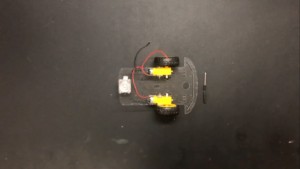 |
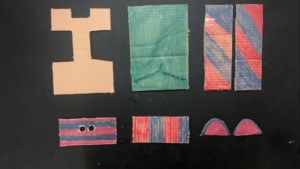
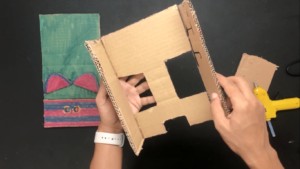
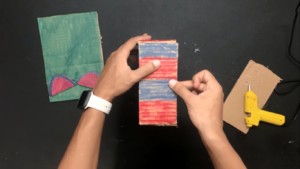
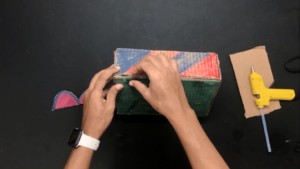
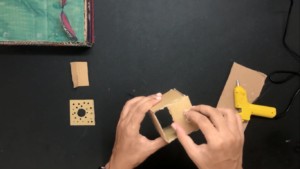
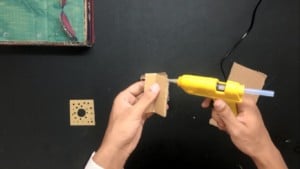
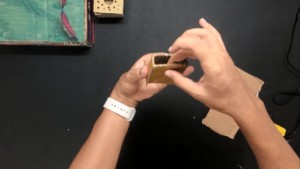
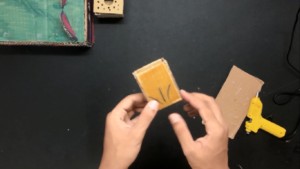
Step 3: Use Cardboard to Make the Vacuum Body
- Cut the cardboard based on the following dimensions as shown in the figure below
- Glue the two sides on the base
- Glue the back and front part
- Attach the top part using tape, so we can open and close the vacuum easily
 |  |  |
 |  | 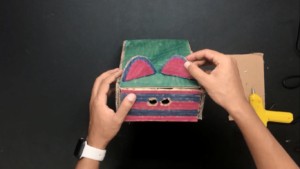 |
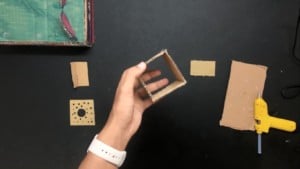
- Bring another piece of cardboard to make a dust container as shown in the figures
 |  |  |
 |  |
Step 4: Connection
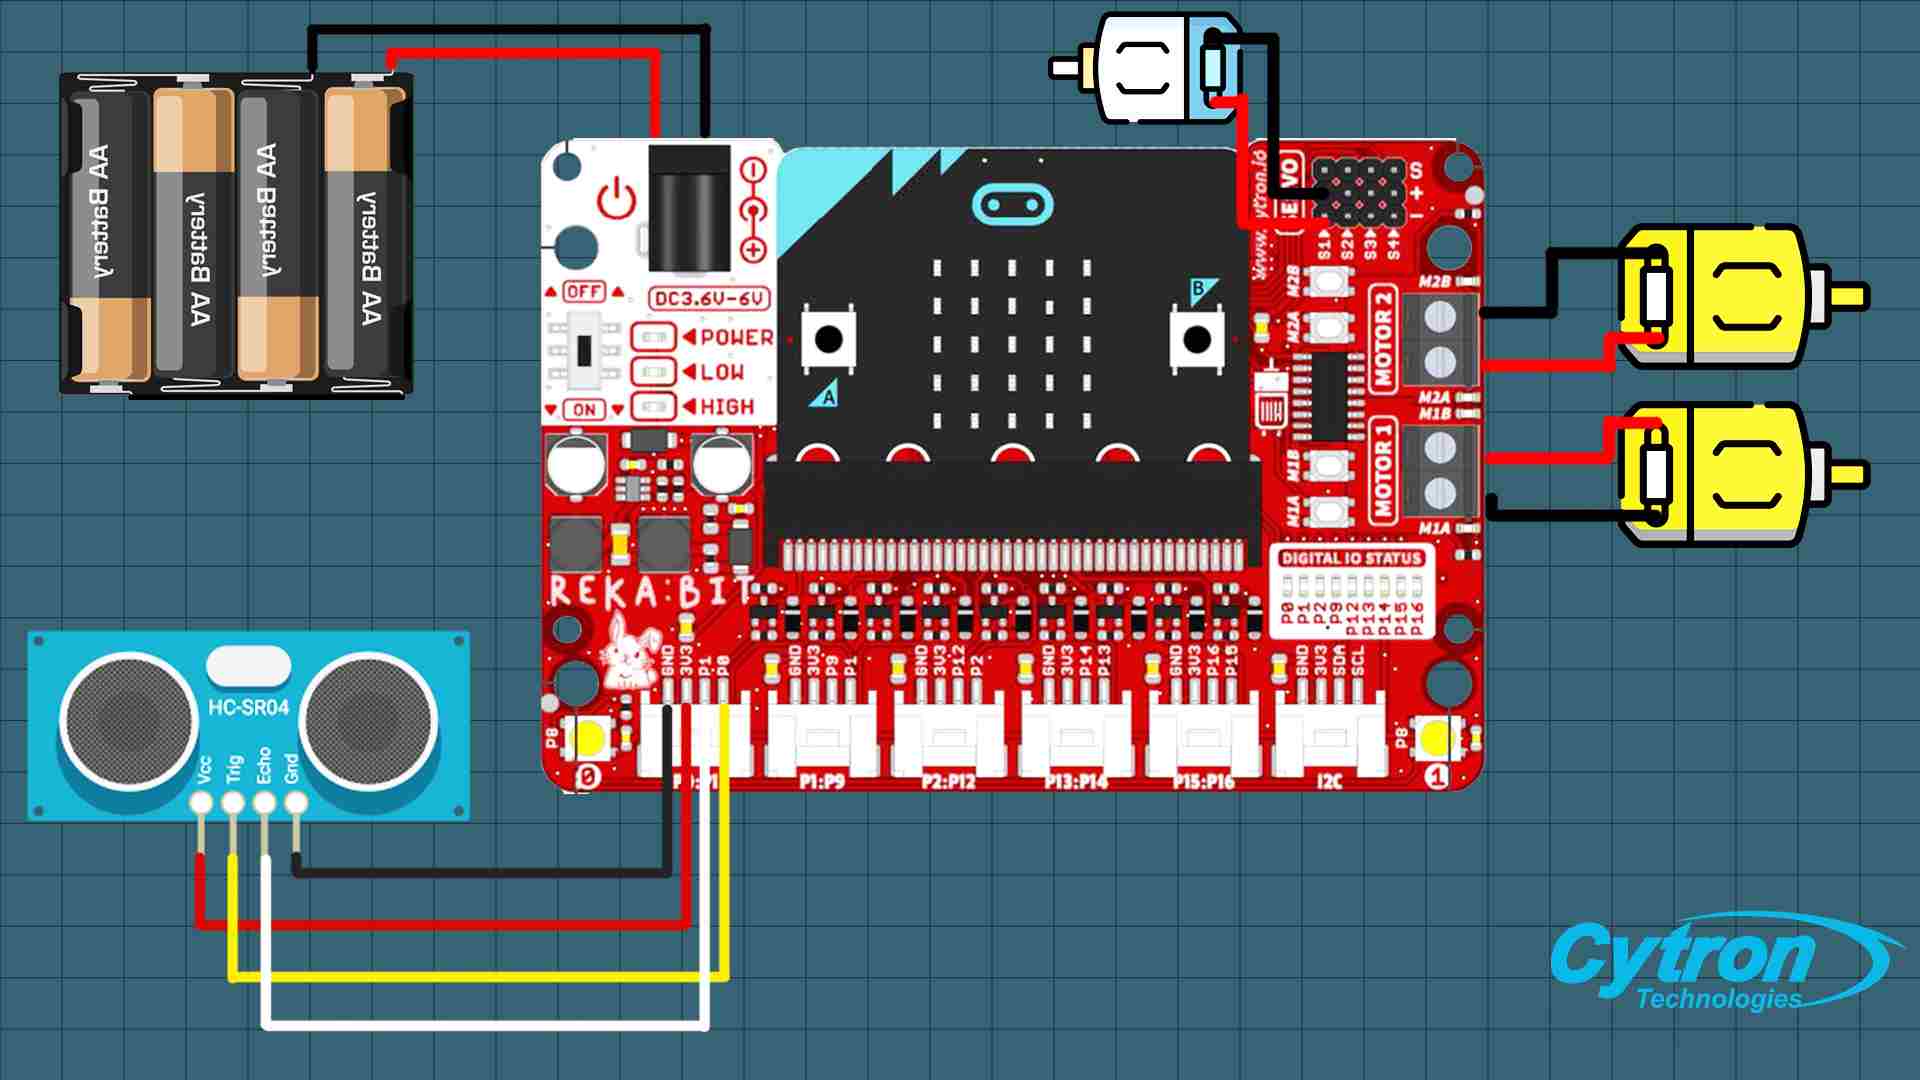
- Ultrasonic sensor will be connected to the first grove port
- Both of DC motor wheels will be connected to motor terminals
- The fan motor will be connected to the servo port, the red wire should be connected to the negative pin, and the black wire will be connected to the postive pin (that way the fan will rotate counter-clockwise)
- Note: the servo port will provide 6v to fan motor, therefore the motor will rotate at maximum speed
Step 5: Code

Now, connect your REKA:BIT to your device and open MakeCode editor to start programming.
- Add REKA:BIT extension and follow the code block in the picture above
- After completing the code block, download it and compile it over REKA:BIT
You can also view and edit the code by clicking here!
Well done!
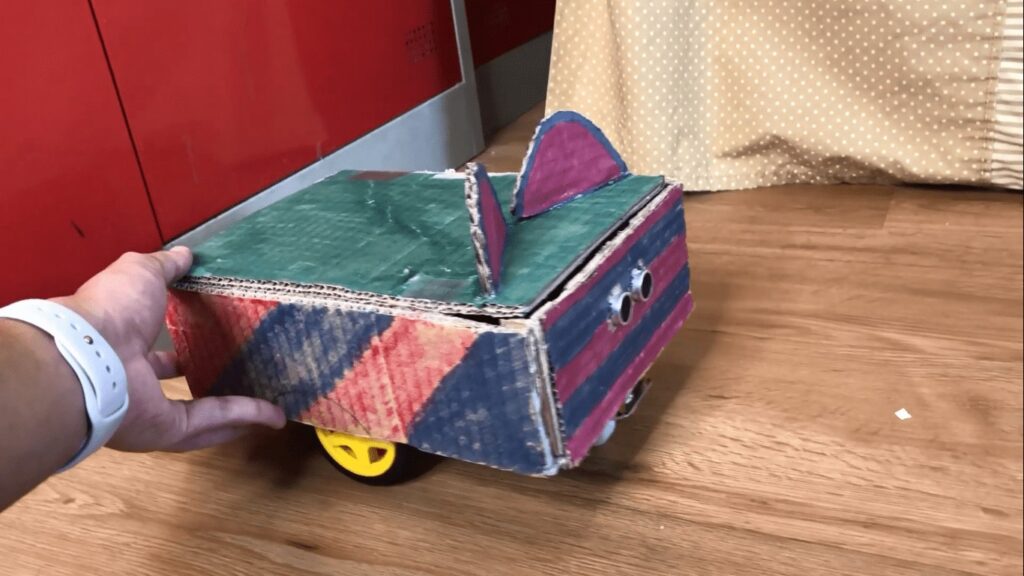
There you have it .. now turn on REKA:BIT and let the vacuum cleaner start the work!
Related Products

2WD Smart Robot Car Chassis
$4.48 $4.48
x 1 unit(s)
")
DIY 4 Blades 56mm Motor Propeller (Blue)
$0.25 $0.25
x 1 unit(s)
-268x268.jpg "3V-5.5V SR04P Ultrasonic Ranging Module") -18%
-18%3V-5.5V SR04P Ultrasonic Ranging Module
$1.23 $1.50 $1.23
x 1 unit(s)

300C 1.5-6VDC 7mm Shaft Motor with Wires
$0.63 $0.63
x 1 unit(s)
 - Simplifying Robotics with micro:bit") -10%
-10%REKA:BIT (with micro:bit V2 included) - Simplif...
$35.50 $39.25 $35.50
x 1 unit(s)