 International
 Singapore
 Malaysia
 Thailand
 Vietnam
Your shopping cart is empty!

DIY Candy Dispenser Machine Using REKA:BIT With Micro:bit
- Abdulrahman Alhamed
- 20 Aug 2021
- 667
Let’s learn how to make a candy machine using REKA-BIT, where it can automatically drop candies when we place our hand under the cone! ✨
Video Tutorial
Step 1: Components and Tools
Electrical Components Required:
- 1x REKA:BIT board with micro:bit v2
- 1x Servo Motor
- 1x Ultrasonic Sensor
- 1x Grove to female header cable
- 1x 4xAA battery holder
Tools Required:
- Cardboard
- Hot Glue Gun
- Scissor
- Cellophane Tape
- Aluminum Foil
All listed components can be found on our website Cytron Technologies
Step 2: Use Cardboard To Make The Candy Machine
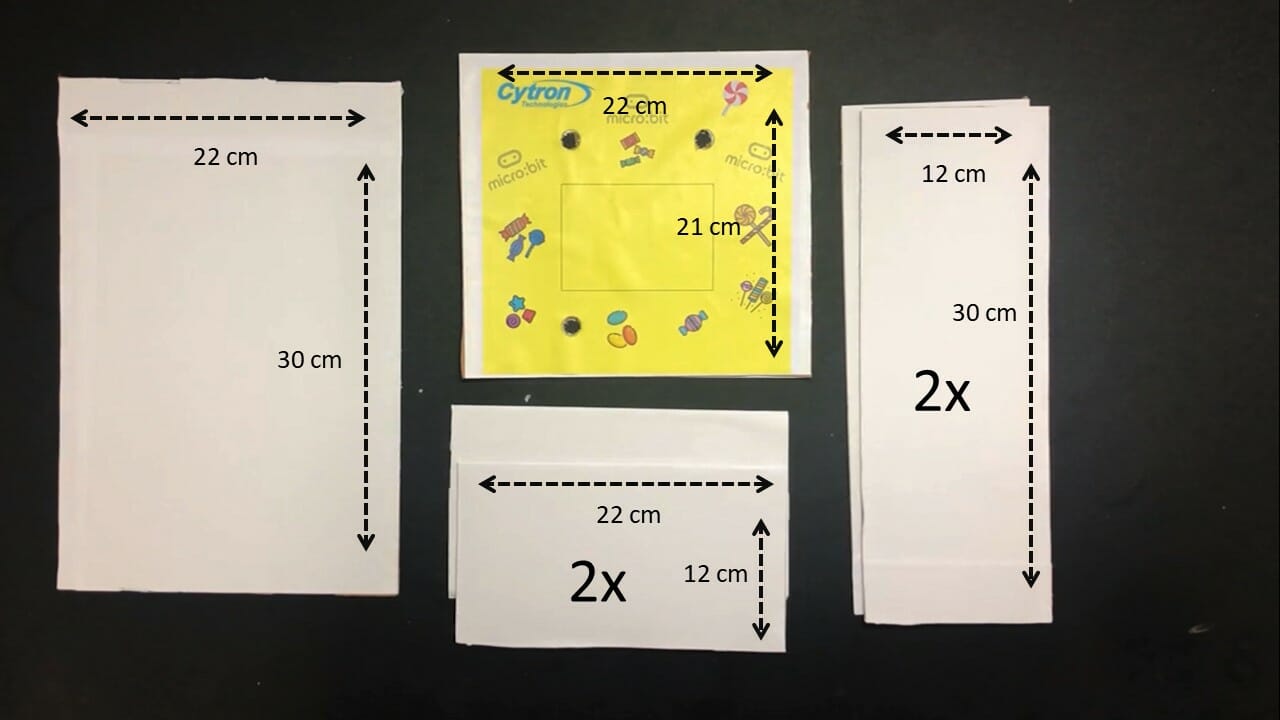
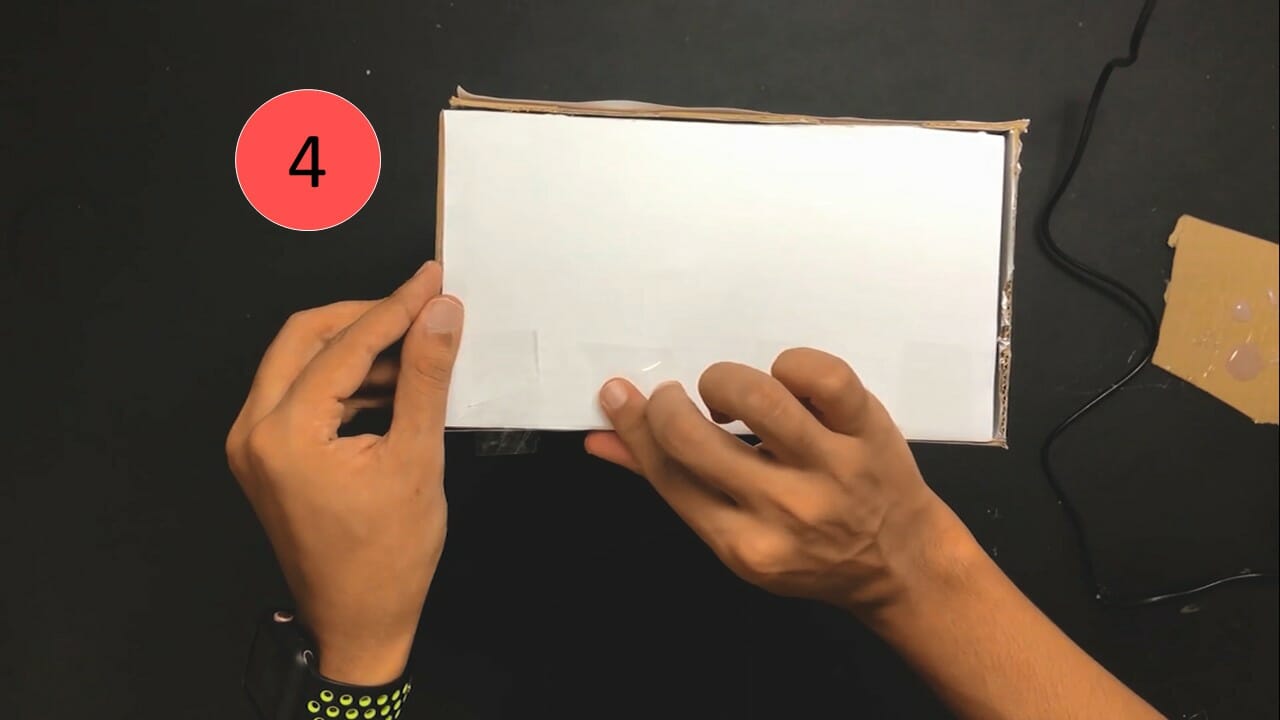
Bring cardboard and cut it according to the dimensions that appear in the picture above.
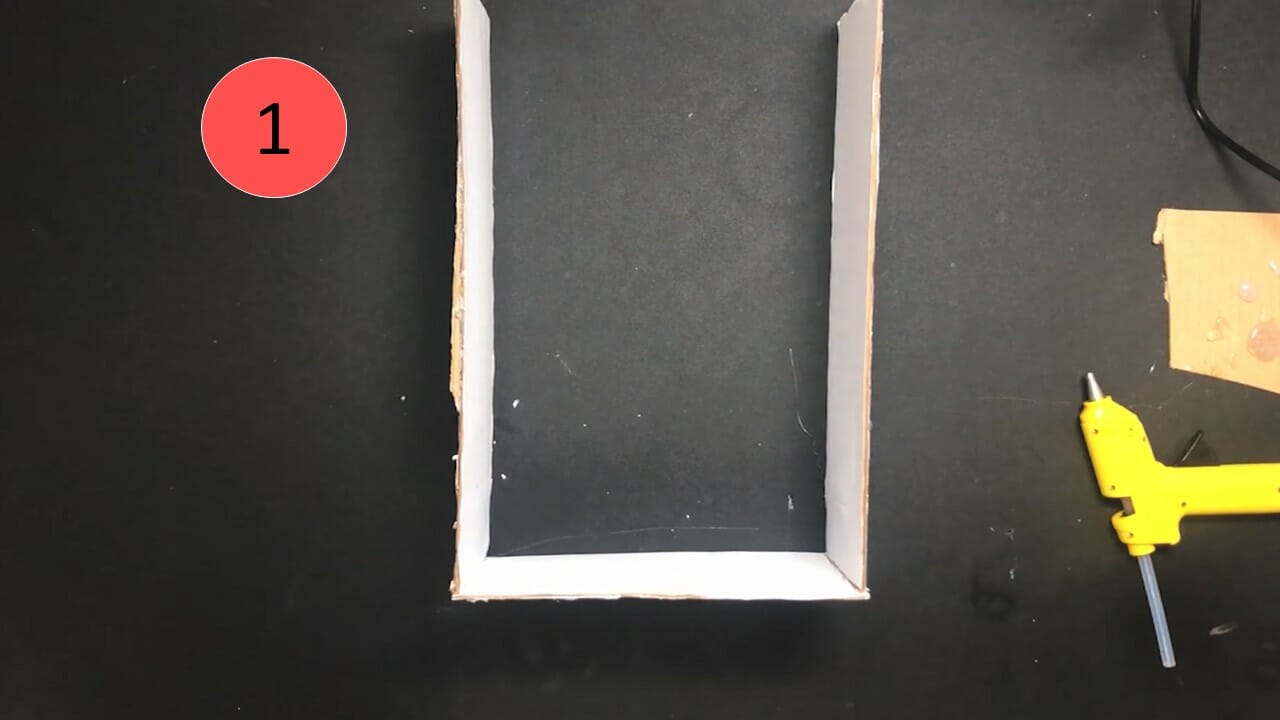
After that, start to attach the cardboard parts as shown in the pictures above using a hot glue gun.
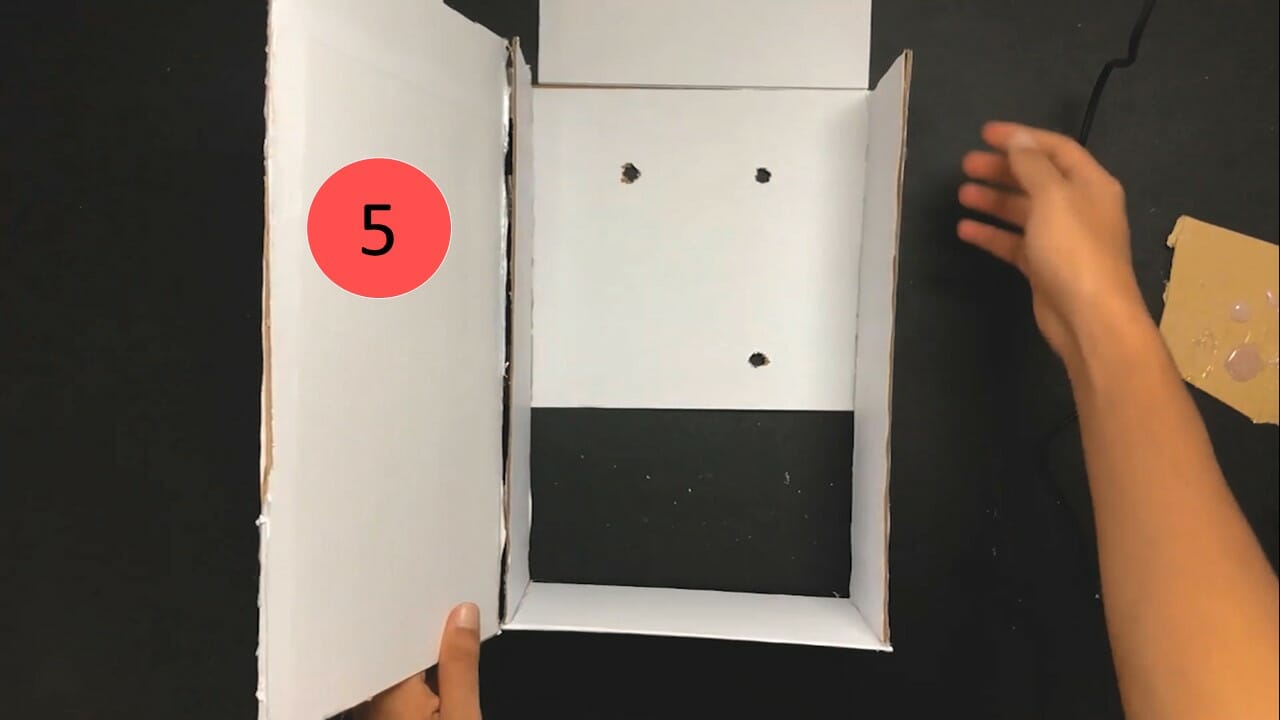
- Attach the sides on the base of the box
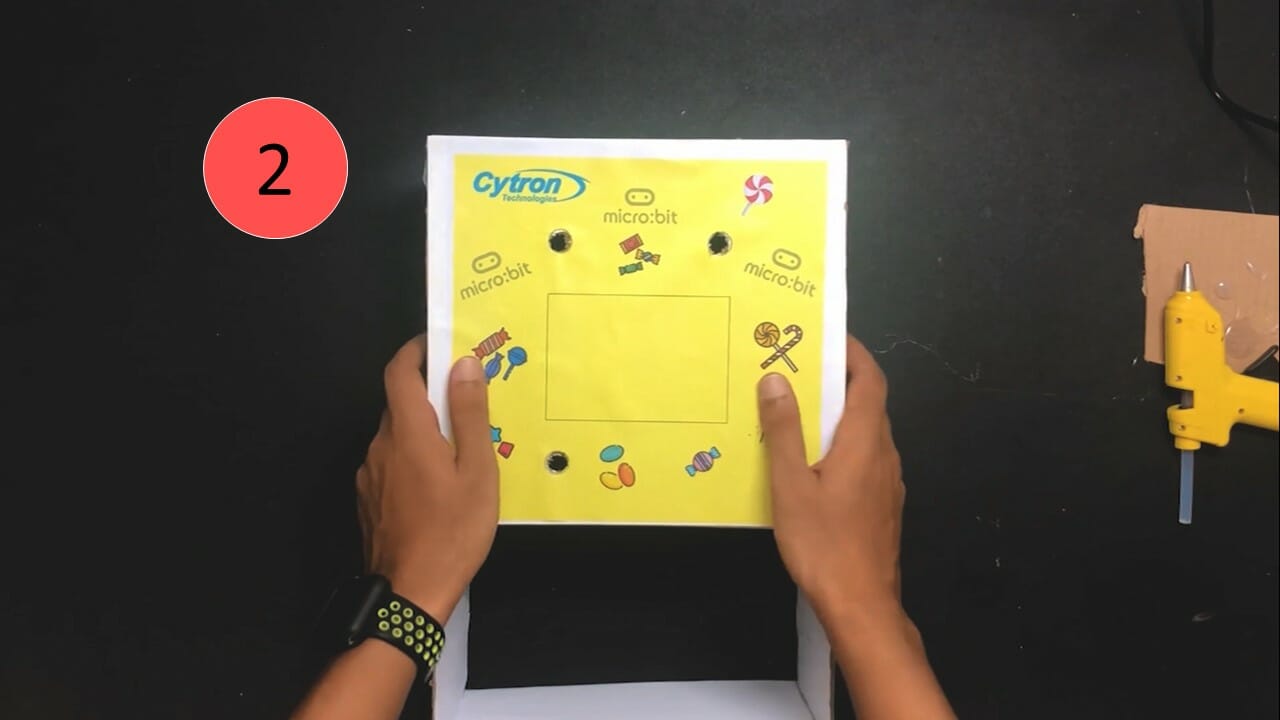
- Attach the yellow part on the front side
- Use cellophane tape to attach the back part to the box on the left side only (so we always be able to open the box from the backsid)
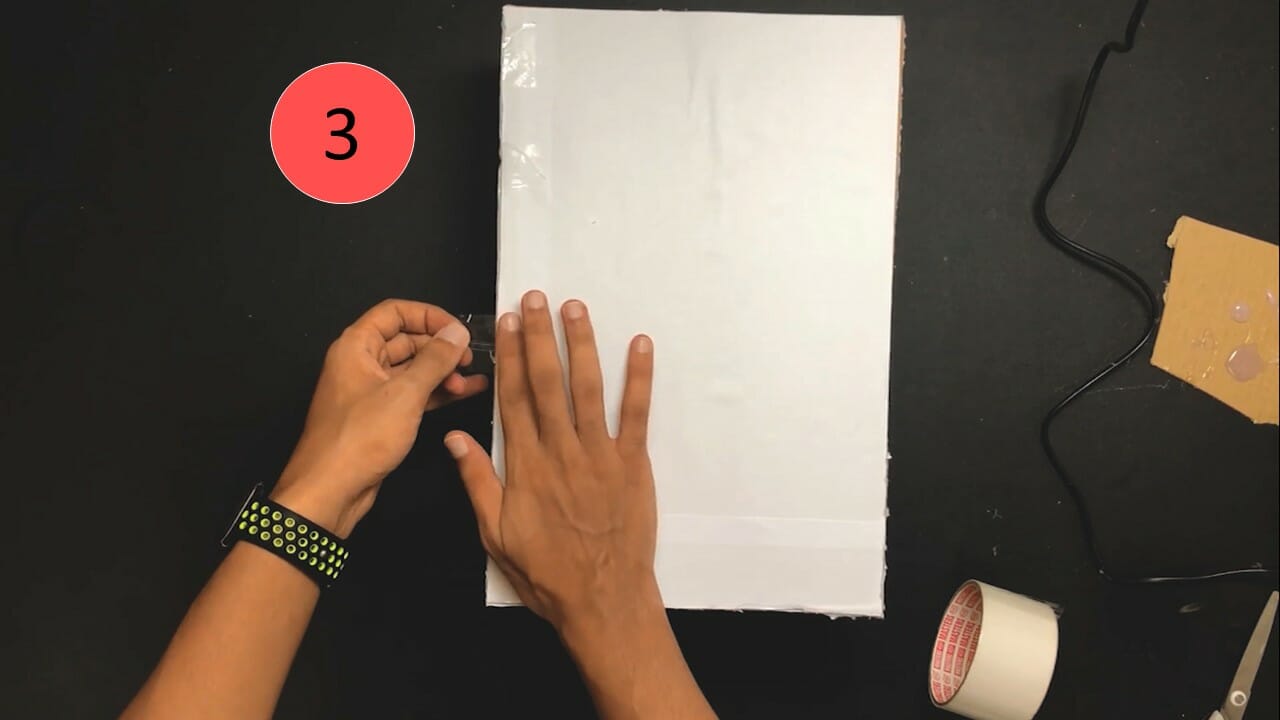
- Use cellophane tape to attach the top part on the box from one side only (so we can refill the candy from the top)
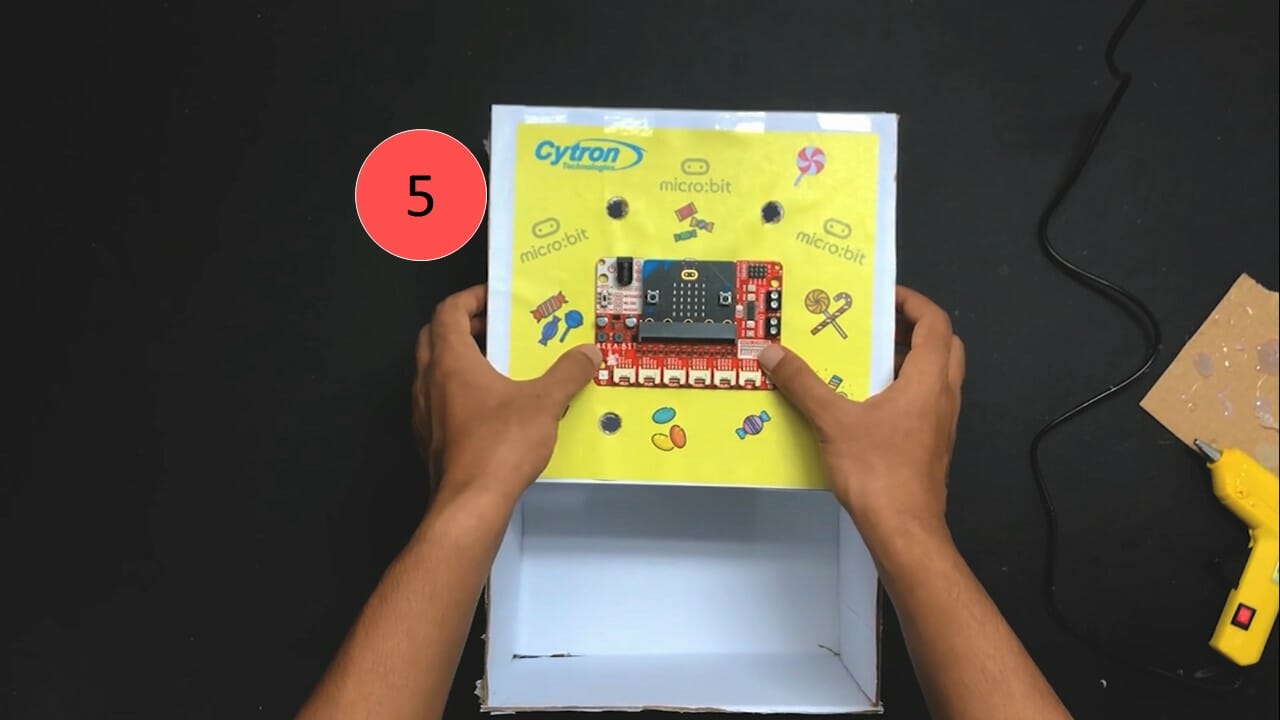
- Finally, the box should look like picture number 5.
Note: I've covered the cardboard with white paper, and placed the "Candy Template" on the front side of the cardboard.
You can also print and use the same template, download the pdf file below:
Candy Machine - A4 Size Template
Step 3: Make The Cone & Attach The Components
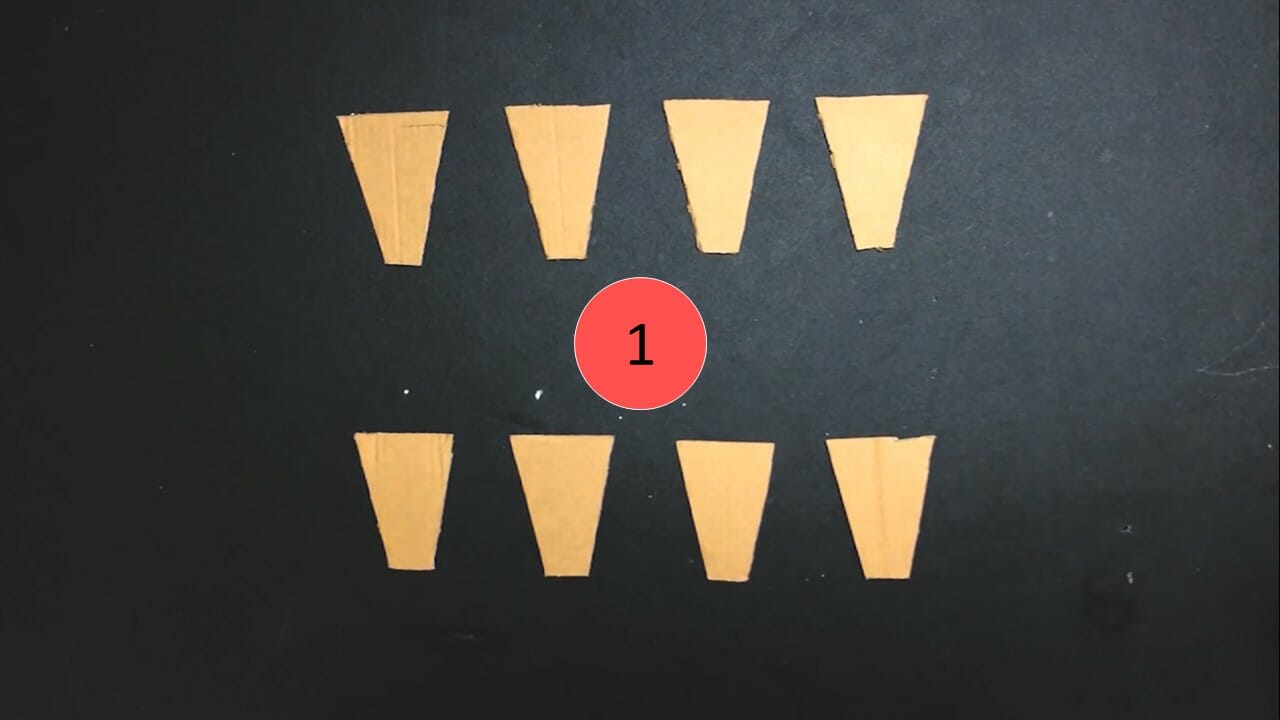
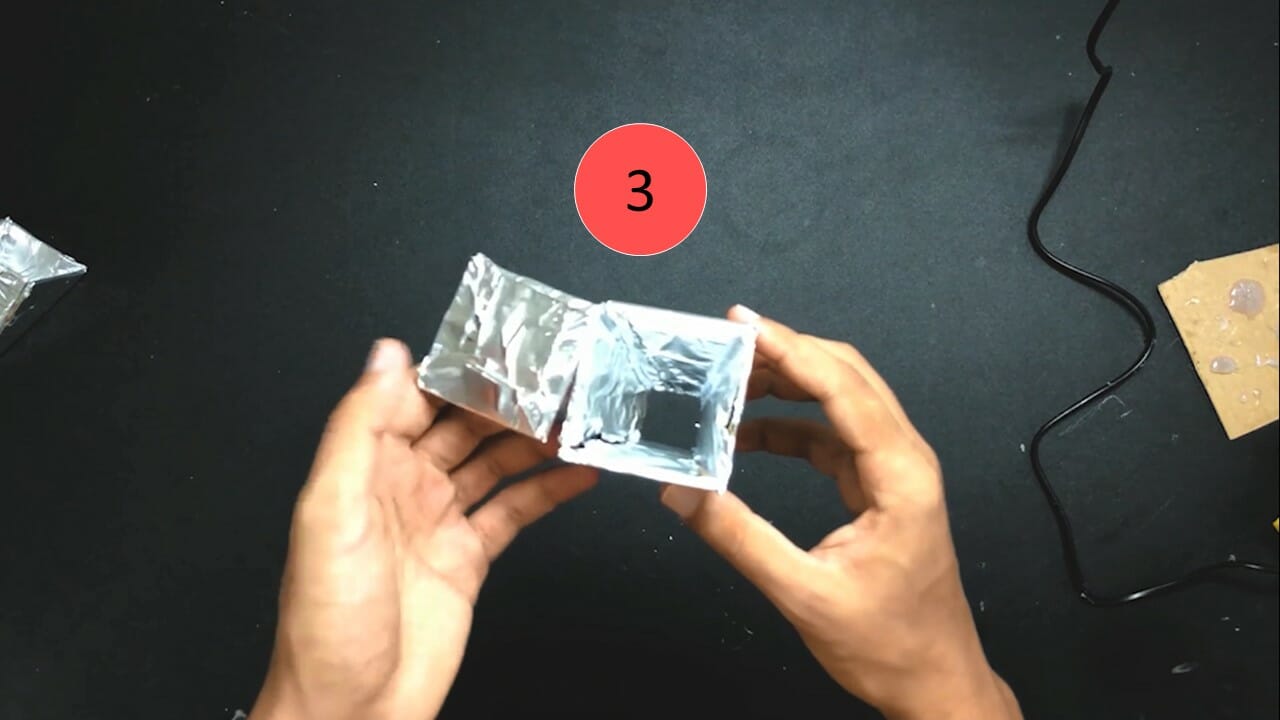
- Cut another piece of cardboard into this flat cone shape
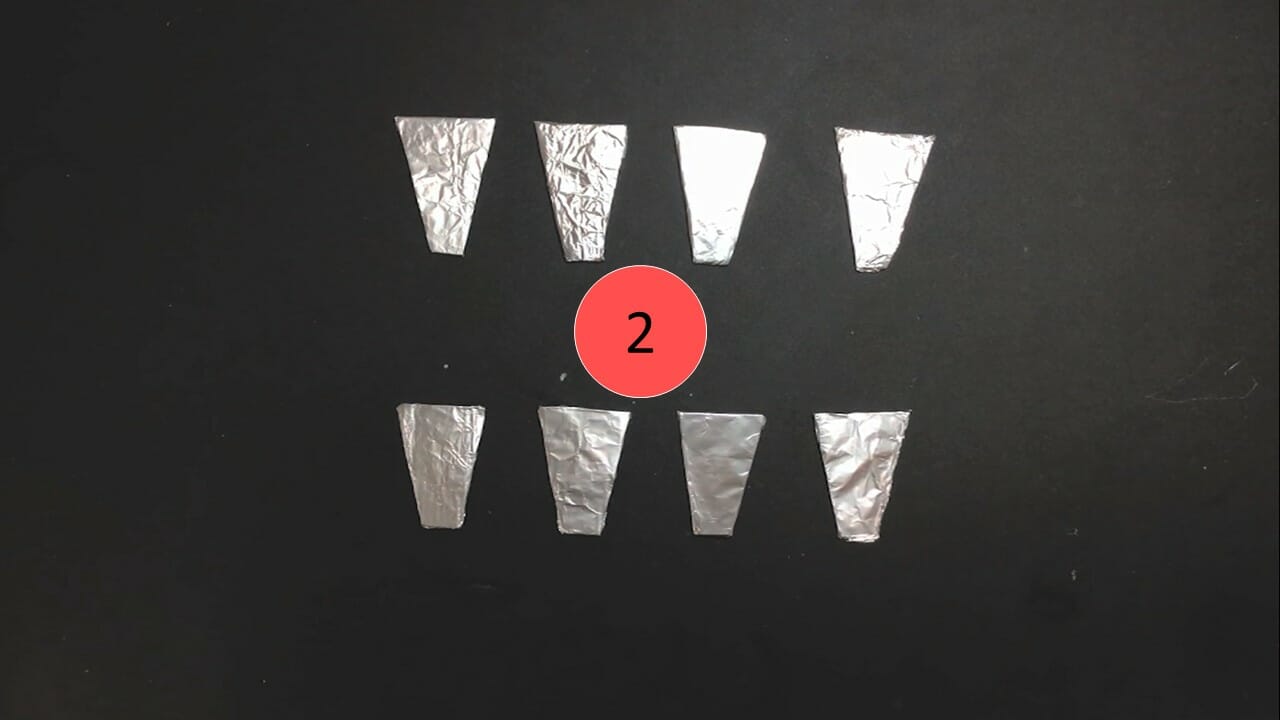
- Cover the cardboard with aluminum foil (to store the candy safely)
- Attach the parts together, and add another piece of cardboard at the top to cover the candy
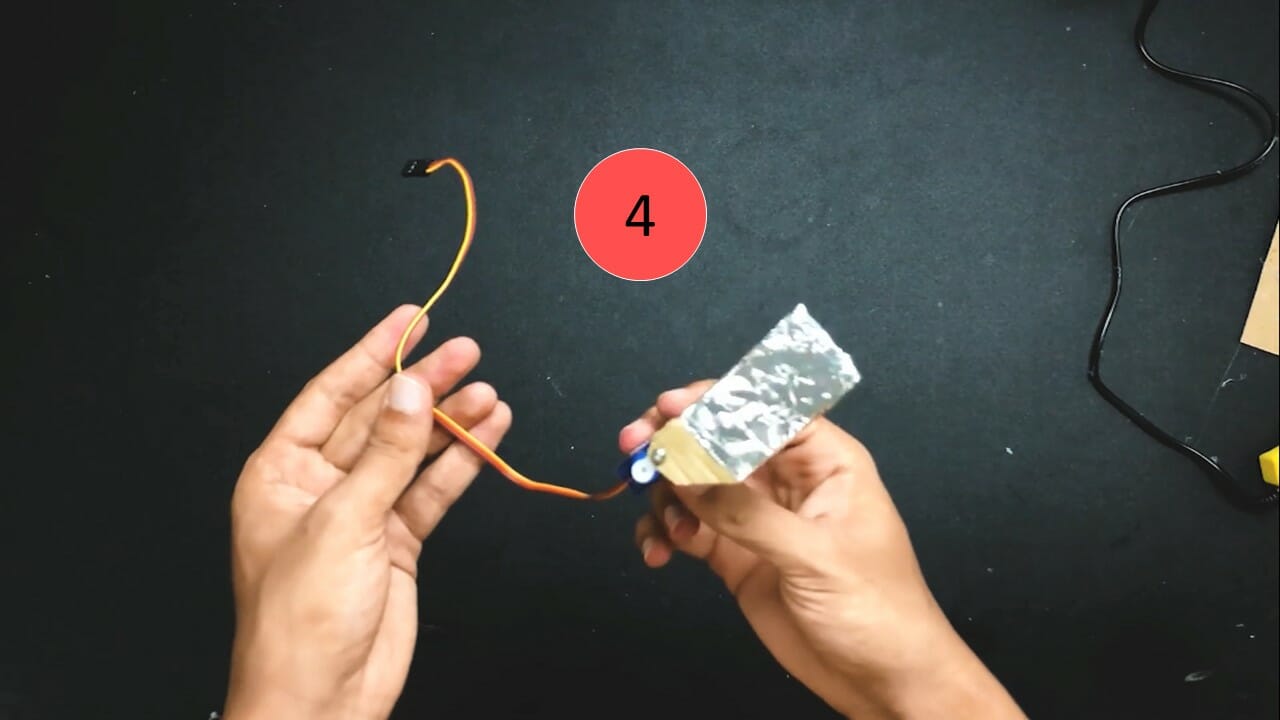
- Take another piece of cardboard and attach it to the servo motor as shown in figure 4
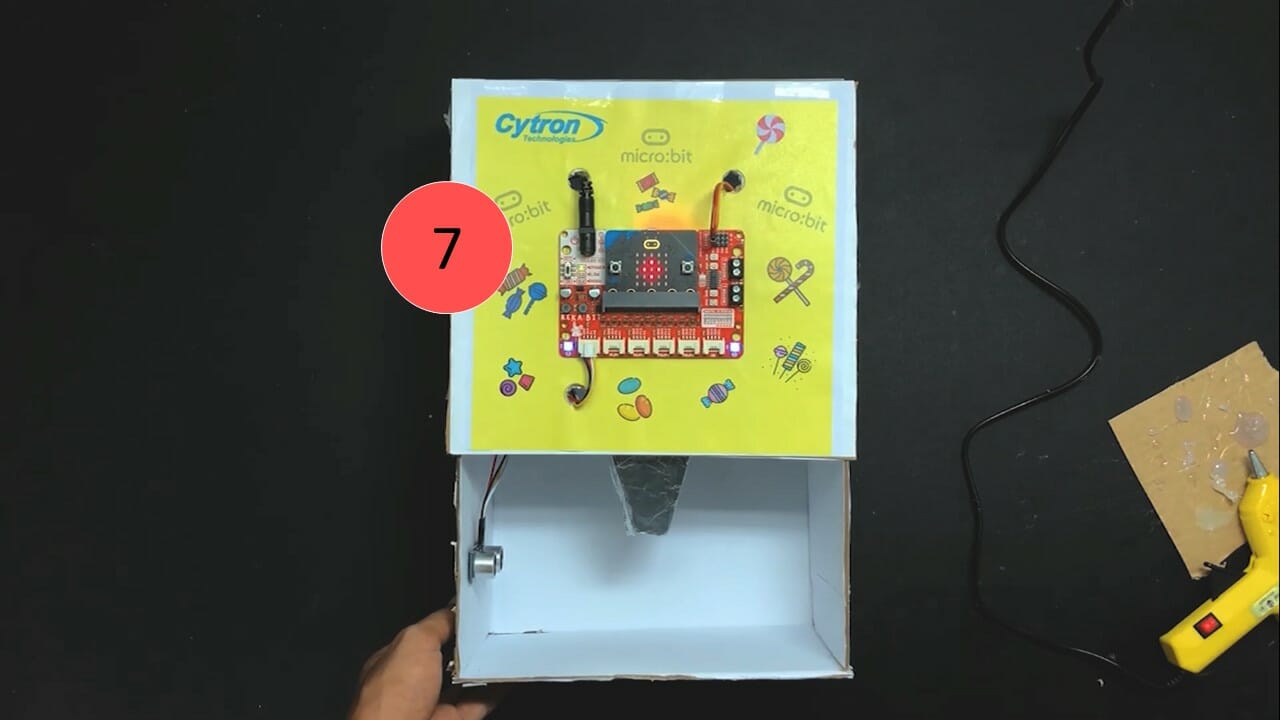
- Place REKA:BIT on the front side using (cable ties, or hot glue)
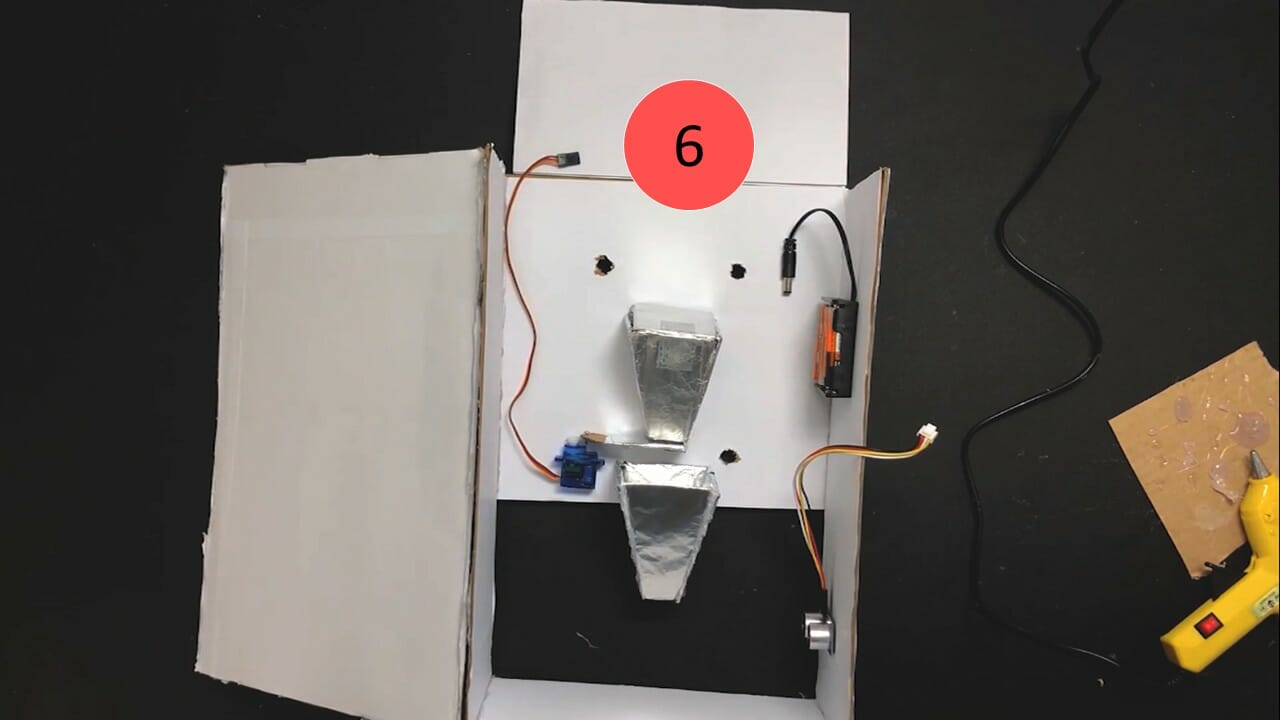
- Attach the other components on the backside as shown in figure 6
- Finally, the candy box should look like figure number 7
Step 4: Connection
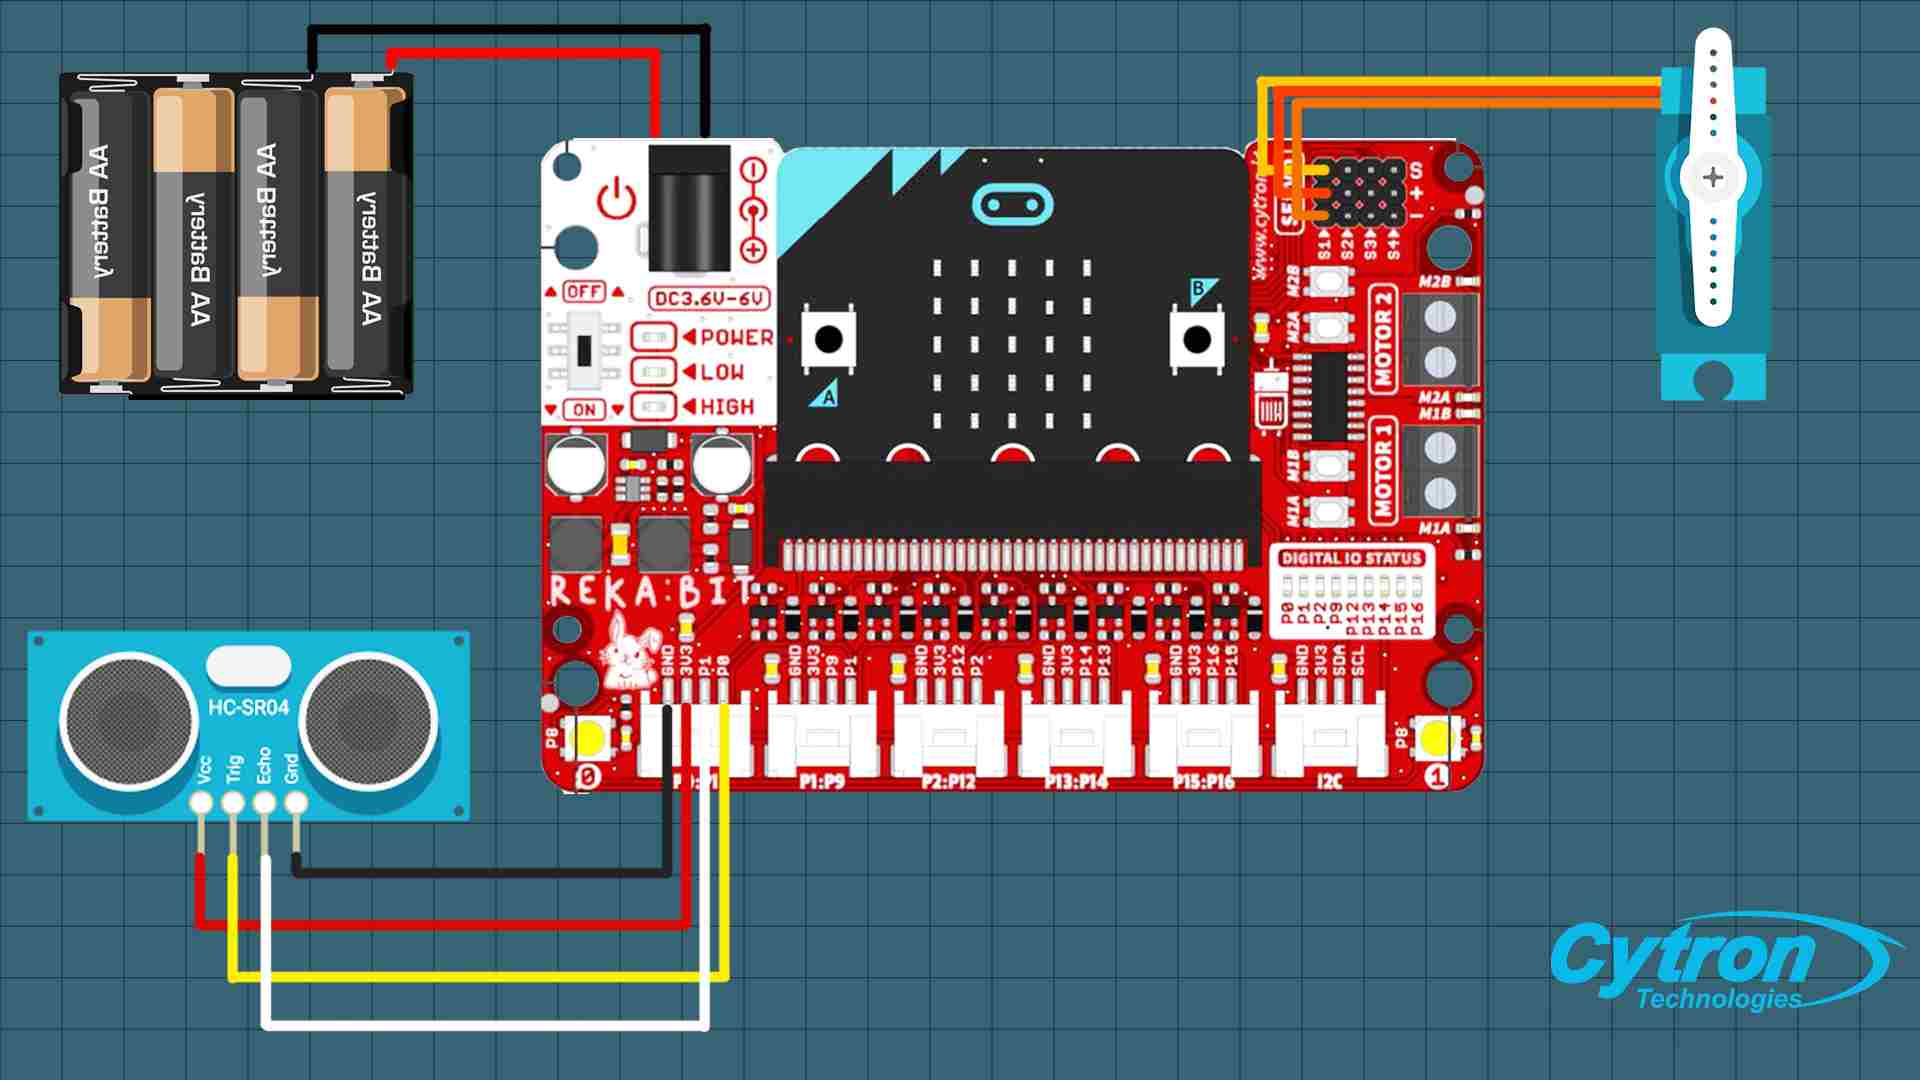
- Connect the servo motor to the S1 port
- Connect the ultrasonic sensor to the first Grove port
- Power up the REKA:BIT using batter holder jack
Step 5: Code
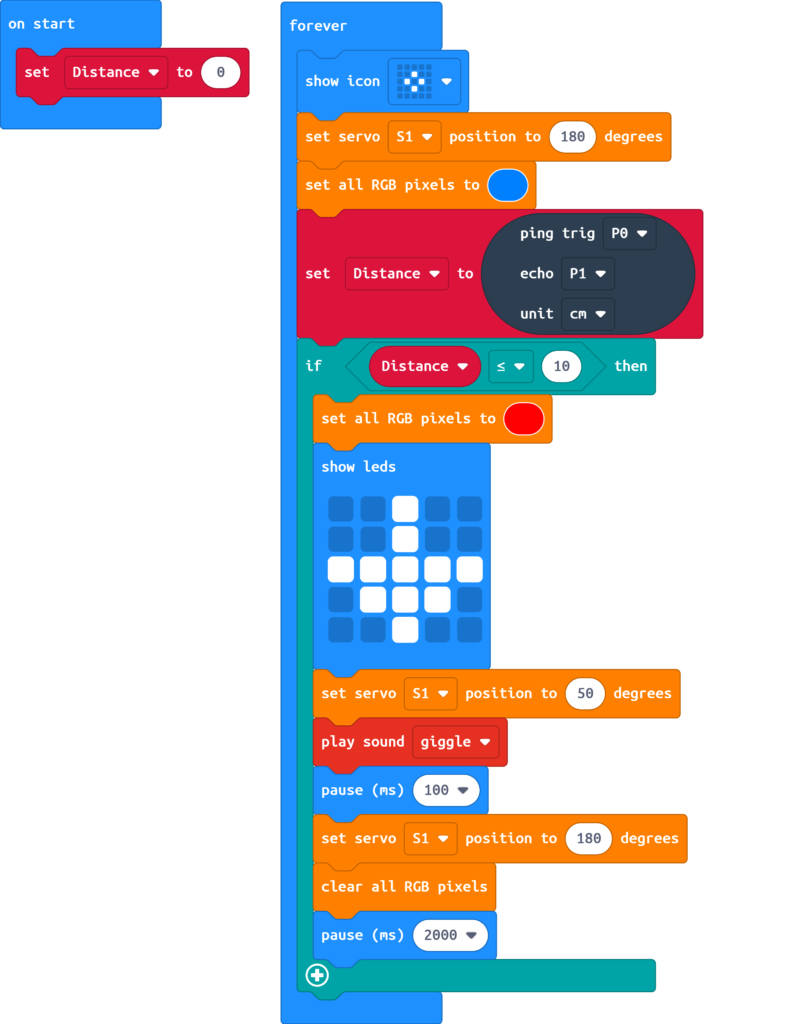
Now, connect your REKA:BIT to your device and open MakeCode editor to start programming.
- Add REKA:BIT extension and follow the code block in the picture above
- After completing the code block, download it and compile it over REKA:BIT
You can also view and edit the code by clicking here!
Well done!
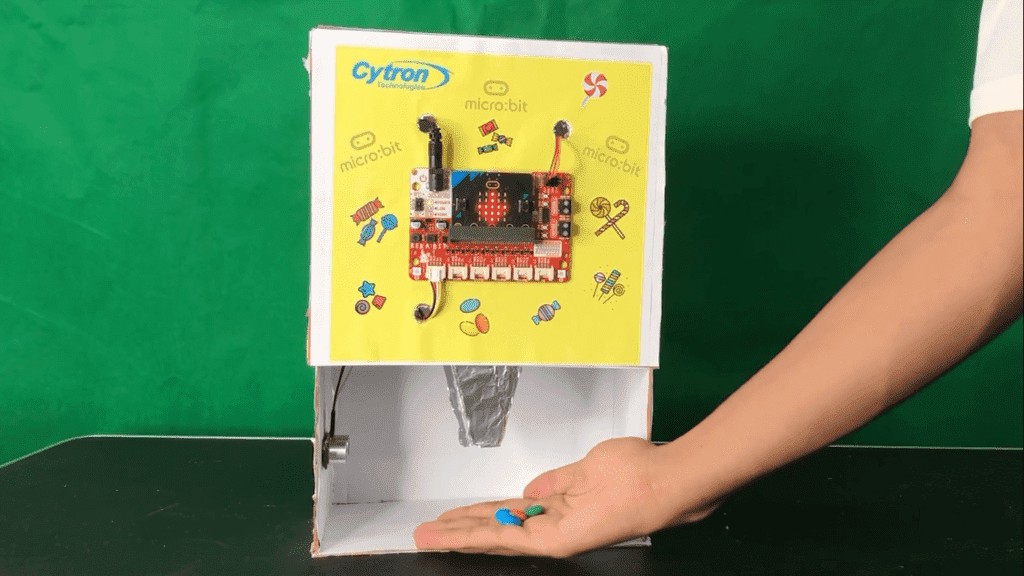
Now all what you have to do is filling the upper cone with some candy, and placing your hand under the lower cone to enjoy it!
Don't forget to show your friends your awesome machine and share the candy with them!
Related Products
 -17%
-17%SG90 Micro Servo
$1.63 $1.95 $1.63
x 1 unit(s)

Grove 4 Pin Buckled to Female Cable
$0.38 $0.38
x 1 unit(s)
-268x268.jpg "3V-5.5V SR04P Ultrasonic Ranging Module") -18%
-18%3V-5.5V SR04P Ultrasonic Ranging Module
$1.23 $1.50 $1.23
x 1 unit(s)

4xAA Battery Holder with DC Jack
$0.70 $0.70
x 1 unit(s)
 - Simplifying Robotics with micro:bit") -10%
-10%REKA:BIT (with micro:bit V2 included) - Simplif...
$35.50 $39.25 $35.50
x 1 unit(s)