 International
 Singapore
 Malaysia
 Thailand
 Vietnam
Your shopping cart is empty!

OctoPi Touch Screen with 3.5
Disclaimer:
This guide is provided for information and as it is. Cytron Technologies will not be responsible for any damage or data lost during the installation process. Do back up your microSD card if you have any concerns.
Hardware :
- Raspberry Pi 4 Model B 2GB // Any RAM size such as 1GB, 4GB and 8GB should be no problem
- 15W Power Adapter with USB-C
- 32GB MakerDisk
- USB microSD card Reader/Writer
- 3.5-inch TFT Resistive Touch Screen for RPI 3B/3B+/4B
- Raspberry PI 4 Heatsink Set (3pcs) Black
- Raspberry Pi 3.5-inch Display Case
Step 1: Preparing MicroSD with OctoPi image
Load OctoPi’s image using the Raspberry Pi Imager, Setup the SSH and Wireless Network, WiFi Country, Locate settings, under Advanced Settings.
For the operating System, go to Other specific purpose OS
Choose OctoPi.
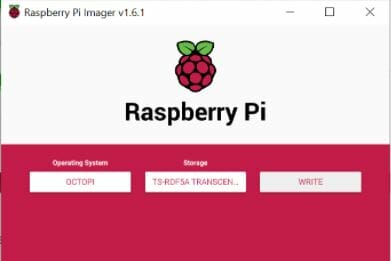
For Storage, do choose the correct microSD card drive.
Press Ctrl + Shift + X to enable the Advanced Settings on Raspberry Pi Imager.
We set the hostname to octoscreen.local and enabled SSH with the password of “raspberry” for “pi” users. You can set what you want to, but do remember it as we need to use it later.

Of course, to ease the network connection, do put in your WiFi SSID and Password here.
And also the WiFi country and locale settings. Click SAVE to save your settings.
Click WRITE to write the image into the microSD card.

Now, the OctoPi Image has been set into the MicroSD.
For manual installation OctoPi
- Install https://github.com/guysoft/OctoPi,
- Flash into MicroSD using https://www.balena.io/etcher/
- Configure your WiFi by editing octopi-wpa-supplicant.txt on the root of the flashed card when using it like a thumb drive.
Step 2: The Hardware
First, put Raspberry Pi 4 heatsink set which contain 3 pieces into the Raspberry Pi 4.
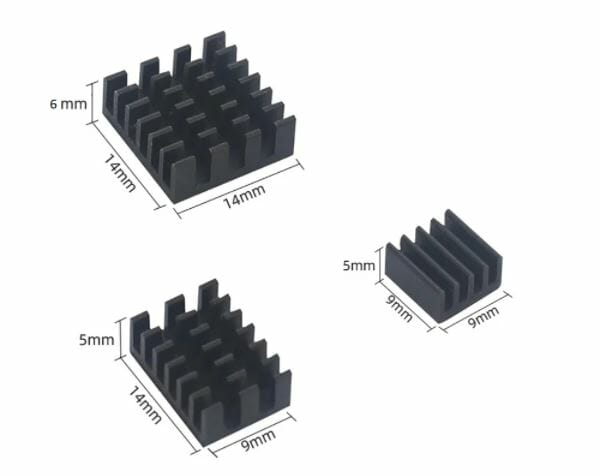
- Aluminum heatsink with fin, dimension of 14mm x 14mm x 6mm, for main processor
- Aluminum heatsink with fin, dimension of 14mm x 9mm x 5mm, for RAM chip
- Aluminum heatsink with fin, dimension of 9mm x 9mm x 5mm, thin, for Ethernet or USB chip
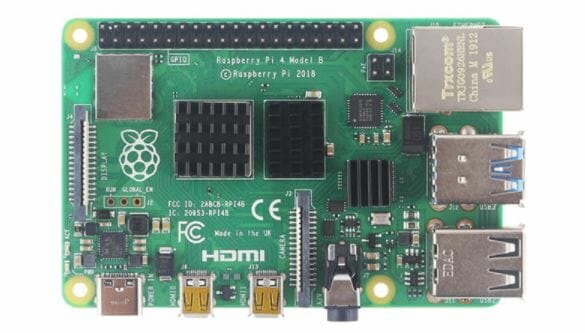
It will look like this on the Raspberry Pi 4.
Next, stack the 3.5-inch TFT LCD onto the Raspberry Pi 4 Model B board.
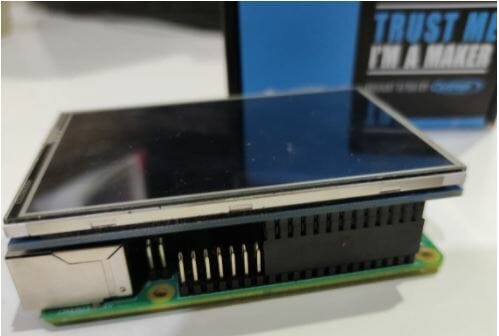
Make sure the GPIO-pin is aligned.
Put both RPi and the screen with the cooling fan into a casing.
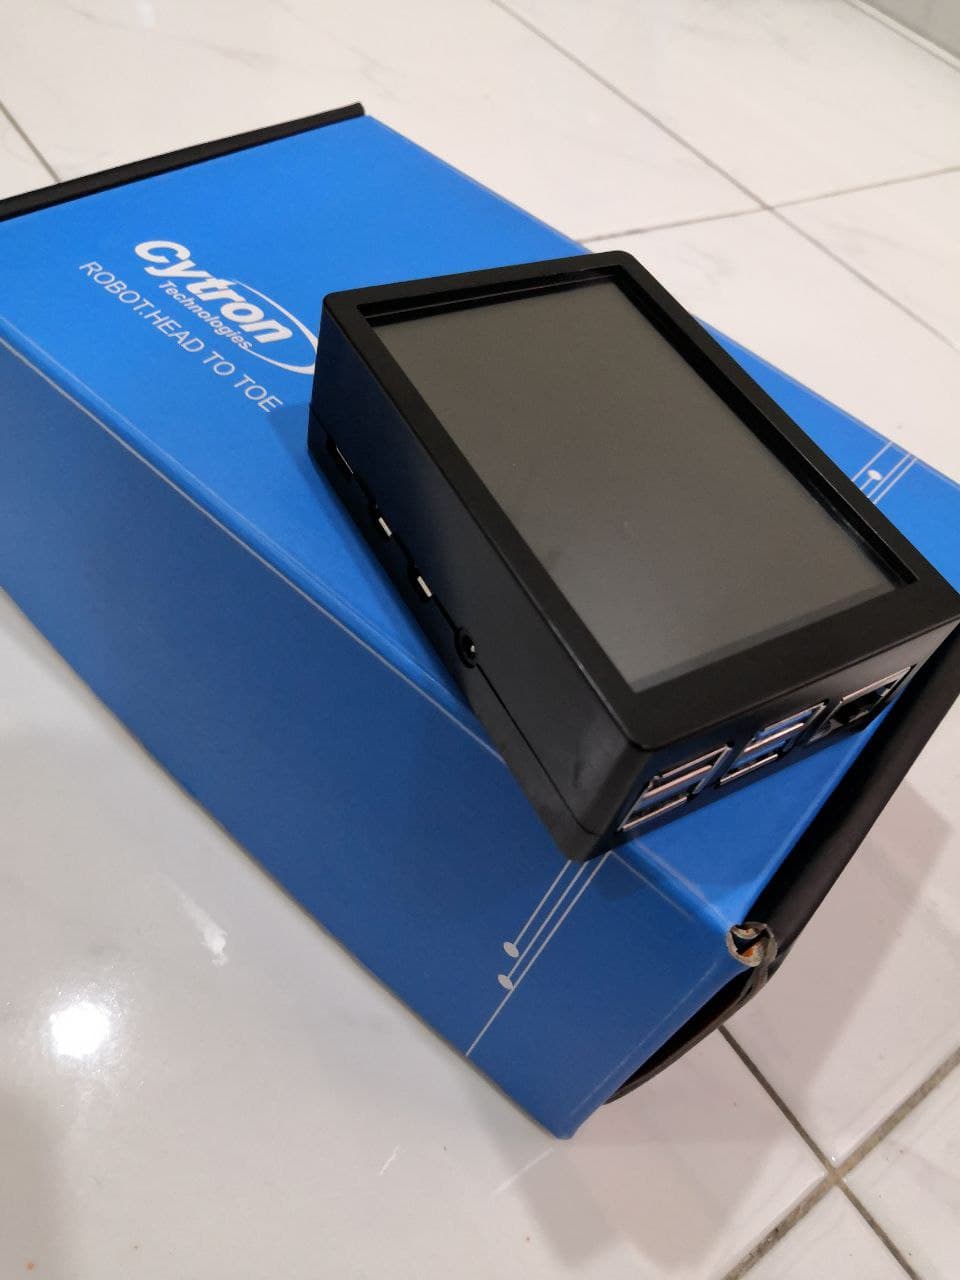
It will look like this
Insert the microSD card into the microSD card slot.
Lastly, power up the Raspberry Pi with the power adapter.
Step 3: Accessing the OctoPi using SSH
Now on your laptop or computer, you must use a tool to login to OctoPi via SSH. I am using PuTTY. You can use other tools such as Powershell or VScode. You can download from the links if there is none available.
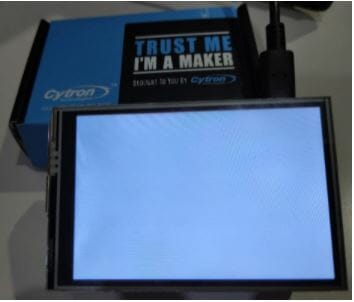
At this point, the LCD should just light up without any graphics or text. As we have yet to install the graphics driver.
With the “Advanced Settings” that have been configured earlier, the Raspberry Pi connects to your WiFi network. You can use an IP Scanner to scan the potential IP address of the Raspberry Pi. But since we have configured the SSH Host name, we will use that in PuTTY to create a connection.
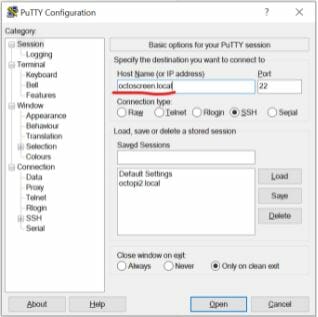
Put the hostname into PuTTY and Click “Open”.
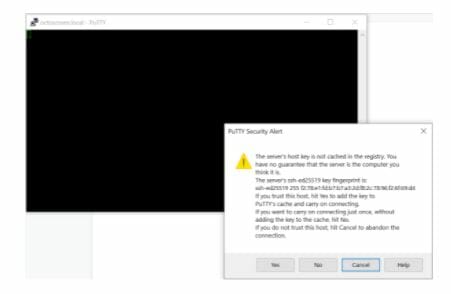
If the Raspberry Pi has connected to the WiFi network successfully, and the hostname is correct, you should be prompted with a Security Alert, first time only.
Click YES to proceed.
Key-in “pi” and Enter “raspberry” as the password for SSH, if that is what you have configured just now.
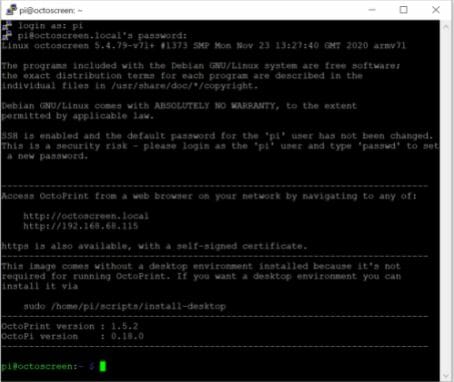
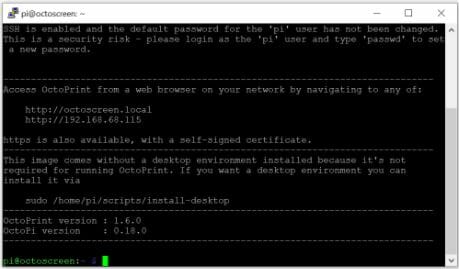
You are now logged into the OctoPi on the Raspberry Pi remotely via SSH. Meanwhile, since there is an IP address, you can now login to the octopi web interface to setup the Octopi like you usually do.
Step 4: Updating Raspberry Pi OS
We need to update the Raspberry Pi OS
sudo apt update
sudo apt full-upgrade
Press y and Enter, for yes to proceed.
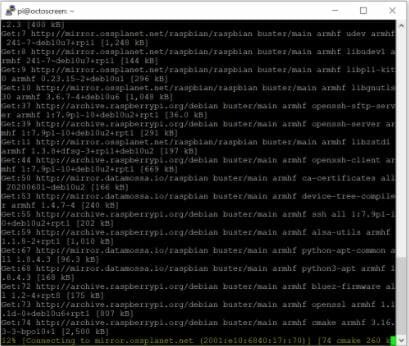
Depending on the data and internet connection speed, this process might take several minutes.
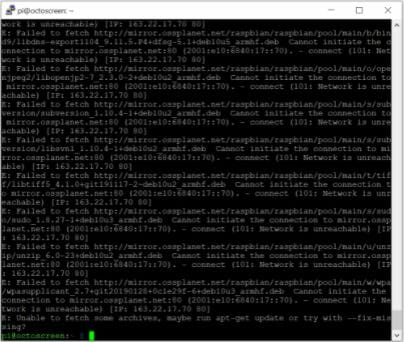
sudo reboot
Reboot the OctoPi.
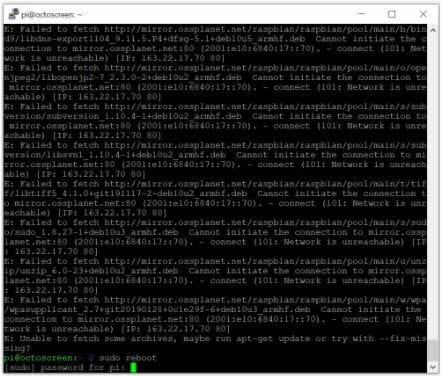
It might ask for the password again, just key in “raspberry” and press Enter.
Step 5: Install the 3.5” TFT Driver
You need to restart the session in PuTTY and login into octoscreen.local again.
Install LCD graphic driver:
sudo rm -rf LCD-show
git clone https://github.com/goodtft/LCD-show.git
chmod -R 755 LCD-show
cd LCD-show/
sudo ./LCD35-show

This driver is LCD specific, this tutorial is based on this LCD: p-3.5-inch-tft-touch-screen-for-rpi-3b-3b-plus-4b
The command of sudo ./LCD35-show will auto reboot the OctoPi and you will need to SSH back in.
However, the 3.5 screen will show text after this reboot.
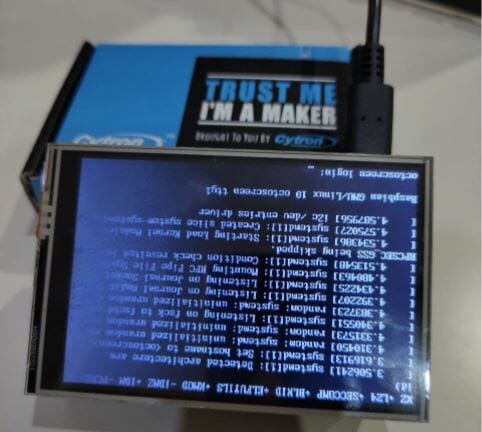
Once SSH comes back in, continue with the following steps:
sudo nano /boot/config.txt
There might already be the following text at the bottom of config.txt file, if so, please edit the parameters accordingly. Else please add all these text at the bottom of the text.
disable_overscan=1
framebuffer_width=800
framebuffer_height=533
hdmi_cvt 800 533 60 6 0 0 0
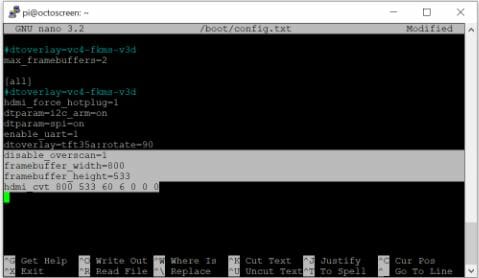
Press Ctrl + O then Enter. Press Ctrl + X to save and exit the file editor.
Now reboot
sudo reboot now
Restart your SSH and log back in.
Step 6: Install X11
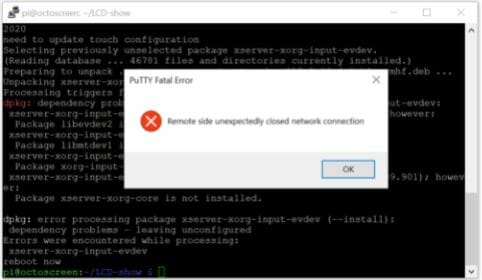
sudo apt-get install libgtk-3-0 xserver-xorg xinit x11-xserver-utils
And you will most likely to have error messages
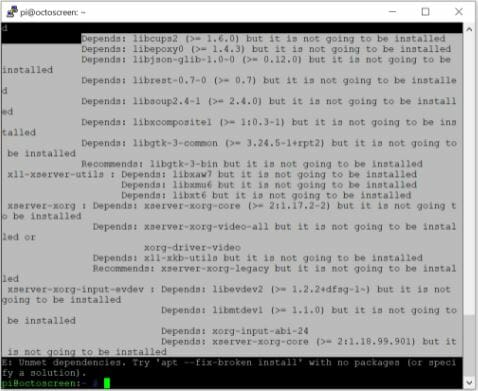
sudo apt-get update --fix-missing
sudo apt-get install -f
Press y and ENTER to continue
sudo reboot
Now reboot and SSH back in.
sudo apt-get install libgtk-3-0 xserver-xorg xinit x11-xserver-utils
Press y and ENTER to continue installing
It should be installed properly this round.
sudo reboot
Now reboot and SSH back in.
sudo apt-get install git build-essential xorg-dev xutils-dev x11proto-dri2-dev
Press y and ENTER to continue
sudo reboot
Now reboot and SSH back in.
sudo apt-get install libltdl-dev libtool automake libdrm-dev
Press y and ENTER to continue
sudo reboot
Now reboot and SSH back in.
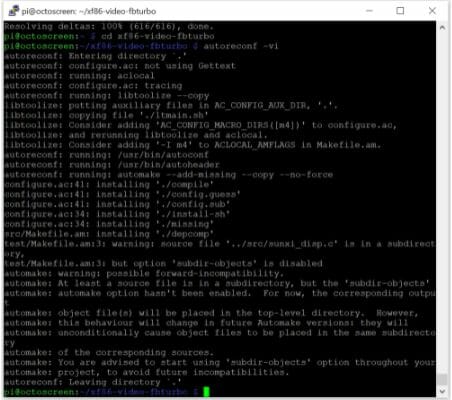
git clone https://github.com/ssvb/xf86-video-fbturbo.git
cd xf86-video-fbturbo
autoreconf -vi
./configure --prefix=/usr

make
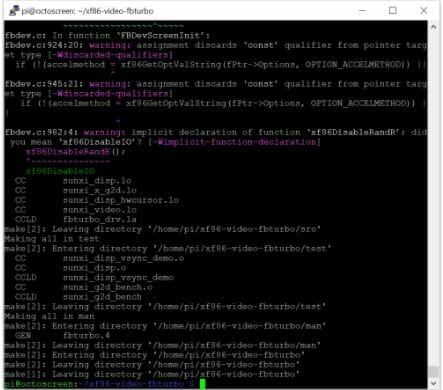
sudo make install

sudo cp xorg.conf /etc/X11/xorg.conf

sudo reboot
Now reboot and SSH back in.
Step 7: Install OctoScreen
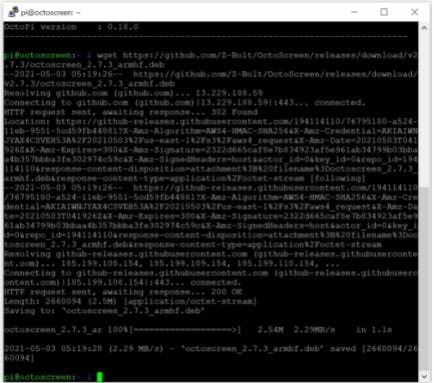
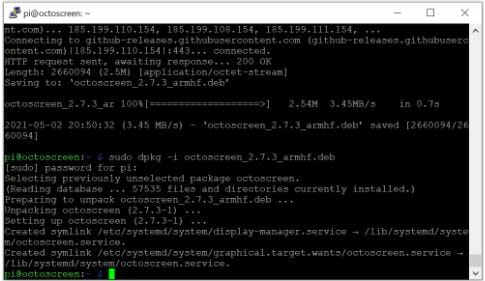
wget https://github.com/Z-Bolt/OctoScreen/releases/download/v2.7.3/octoscreen_2.7.3_armhf.deb
sudo dpkg -i octoscreen_2.7.3_armhf.deb
sudo nano /etc/octoscreen/config
Change
OCTOSCREEN_RESOLUTION=800x400
to
OCTOSCREEN_RESOLUTION=800x533
Ctrl + O and Enter then Ctrl + X
Save and exit nano.
sudo reboot
Now reboot and SSH back in.
Step 8: Configure OctoPi Desktop GUI
sudo raspi-config
To configure Raspberry Pi Desktop
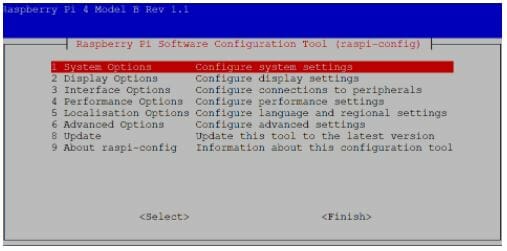
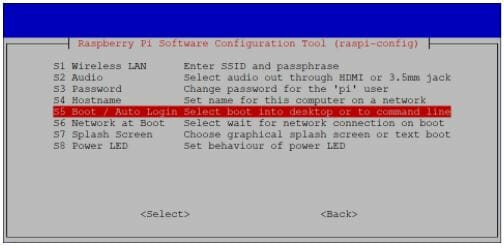

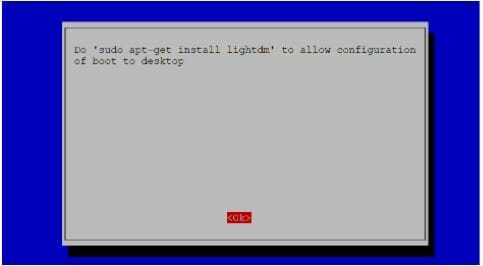
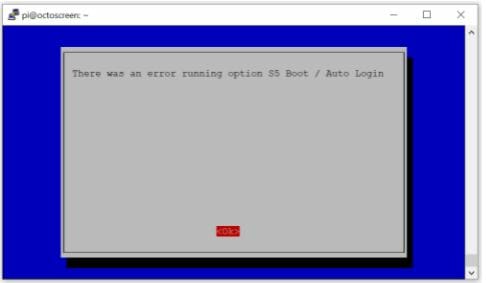
You might get an error, not to worry, just press OK and exit from the config.
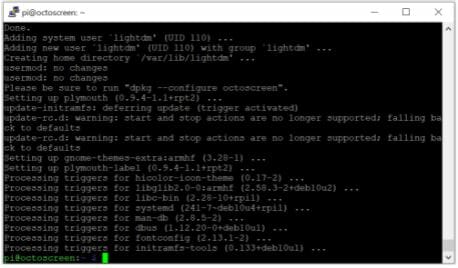
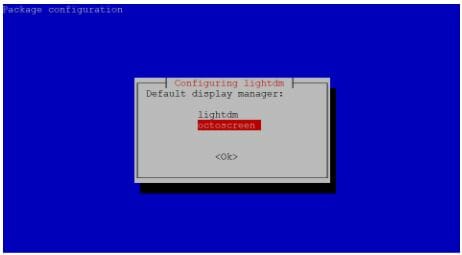
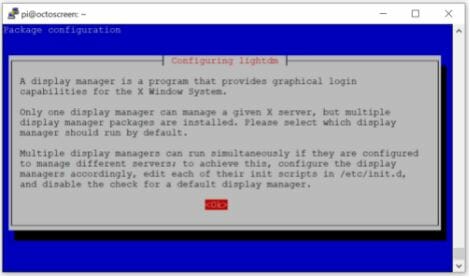
sudo apt-get install lightdm

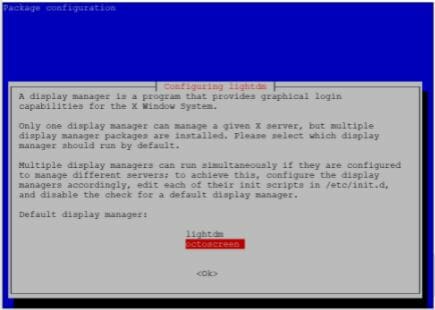

Or
Choose octoscreen and press Enter

sudo reboot
Now reboot and SSH back in.
Step 9: Install fbcp
sudo apt-get -y install cmake
git clone https://github.com/tasanakorn/rpi-fbcp
cd rpi-fbcp
mkdir build
cd build
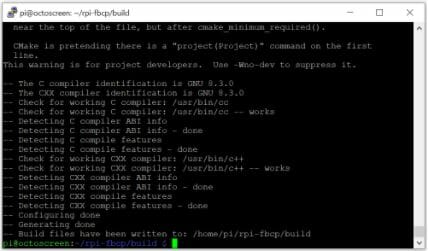
cmake ..
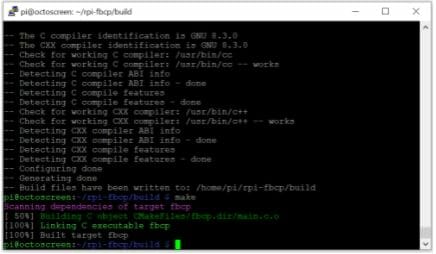
make
sudo install fbcp /usr/local/bin/fbcp
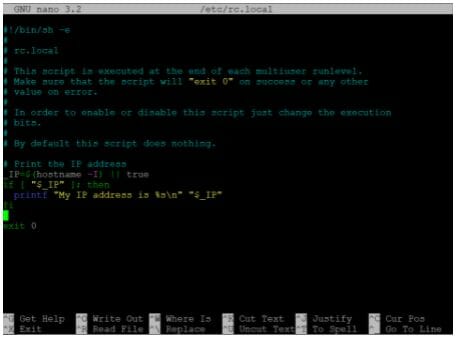
sudo nano /etc/rc.local

Add /usr/local/bin/fbcp
Before exit 0
Ctrl + O and Enter then Ctrl + X
sudo reboot
Now reboot and SSH back in.
Step 10: Final
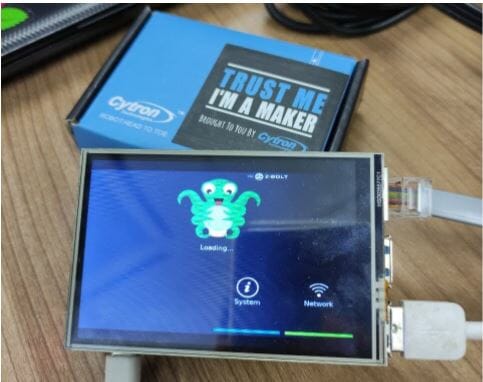
After reboot, octoscreen should be appeared.
Remember to connect the Raspberry Pi to a 3D Printer and Configure the OctoPi Web Interface. Else the “System” will not be working on OctoScreen.
Hope this helps and please follow exactly the command line and check the results. We have verified the above methods with a fresh OctoPi for several attempts and it is working fine.
Credits goes to following references:
- https://youtu.be/_MJLJz-pJAA, Chris from Chris’s basement also just release a similar installation (cleaner) with OctoDash.
- https://www.youtube.com/watch?v=brtrtj1rq7g, very comprehensive steps to install OctoScreen with MHS35 Touch LCD.
- https://cryptpad.fr/code/#/2/code/view/h7L6PdPs76CsEPwykNJ1rTI+w3p+2ZlpLwfhCxnuLIc/, the script used for MHS35 touch screen LCD installation of the above video.
- https://forum.prusaprinters.org/forum/original-prusa-i3-mk3s-mk3-user-mods-octoprint-enclosures-nozzles-.../3-5-gpio-touchscreenrpi-3band-octoscreen/, forum discussion about installation and also explanation about screen resolution
- https://github.com/Z-Bolt/OctoScreen/wiki/Installing-OctoScreen-with-a-3.5%22-480x320-TFT-screen, official guide from OctoScreen github, but lack of the last part of fbcp installation
- https://github.com/Z-Bolt/OctoScreen/issues/102, this is more to discussion about no displaying the correct resolution on the LCD.
- https://github.com/Z-Bolt/OctoScreen, the official OctoScreen Github page.
- https://youtu.be/wpCbfjDLJa8, here is another video on 3.5 resistive touch with TouchUI.
- http://www.fintechcommunications.com/blog/?p=375, the detailed steps of the installation from the above video