Introduction
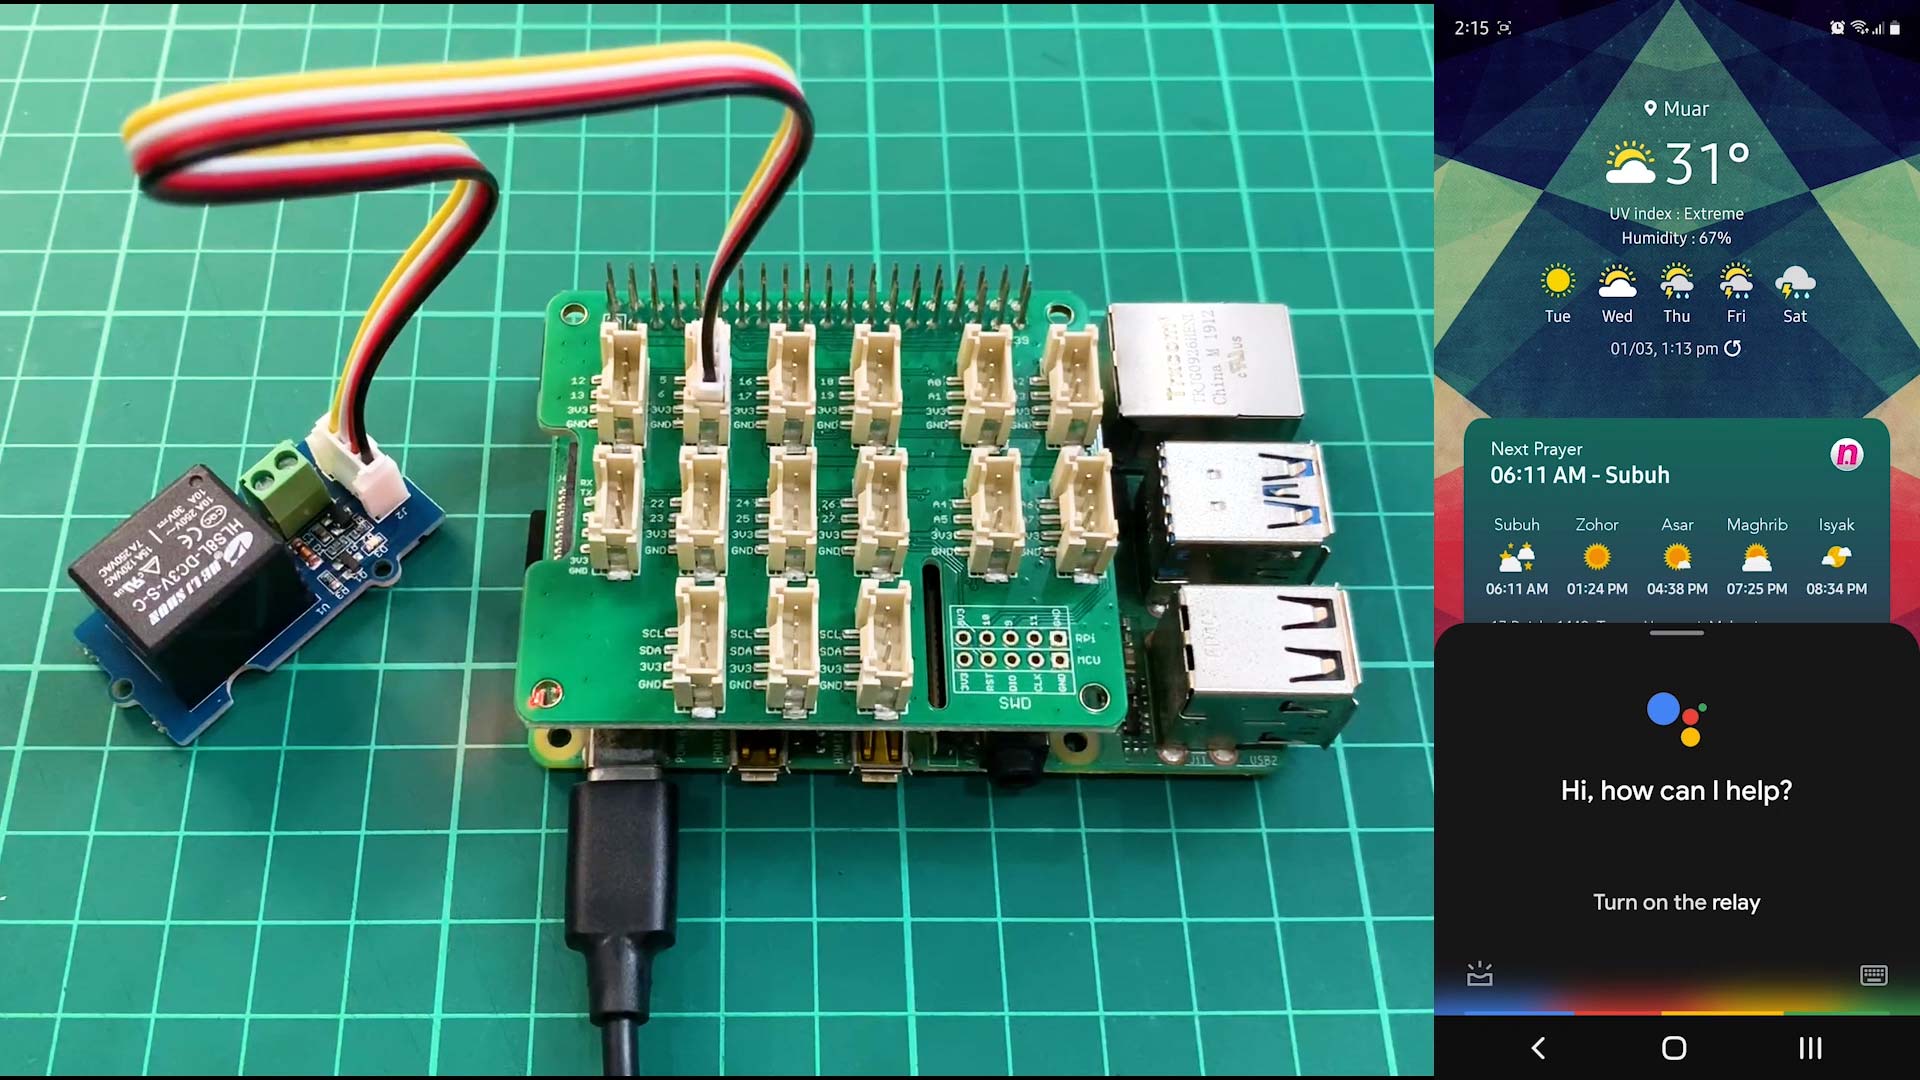
We have shared a tutorial of Google Assistant and Raspberry Pi last year using IFTTT and Particle IO. But Particle IO no longer supports the Raspberry Pi, so the previous tutorial is obsolete. For this tutorial, we will try to update using IFTTT and Adafruit IO platforms.
Video
This video shows how to control relay using Raspberry Pi and Adafruit IO.
This video shows how to link between Google Assistant and Adafruit IO using IFTTT.
Hardware Preparation
This is the list of items used in the video.
Sample Program
This is python3 sample program to control relay module connected to Raspberry Pi using Adafruit IO. Please install following libraries:
sudo pip3 install adafruit-blinka sudo pip3 install adafruit-io
# | |
# References: | |
# – https://learn.adafruit.com/welcome-to-adafruit-io/client-library | |
# – https://github.com/adafruit/Adafruit_IO_Python/blob/master/examples/basics/subscribe.py | |
# | |
# Hardware | |
# – Raspberry Pi 4 Model B | |
# [2GB] https://my.cytron.io/p-raspberry-pi-4-model-b-2gb?tracking=idris | |
# [4GB] https://my.cytron.io/p-raspberry-pi-4-model-b-4gb?tracking=idris | |
# [8GB] https://my.cytron.io/p-raspberry-pi-4-model-b-8gb-latest?tracking=idris | |
# – Grove Base Kit for Raspberry Pi | |
# https://my.cytron.io/p-grove-base-kit-for-raspberry-pi?tracking=idris | |
# | |
# Install | |
# – sudo pip3 install adafruit-blinka | |
# – sudo pip3 install adafruit-io | |
# | |
# Update: | |
# 28 Feb 2021 | |
# | |
# Import standard python modules. | |
import sys | |
# Import blinka python modules. | |
import board | |
import digitalio | |
# This example uses the MQTTClient instead of the REST client | |
from Adafruit_IO import MQTTClient | |
# Set to your Adafruit IO key. | |
# Remember, your key is a secret, | |
# so make sure not to publish it when you publish this code! | |
ADAFRUIT_IO_KEY = 'YOUR_AIO_KEY' | |
# Set to your Adafruit IO username. | |
# (go to https://accounts.adafruit.com to find your username) | |
ADAFRUIT_IO_USERNAME = 'YOUR_AIO_USERNAME' | |
# Set to the ID of the feed to subscribe to for updates. | |
FEED_ID = 'digital' | |
relay = digitalio.DigitalInOut(board.D5) | |
relay.direction = digitalio.Direction.OUTPUT | |
# Define callback functions which will be called when certain events happen. | |
def connected(client): | |
"""Connected function will be called when the client is connected to | |
Adafruit IO.This is a good place to subscribe to feed changes. The client | |
parameter passed to this function is the Adafruit IO MQTT client so you | |
can make calls against it easily. | |
""" | |
# Subscribe to changes on a feed named Counter. | |
print('Subscribing to Feed {0}'.format(FEED_ID)) | |
client.subscribe(FEED_ID) | |
print('Waiting for feed data…') | |
def disconnected(client): | |
"""Disconnected function will be called when the client disconnects.""" | |
sys.exit(1) | |
def message(client, feed_id, payload): | |
"""Message function will be called when a subscribed feed has a new value. | |
The feed_id parameter identifies the feed, and the payload parameter has | |
the new value. | |
""" | |
print('Feed {0} received new value: {1}'.format(feed_id, payload)) | |
if payload == "OFF": | |
print("Turn off relay!") | |
relay.value = False | |
elif payload == "ON": | |
print("Turn on relay!") | |
relay.value = True | |
# Create an MQTT client instance. | |
client = MQTTClient(ADAFRUIT_IO_USERNAME, ADAFRUIT_IO_KEY) | |
# Setup the callback functions defined above. | |
client.on_connect = connected | |
client.on_disconnect = disconnected | |
client.on_message = message | |
# Connect to the Adafruit IO server. | |
client.connect() | |
# The first option is to run a thread in the background so you can continue | |
# doing things in your program. | |
client.loop_blocking() |
Thank You
References:
Thanks for reading this tutorial. If you have any technical inquiries, please post at Cytron Technical Forum.
“Please be reminded, this tutorial is prepared for you to try and learn.
You are encouraged to improve the code for better application.“