Introduction
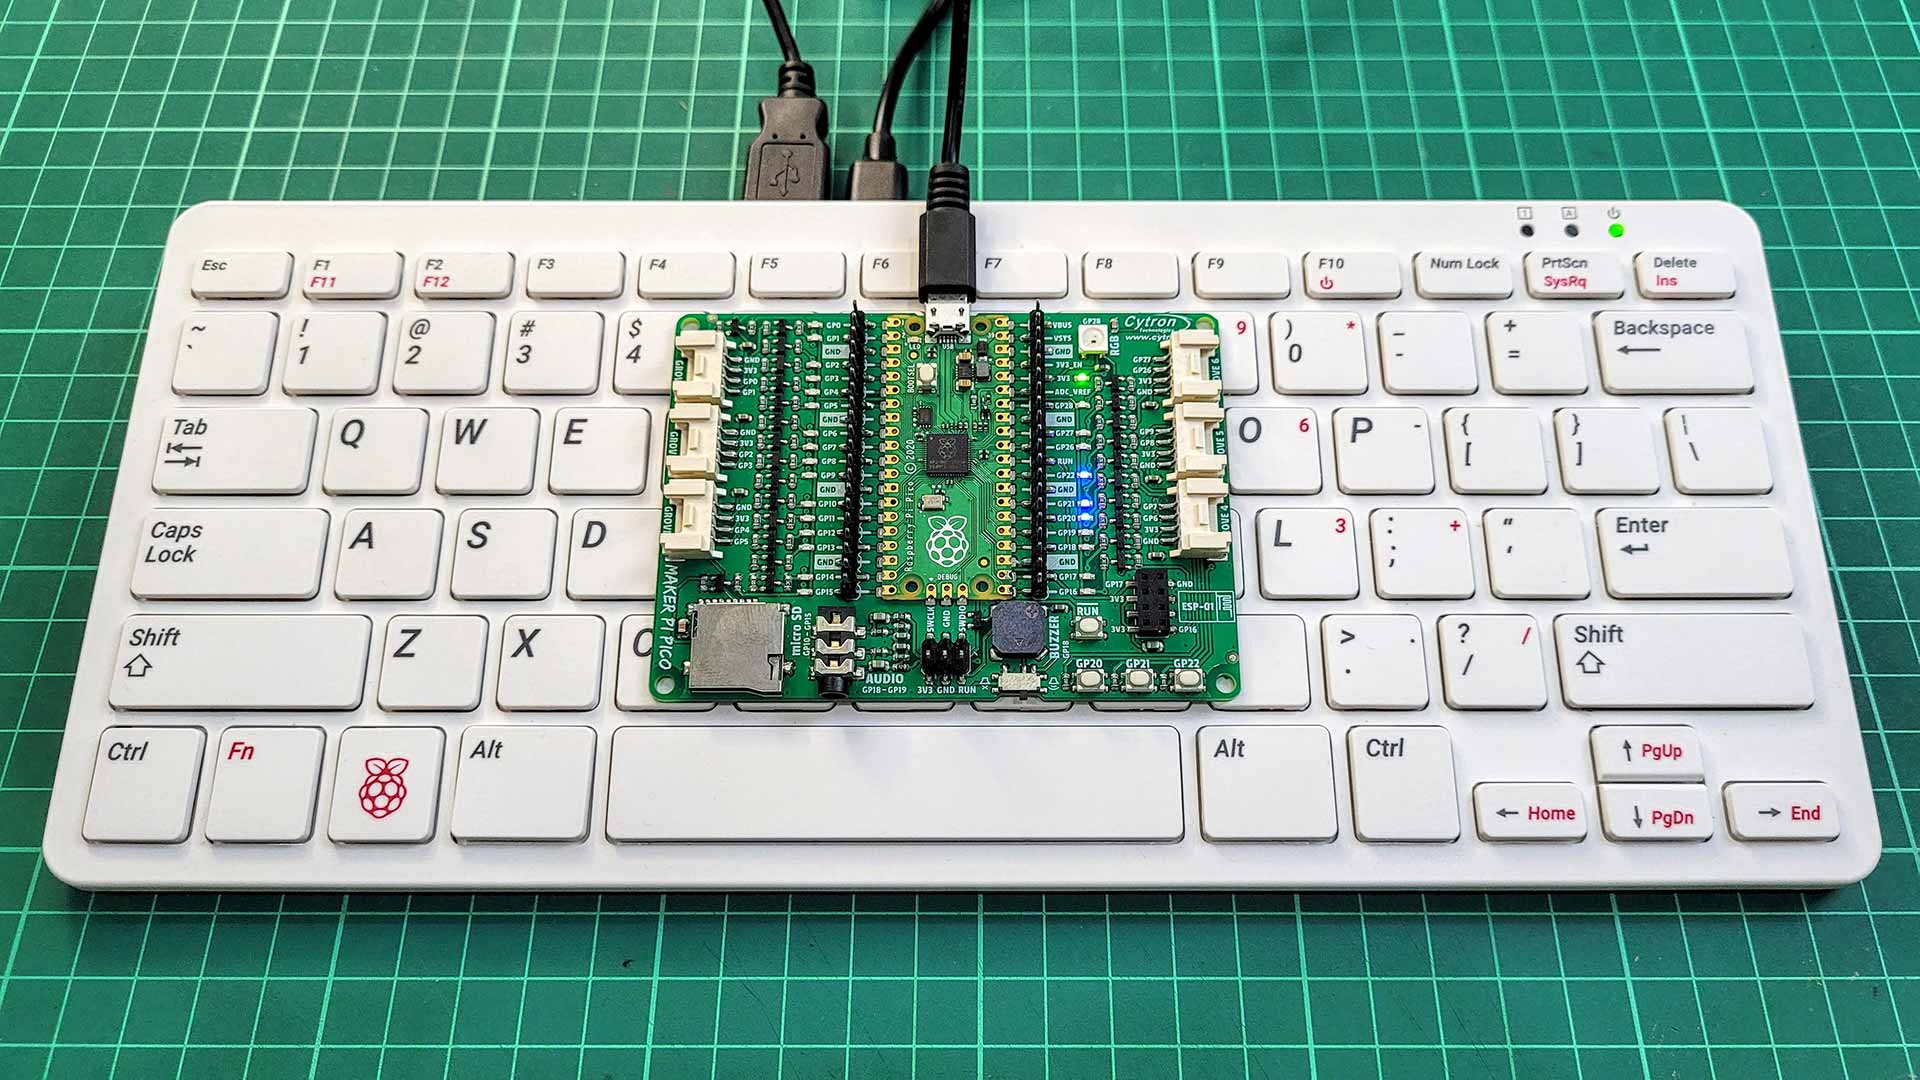
For your information, USB on Raspberry Pi Pico also supports HID (Human Interface Device). It means you can turn this Maker Pi Pico into a USB keyboard, mouse or joystick. In this tutorial, we will try to emulate as a USB keyboard first. So, how to make it? Let’s try.
Video
This video shows how to turn the Maker Pi Pico into a USB keyboard using CircuitPython.
Hardware Preparation
List of items used in the video.
Sample Program
This is the CircuitPython code for Maker Pi Pico (Raspberry Pi Pico) to emulate as a USB keyboard.
# | |
# Keyboard Emulator Using Maker Pi Pico and CircuitPython | |
# | |
# References and credit to | |
# – https://learn.adafruit.com/circuitpython-essentials/circuitpython-hid-keyboard-and-mouse | |
# | |
# Raspberry Pi Pico | |
# – [Maker Pi Pico] https://my.cytron.io/p-maker-pi-pico?tracking=idris | |
# | |
# Additional Libraries | |
# – adafruit_hid | |
# | |
# Update: | |
# 12 Feb 2021 – Tested with CircuitPython Pico 6.2.0-beta.2 | |
# | |
import time | |
import board | |
import digitalio | |
import usb_hid | |
from adafruit_hid.keyboard import Keyboard | |
from adafruit_hid.keyboard_layout_us import KeyboardLayoutUS | |
from adafruit_hid.keycode import Keycode | |
# A simple neat keyboard demo in CircuitPython | |
# The pins we'll use, each will have an internal pullup | |
keypress_pins = [board.GP20, board.GP21, board.GP22] | |
# Our array of key objects | |
key_pin_array = [] | |
# The Keycode sent for each button, will be paired with a control key | |
keys_pressed = [Keycode.A, "Hello, World!", "https://cytron.io/p-maker-pi-pico\n"] | |
control_key = Keycode.SHIFT | |
# The keyboard object! | |
time.sleep(1) # Sleep for a bit to avoid a race condition on some systems | |
keyboard = Keyboard(usb_hid.devices) | |
keyboard_layout = KeyboardLayoutUS(keyboard) # We're in the US 🙂 | |
# Make all pin objects inputs with pullups | |
for pin in keypress_pins: | |
key_pin = digitalio.DigitalInOut(pin) | |
key_pin.direction = digitalio.Direction.INPUT | |
key_pin.pull = digitalio.Pull.UP | |
key_pin_array.append(key_pin) | |
# For most CircuitPython boards: | |
led = digitalio.DigitalInOut(board.GP28) | |
# For QT Py M0: | |
# led = digitalio.DigitalInOut(board.SCK) | |
led.direction = digitalio.Direction.OUTPUT | |
print("Waiting for key pin…") | |
while True: | |
# Check each pin | |
for key_pin in key_pin_array: | |
if not key_pin.value: # Is it grounded? | |
i = key_pin_array.index(key_pin) | |
print("Pin #{} is grounded.".format(i)) | |
# Turn on the red LED | |
led.value = True | |
while not key_pin.value: | |
pass # Wait for it to be ungrounded! | |
# "Type" the Keycode or string | |
key = keys_pressed[i] # Get the corresponding Keycode or string | |
if isinstance(key, str): # If it's a string… | |
keyboard_layout.write(key) # …Print the string | |
else: # If it's not a string… | |
keyboard.press(control_key, key) # "Press"… | |
keyboard.release_all() # …"Release"! | |
# Turn off the red LED | |
led.value = False | |
time.sleep(0.01) |
Thank You
References:
Thanks for reading this tutorial. If you have any technical inquiries, please post at Cytron Technical Forum.
“Please be reminded, this tutorial is prepared for you to try and learn.
You are encouraged to improve the code for better application.“