Introduction
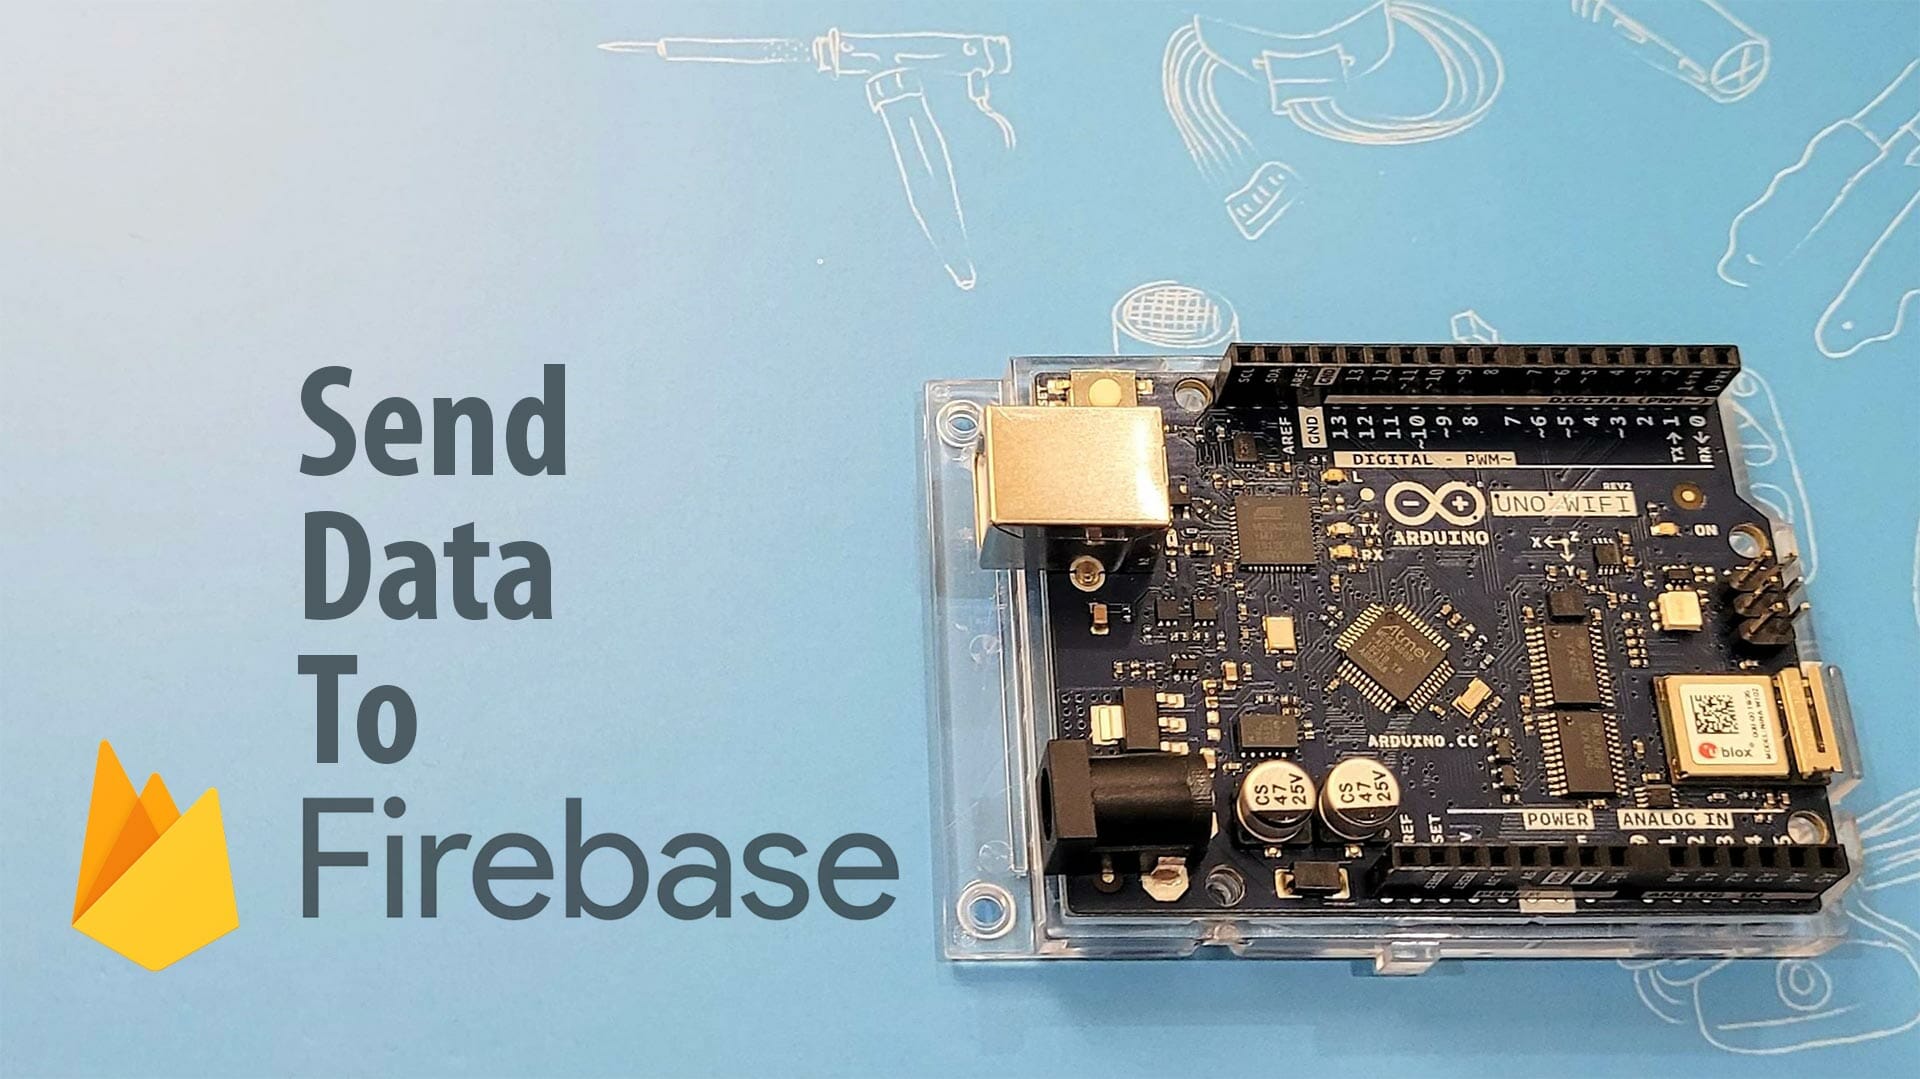
Firebase (Google’s platform) is a mobile-backend-as-a-service that provides powerful features for building mobile apps. It has three core services: a realtime database, user authentication and hosting. In this tutorial, we will try to explore how to send data to Firebase using Arduino board – Arduino Uno WiFi Rev2.
Video
This video shows how to send data to Firebase using Arduino Uno WiFi Rev2.
Hardware Preparation
This is the list of items used in the video.
Sample Program
This is Arduino sample program to read accelerometer sensor data and send to Firebase. Please install these 2 libraries from Library Manager.
- Arduino_LSM6DS3 by Arduino V1.0.0
- Firebase Arduino based on WiFiNINA by Mobizt V1.1.4
/* | |
Project: Send Data to Firebase Using Arduino Uno WiFi Rev2 | |
Board: Arduino Uno WiFi Rev2 | |
External libraries: | |
– Arduino_LSM6DS3 by Arduino V1.0.0 | |
– Firebase Arduino based on WiFiNINA by Mobizt V1.1.4 | |
*/ | |
#include <Arduino_LSM6DS3.h> | |
#include <Firebase_Arduino_WiFiNINA.h> | |
#define FIREBASE_HOST "your-firebase-project-id.firebaseio.com" | |
#define FIREBASE_AUTH "Your_Firebase_Database_Secret" | |
#define WIFI_SSID "Your WiFi SSID" | |
#define WIFI_PASSWORD "Your WiFi Password" | |
FirebaseData firebaseData; | |
String path = "/IMU_LSM6DS3"; | |
String jsonStr; | |
void setup() | |
{ | |
Serial.begin(9600); | |
delay(1000); | |
Serial.println(); | |
Serial.print("Initialize IMU sensor…"); | |
if (!IMU.begin()) { | |
Serial.println(" failed!"); | |
while (1); | |
} | |
Serial.println(" done"); | |
Serial.print("Accelerometer sample rate = "); | |
Serial.print(IMU.accelerationSampleRate()); | |
Serial.println(" Hz"); | |
Serial.print("Connecting to WiFi…"); | |
int status = WL_IDLE_STATUS; | |
while (status != WL_CONNECTED) { | |
status = WiFi.begin(WIFI_SSID, WIFI_PASSWORD); | |
Serial.print("."); | |
delay(300); | |
} | |
Serial.print(" IP: "); | |
Serial.println(WiFi.localIP()); | |
Serial.println(); | |
Firebase.begin(FIREBASE_HOST, FIREBASE_AUTH, WIFI_SSID, WIFI_PASSWORD); | |
Firebase.reconnectWiFi(true); | |
} | |
void loop() | |
{ | |
float x, y, z; | |
// Read IMU acceleration data | |
if (IMU.accelerationAvailable()) { | |
IMU.readAcceleration(x, y, z); | |
// Send data to Firebase with specific path | |
if (Firebase.setFloat(firebaseData, path + "/1-setFloat/X", x)) { | |
Serial.println(firebaseData.dataPath() + " = " + x); | |
} | |
if (Firebase.setFloat(firebaseData, path + "/1-setFloat/Y", y)) { | |
Serial.println(firebaseData.dataPath() + " = " + y); | |
} | |
if (Firebase.setFloat(firebaseData, path + "/1-setFloat/Z", z)) { | |
Serial.println(firebaseData.dataPath() + " = " + z); | |
} | |
// Push data using pushJSON | |
jsonStr = "{\"X\":" + String(x,6) + ",\"Y\":" + String(y,6) + ",\"Z\":" + String(z,6) + "}"; | |
if (Firebase.pushJSON(firebaseData, path + "/2-pushJSON", jsonStr)) { | |
Serial.println(firebaseData.dataPath() + " = " + firebaseData.pushName()); | |
} | |
else { | |
Serial.println("Error: " + firebaseData.errorReason()); | |
} | |
Serial.println(); | |
delay(2000); | |
} | |
} |
Thank You
References:
Thanks for reading this tutorial. If you have any technical inquiries, please post at Cytron Technical Forum.
“Please be reminded, this tutorial is prepared for you to try and learn.
You are encouraged to improve the code for better application.“