Introduction
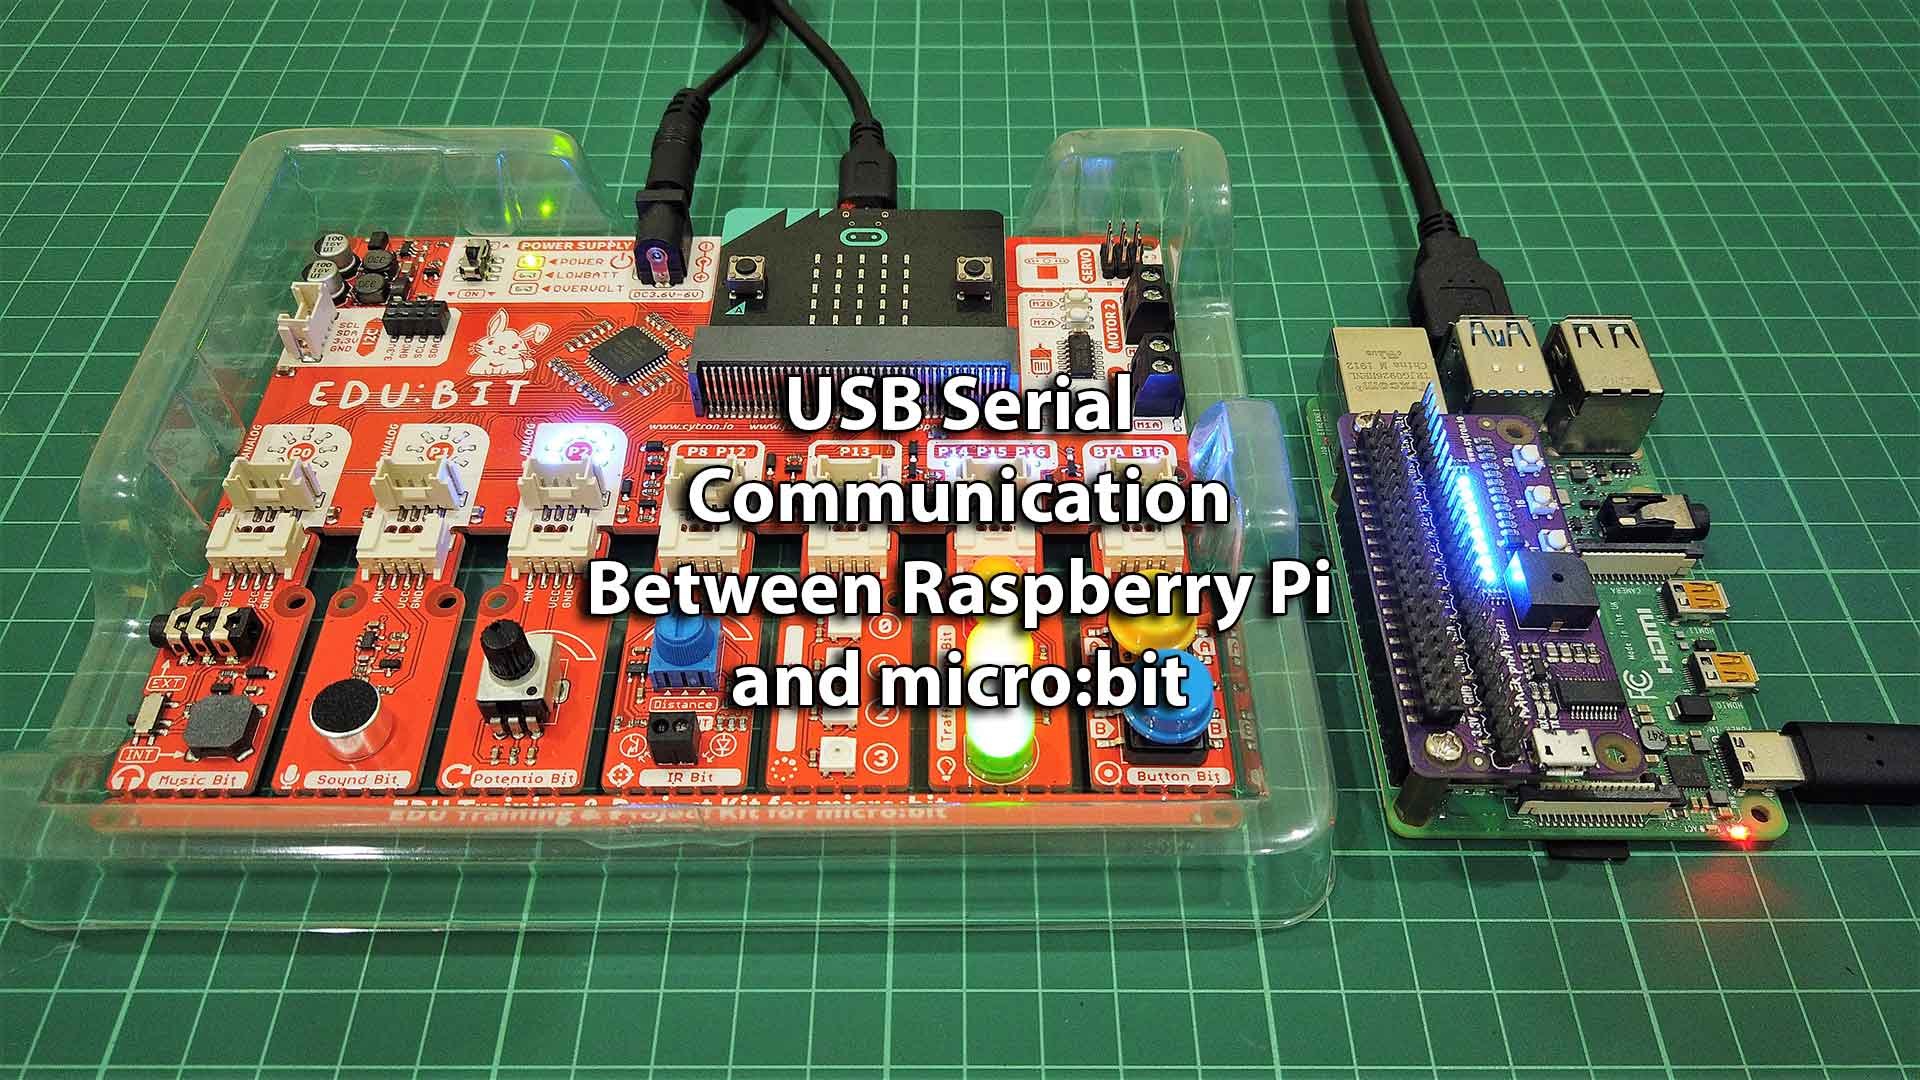
To expand controller capability, sometimes it is necessary to communicate with other controllers. There have few common protocols in controller communication e.g. UART, I2C, SPI and etc. This tutorial will share on how to do the UART serial communication between Raspberry Pi and micro:bit through USB connection.
Video
This video shows how to do serial communication between Raspberry Pi and micro:bit over a USB connection.
Hardware Preparation
This is the list of items used in the video.
Sample Program
This is python sample program for micro:bit (top) and Raspberry Pi (bottom). You can use mu editor to program micro:bit and Thonny Python IDE to run program in Raspberry Pi.
from microbit import * | |
import music | |
music.play(["C4:1", "G4:1"]) | |
pot_value = 0 | |
pot_prev = 0 | |
data_in = '' | |
while True: | |
sleep(100) | |
# Read analog value and send serial uart data to Raspberry Pi | |
adc_pot = pin2.read_analog() | |
pot_value = int(adc_pot / 125) | |
if pot_value != pot_prev: | |
print(pot_value) | |
pot_prev = pot_value | |
# Read serial uart data from Raspberry Pi and control LEDs | |
try: | |
data_in = uart.read() | |
#display.scroll(in_byte) | |
pin16.write_digital(int(data_in) & 1) | |
pin15.write_digital((int(data_in) & 2) >> 1) | |
pin14.write_digital((int(data_in) & 4) >> 2) | |
except: | |
pass |
from gpiozero import LED, Button, Buzzer | |
from time import sleep | |
import serial | |
led1 = LED(17) | |
led2 = LED(18) | |
led3 = LED(27) | |
led4 = LED(22) | |
led5 = LED(25) | |
led6 = LED(12) | |
led7 = LED(13) | |
led8 = LED(19) | |
sw1 = Button(21) | |
sw2 = Button(16) | |
sw3 = Button(20) | |
buzzer = Buzzer(26) | |
# Replace with your microbit port number | |
PORT = "/dev/ttyACM1" | |
BAUD = 115200 | |
s = serial.Serial(PORT) | |
s.baudrate = BAUD | |
s.parity = serial.PARITY_NONE | |
s.databits = serial.EIGHTBITS | |
s.stopbits = serial.STOPBITS_ONE | |
s.timeout = 1 | |
s.reset_input_buffer() | |
def leds(no): | |
if no >= 1: | |
led1.on() | |
else: | |
led1.off() | |
if no >= 2: | |
led2.on() | |
else: | |
led2.off() | |
if no >= 3: | |
led3.on() | |
else: | |
led3.off() | |
if no >= 4: | |
led4.on() | |
else: | |
led4.off() | |
if no >= 5: | |
led5.on() | |
else: | |
led5.off() | |
if no >= 6: | |
led6.on() | |
else: | |
led6.off() | |
if no >= 7: | |
led7.on() | |
else: | |
led7.off() | |
if no >= 8: | |
led8.on() | |
else: | |
led8.off() | |
def sw1Pressed(): | |
global ledStatus | |
global sw1State | |
print("SW1 is pressed") | |
sw1State = not sw1State | |
if sw1State == True: | |
ledStatus = ledStatus + 1 | |
else: | |
ledStatus = ledStatus – 1 | |
def sw2Pressed(): | |
global ledStatus | |
global sw2State | |
print("SW2 is pressed") | |
sw2State = not sw2State | |
if sw2State == True: | |
ledStatus = ledStatus + 2 | |
else: | |
ledStatus = ledStatus – 2 | |
def sw3Pressed(): | |
global ledStatus | |
global sw3State | |
print("SW3 is pressed") | |
sw3State = not sw3State | |
if sw3State == True: | |
ledStatus = ledStatus + 4 | |
else: | |
ledStatus = ledStatus – 4 | |
sw1.when_pressed = sw1Pressed | |
sw2.when_pressed = sw2Pressed | |
sw3.when_pressed = sw3Pressed | |
sw1State = False | |
sw2State = False | |
sw3State = False | |
ledStatus = 0 | |
prevLedStatus = 0 | |
while True: | |
# Read serial uart data from microbit | |
try: | |
data = s.readline().decode('UTF-8') | |
data = int(data) | |
print("Receive data: {}".format(data)) | |
leds(data) | |
except: | |
pass | |
# Send serial uart data to microbit | |
if ledStatus != prevLedStatus: | |
s.write(str(ledStatus).encode('UTF-8')) | |
prevLedStatus = ledStatus | |
s.close() |
Thank You
References:
Thanks for reading this tutorial. If you have any technical inquiries, please post at Cytron Technical Forum.
“Please be reminded, this tutorial is prepared for you to try and learn.
You are encouraged to improve the code for better application.“