INTRODUCTION
If you are not familiar with Raspberry Pi, you can use Arduino to display text on dot matrix using Blynk app. For me, this tutorial is intermediate level, so, you may need to refer following tutorial first.
- Getting Started for ESPresso Lite V2.0 (To install ESP8266 board, go to Getting Started with Arduino IDE section, follow step 1 to 4)
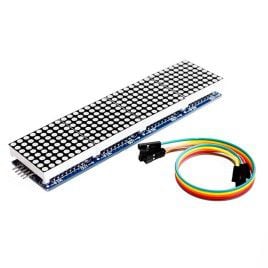
- Displaying on MAX7219 Dot Matrix Using Arduino (For wiring connection)
- Displaying Text Message on Dot Matrix Using Blynk App and Raspberry Pi (For setting Blynk widget)
VIDEO
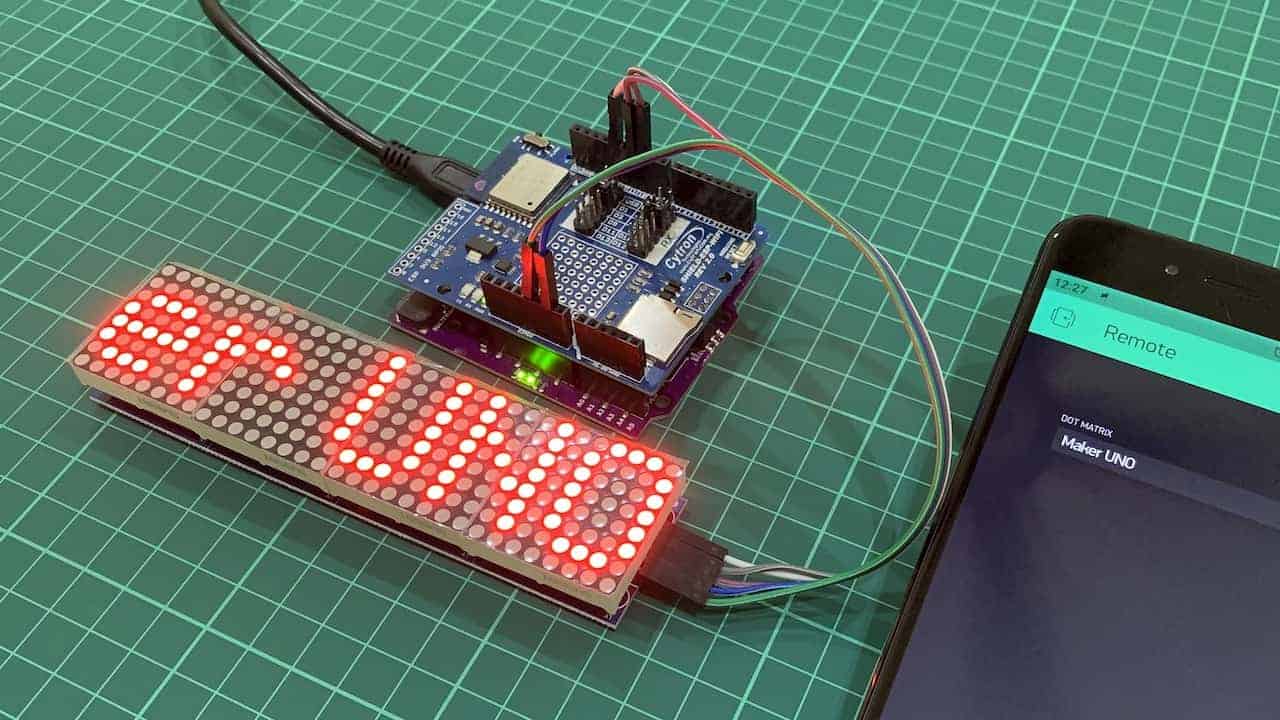
This video shows how to display text message on dot matrix using Blynk App and Arduino.
Untuk bahasa Melayu, sila rujuk video dibawah.
HARDWARE PREPARATION
Sample Code
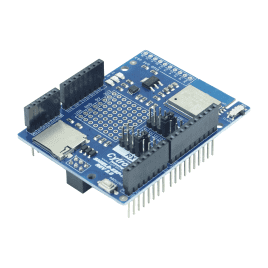
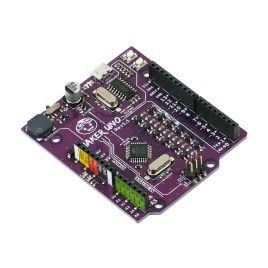
This is sample code used in the video. 1st code (top) is for ESP8266 WiFi Shield and the 2nd code (botton) is for Maker UNO. Please replace your Blynk auth token, WiFi SSID and password.
/* Comment this out to disable prints and save space */ | |
//#define BLYNK_PRINT Serial | |
#include <ESP8266WiFi.h> | |
#include <BlynkSimpleEsp8266.h> | |
// You should get Auth Token in the Blynk App. | |
// Go to the Project Settings (nut icon). | |
char auth[] = "BlynkAuthToken"; | |
// Your WiFi credentials. | |
// Set password to "" for open networks. | |
char ssid[] = "YourWiFiSSID"; | |
char pass[] = "YourWiFiPass"; | |
BLYNK_WRITE(V0) | |
{ | |
String textIn = param.asStr(); | |
Serial.print(textIn + "\n"); | |
} | |
void setup() | |
{ | |
// Debug console | |
Serial.begin(9600); | |
Blynk.begin(auth, ssid, pass); | |
delay(5000); | |
Serial.print("Blynk Ready\n"); | |
} | |
void loop() | |
{ | |
Blynk.run(); | |
} |
#include <MD_Parola.h> | |
#include <MD_MAX72xx.h> | |
#include <SPI.h> | |
#include <SoftwareSerial.h> | |
SoftwareSerial blynkSerial(2, 3); | |
// Define the number of devices we have in the chain and the hardware interface | |
// NOTE: These pin numbers will probably not work with your hardware and may | |
// need to be adapted | |
#define HARDWARE_TYPE MD_MAX72XX::FC16_HW | |
#define MAX_DEVICES 4 | |
#define CLK_PIN 13 | |
#define DATA_PIN 11 | |
#define CS_PIN 10 | |
#define NOTE_G4 392 | |
#define NOTE_B4 494 | |
#define BUZZER 8 | |
int melody[] = {NOTE_B4, NOTE_G4}; | |
int noteDurations[] = {8, 8}; | |
// HARDWARE SPI | |
MD_Parola P = MD_Parola(HARDWARE_TYPE, CS_PIN, MAX_DEVICES); | |
// Scrolling parameters | |
uint8_t scrollSpeed = 25; // default frame delay value | |
textEffect_t scrollEffect = PA_SCROLL_LEFT; | |
textPosition_t scrollAlign = PA_LEFT; | |
uint16_t scrollPause = 2000; // in milliseconds | |
// Global message buffers shared by Serial and Scrolling functions | |
#define BUF_SIZE 75 | |
char curMessage[BUF_SIZE] = { "" }; | |
char newMessage[BUF_SIZE] = { "Cytron Technologies" }; | |
bool newMessageAvailable = true; | |
void readSerial(void) | |
{ | |
static char *cp = newMessage; | |
while (blynkSerial.available()) { | |
*cp = (char)blynkSerial.read(); | |
if ((*cp == '\n') || (cp - newMessage >= BUF_SIZE - 2)) { // end of message character or full buffer | |
*cp = '\0'; // end the string | |
// restart the index for next filling spree and flag we have a message waiting | |
cp = newMessage; | |
newMessageAvailable = true; | |
} | |
else // move char pointer to next position | |
cp++; | |
} | |
} | |
void setup() | |
{ | |
Serial.begin(9600); | |
Serial.print("\n[Parola Scrolling Display]\nType a message for the scrolling display\nEnd message line with a newline"); | |
blynkSerial.begin(9600); | |
P.begin(); | |
P.displayText(curMessage, scrollAlign, scrollSpeed, scrollPause, scrollEffect, scrollEffect); | |
} | |
void loop() | |
{ | |
if (P.displayAnimate()) { | |
if (newMessageAvailable) { | |
beep(); | |
strcpy(curMessage, newMessage); | |
newMessageAvailable = false; | |
} | |
P.displayReset(); | |
} | |
readSerial(); | |
} | |
void beep() | |
{ | |
for (int thisNote = 0; thisNote < 2; thisNote++) { | |
int noteDuration = 1000 / noteDurations[thisNote]; | |
tone(BUZZER, melody[thisNote], noteDuration); | |
int pauseBetweenNotes = noteDuration * 1.30; | |
delay(pauseBetweenNotes); | |
noTone(BUZZER); | |
} | |
} |
Thank You
References:
- Displaying on MAX7219 Dot Matrix Using Arduino
- Displaying Text Message on Dot Matrix Using Blynk App and Raspberry Pi
Thanks for reading this tutorial. If you have any technical inquiry, please post at Cytron Technical Forum.