Your shopping cart is empty!

Controlling LED on Maker pHAT Using Raspberry Pi and Blynk
- Idris Zainal Abidin
- 19 Dec 2018
- 362
INTRODUCTION
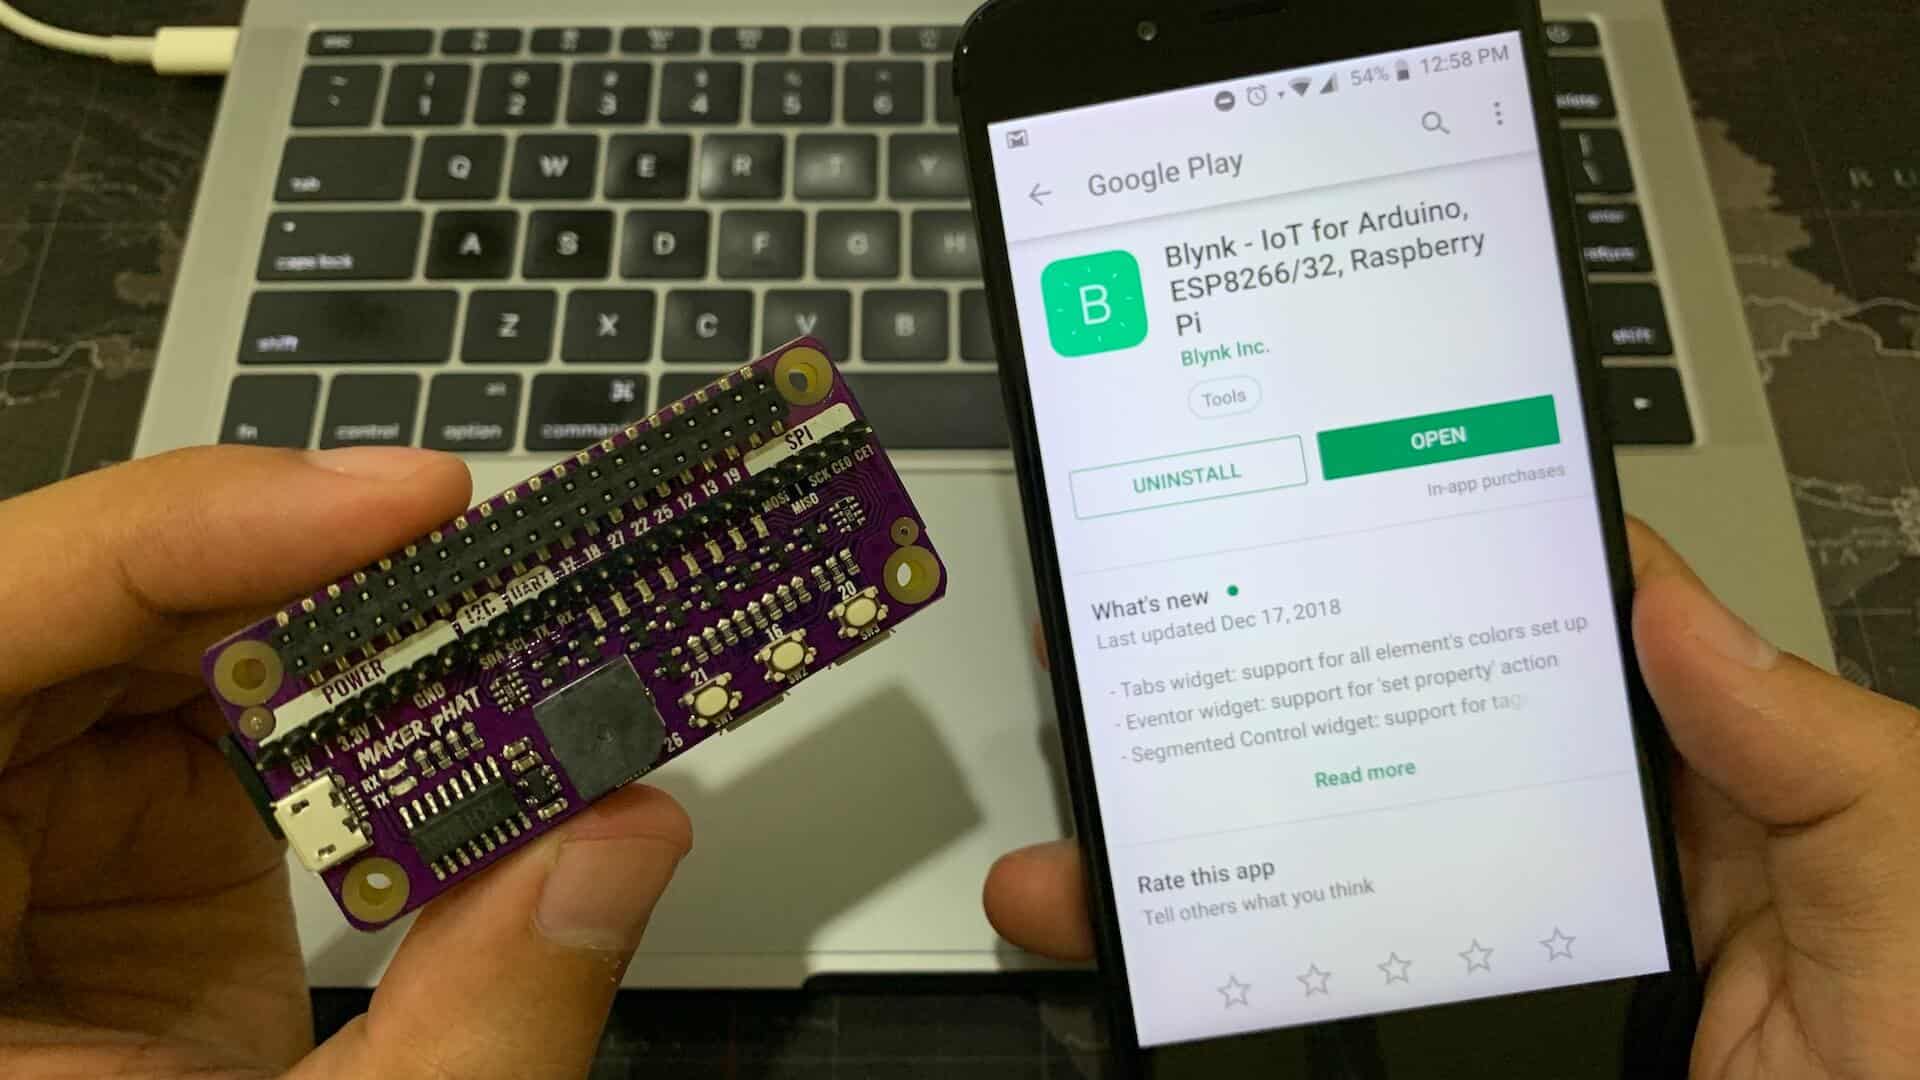
Blynk is a popular Internet of Things platform with a drag-n-drop mobile application builder that allows to visualize sensor data and control electronics remotely. This week we will show you how to control LED on Maker pHAT using Raspberry Pi and Blynk.
VIDEO
This video will show you how to control LED on Maker pHAT using Raspberry Pi and Blynk app. We used python library for programming.
HARDWARE PREPARATION
Sample Program
This code will allow you to control LED on Maker pHAT (Raspberry Pi's GPIO pin) using Blynk app. Please replace YourAuthToken to your Blynk token.
Thank You
References
- blynk-library-python from vshymanskyy
Thanks for reading this tutorial. If you have any technical inquiry, please post at Cytron Technical Forum.
Related Products
Maker pHAT: Simplifying Raspberry Pi for {Educa...
$10.90 $10.90
x 1 unit(s)
 International
 Singapore
 Malaysia
 Thailand
 Vietnam

