Your shopping cart is empty!

Arduino Blynk Lesson 1: LED
INTRODUCTION
In this lesson, we will learn on how to control an LED using smartphone. This is a simple project designed specially for a beginner who are interested in get started with Internet of Things (IoT).
HARDWARE PREPARATION
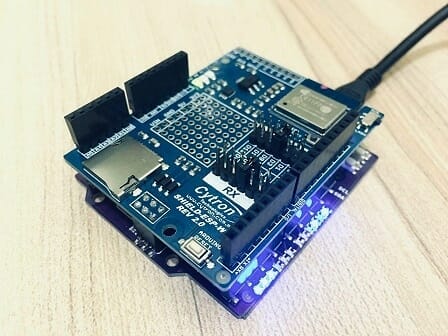
This tutorial use :
You can make the hardware connection based on the diagram and table below.

Software Preparation.
- Open the Arduino IDE. Please make sure that your Arduino IDE is version 1.6.9 and above.
- Then, click at the on Sketch – Include Library – Manage Libraries… Search for “blynk” and install the latest version of Blynk.
- Next, we need to add an additional library for Blynk. Click on this link to download the library. Watch the video on how to include the library.
- Then we can continue to program by edit the program from the Example file of the Blynk. (File – Examples – Blynk – Boards_WiFi – ESP8266_Shield)
Sample Code
This is the sample code used for this tutorial. Try it!
Thank you
Thank you for reading this tutorial and we hope it helps your project development. If you have any technical inquiry, please post at Cytron Technical Forum.
 International
 Singapore
 Malaysia
 Thailand
 Vietnam