 International
 Singapore
 Malaysia
 Thailand
 Vietnam
Your shopping cart is empty!

ESPresso Lite V2 with AT Firmware
- Idris Zainal Abidin
- 14 Feb 2017
- 329
Last Updated on 14 Feb 2017
ESPresso Lite V2 is a powerful starter kit for IoT applications, it is fully capable to work as a controller for custom applications. Nonetheless many people still prefer programming an Arduino as the main controller while using ESPresso Lite V2 only as a WiFi module. One way to do this is by installing the AT firmware onto the ESPresso board - which this tutorial will guide you step by step with proper photos, connection diagrams to make a simple IoT application.
*I refer to Cytron ESP8266 WiFi Shield User's Manual 2.0 at page 14. Credit to Ng Beng Chet.
AT Firmware Installation
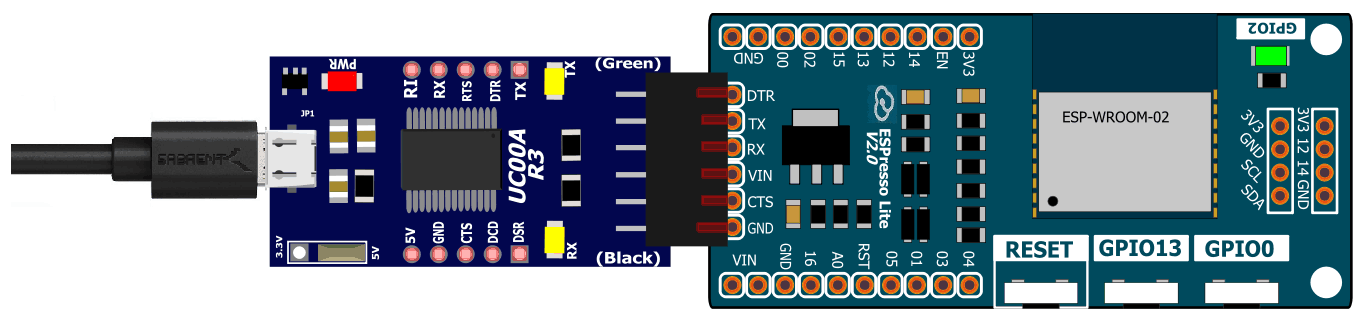
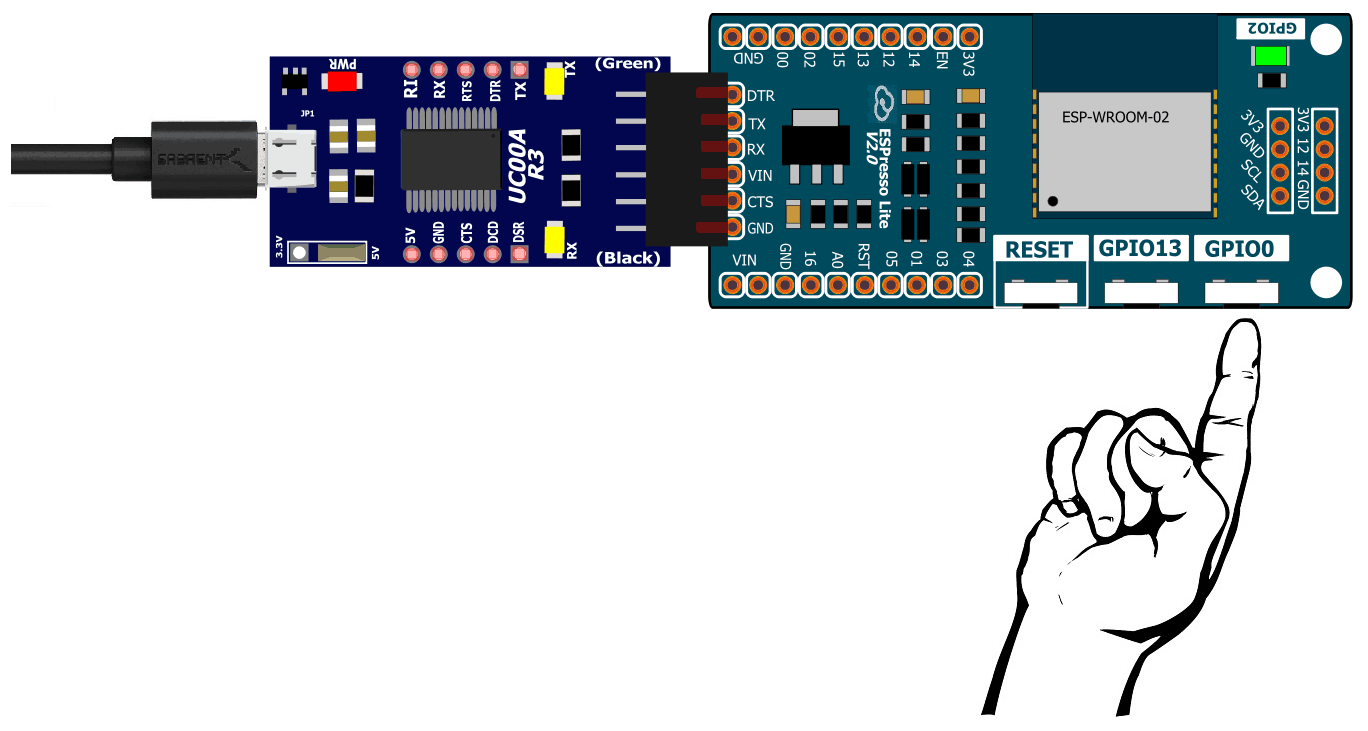
1. Connect ESPresso Lite V2 to PC/laptop using UART to USB converter (UC00A or UC00C).
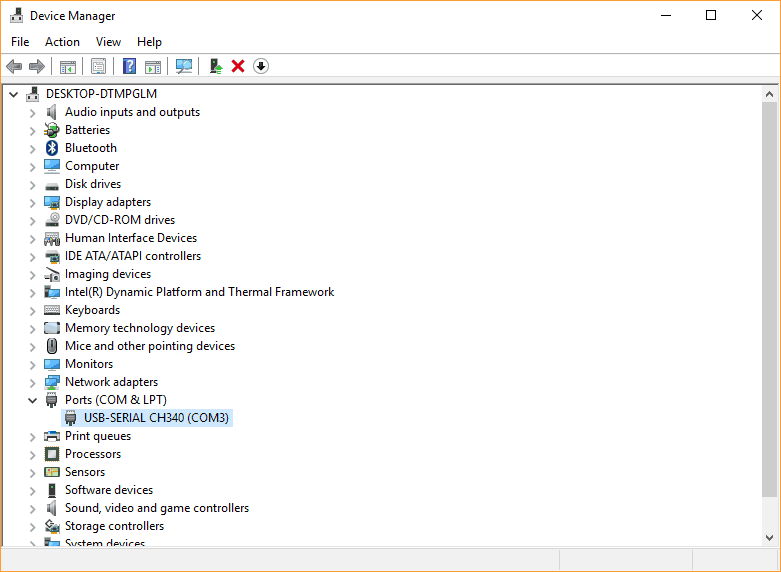
2. Check the COM number at Device Manager. If not showing, please install the driver first.
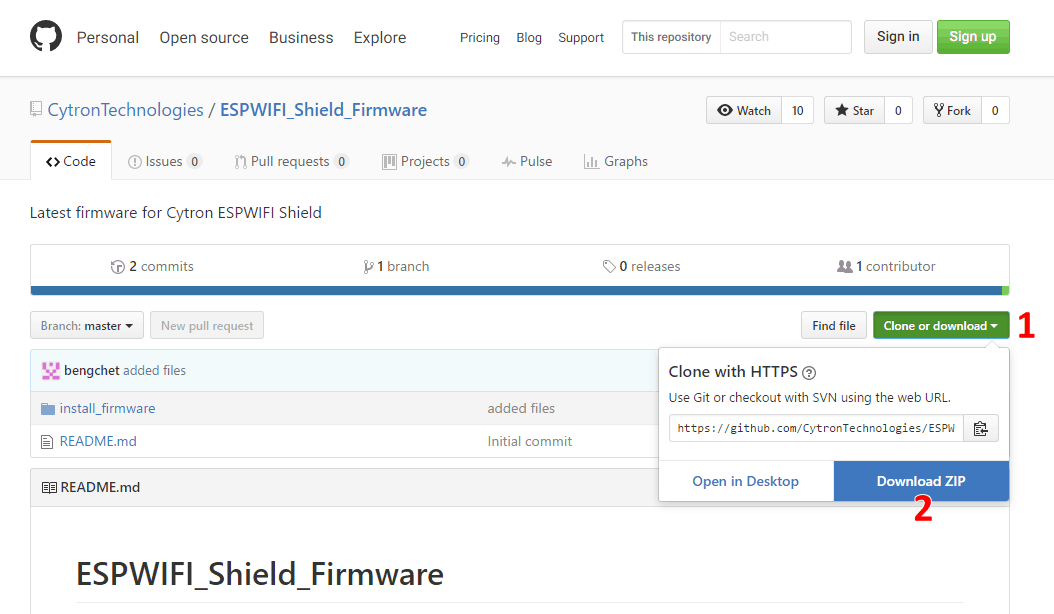
3. Download the latest ESPWIFI_Shield_Firmware at Cytron GitHub. Here is the link https://github.com/CytronTechnologies/ESPWIFI_Shield_Firmware.
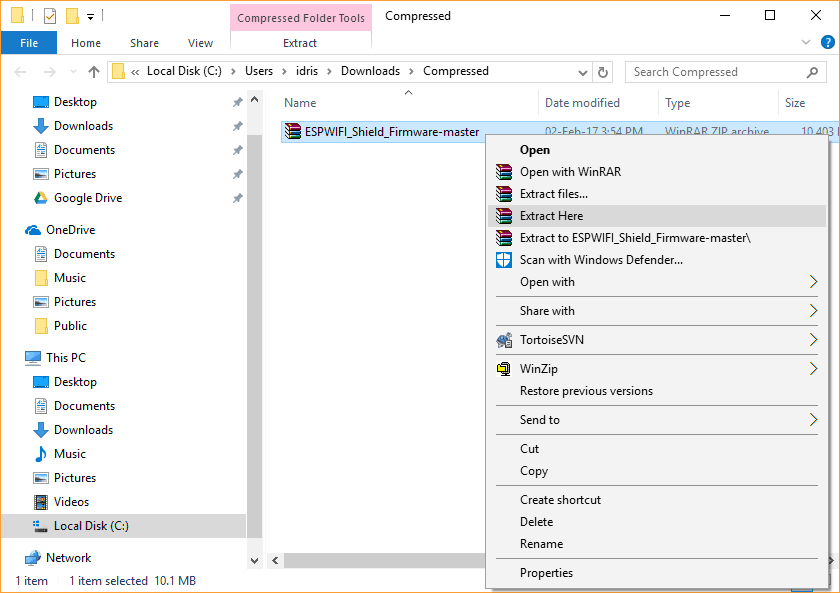
4. Once complete, check the ESPWIFI_Shield_Firmware-master in compressed file, extract it.
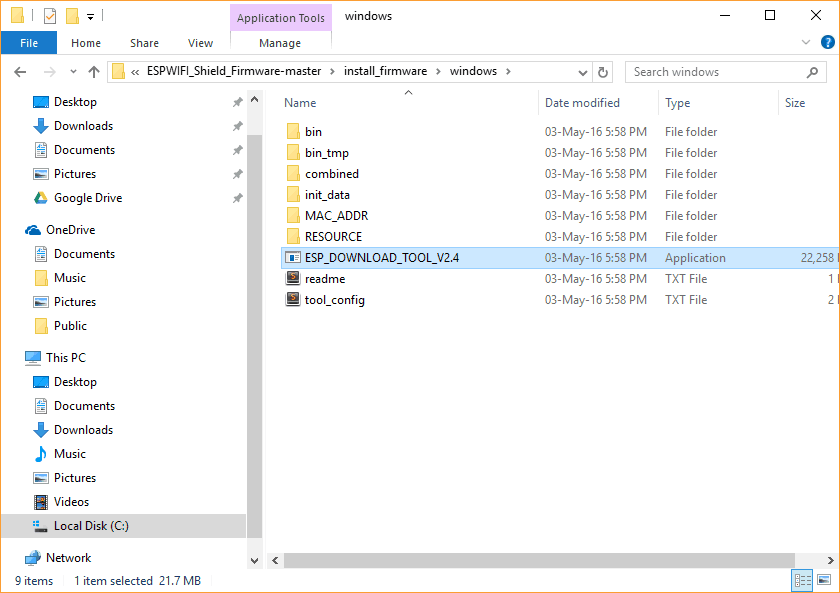
5. Enter the folder, go to install_firmware - windows. Open ESP_DOWNLOAD_TOOL_V2.4.exe.
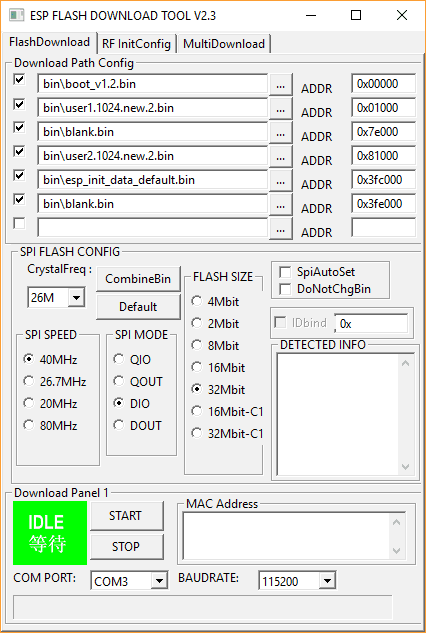
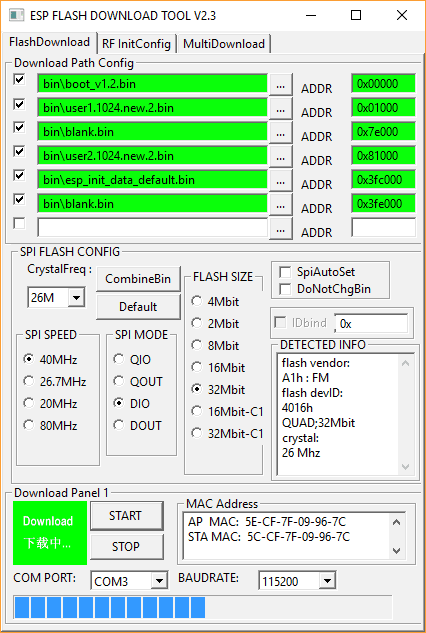
6. Look at the bottom of ESP FLASH DOWNLOAD TOOL window, select the corresponding COM PORT (i.e. COM3) and set the BAUDRATE to 115200. DO NOT CLICK START BUTTON YET.
7. Before proceed to AT firmware installation, press and hold GPIO0. Only then click START button.
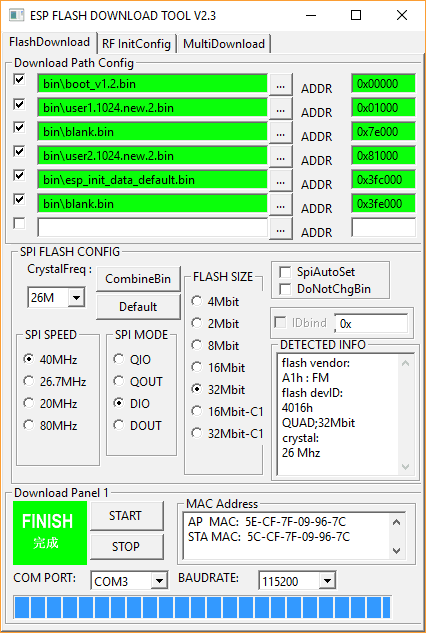
8. During the installation process, GPIO0 button can be released (see the Download status). It will take a few minutes to complete.
9. Installation complete.
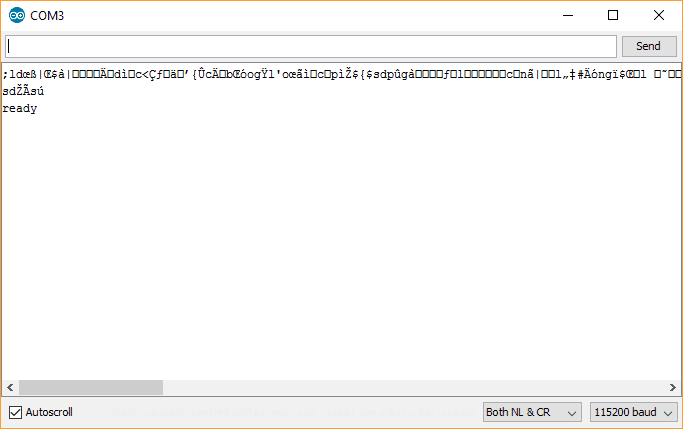
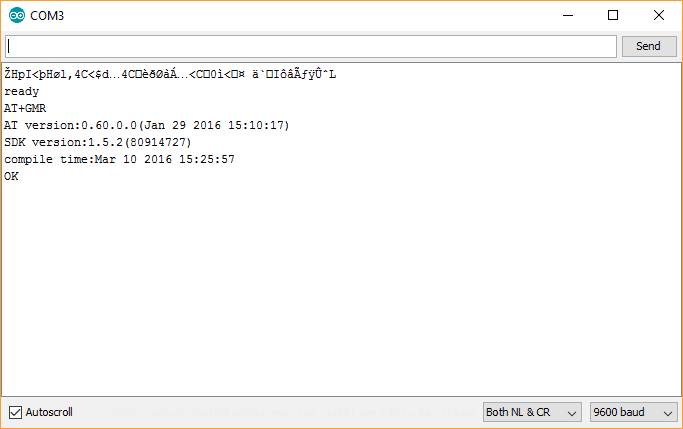
10. Open any terminal software, for example Serial Monitor in Arduino IDE. Set the baudrate to 115200 and Both NL & CR. It will display a few special characters and end with ready.
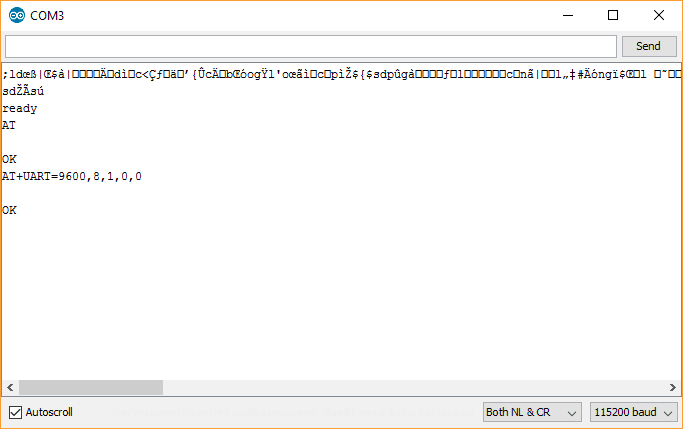
11. To test the AT command, send AT to the board, if it reply OK, then its working. We recommend to lower the AT command baudrate (i.e. 9600), so it can be used with Arduino Uno SoftwareSerial. To set the baudrate, send AT+UART=9600,8,1,0,0.
12. Now, change the terminal software baudrate to 9600. Same as previous, it will display a few special characters and end with ready. To check the AT firmware version, send AT+GMR.
Congratulations, your ESPresso Lite V2 is now configured as a WIFI module.
Simple IoT Application with Arduino Uno
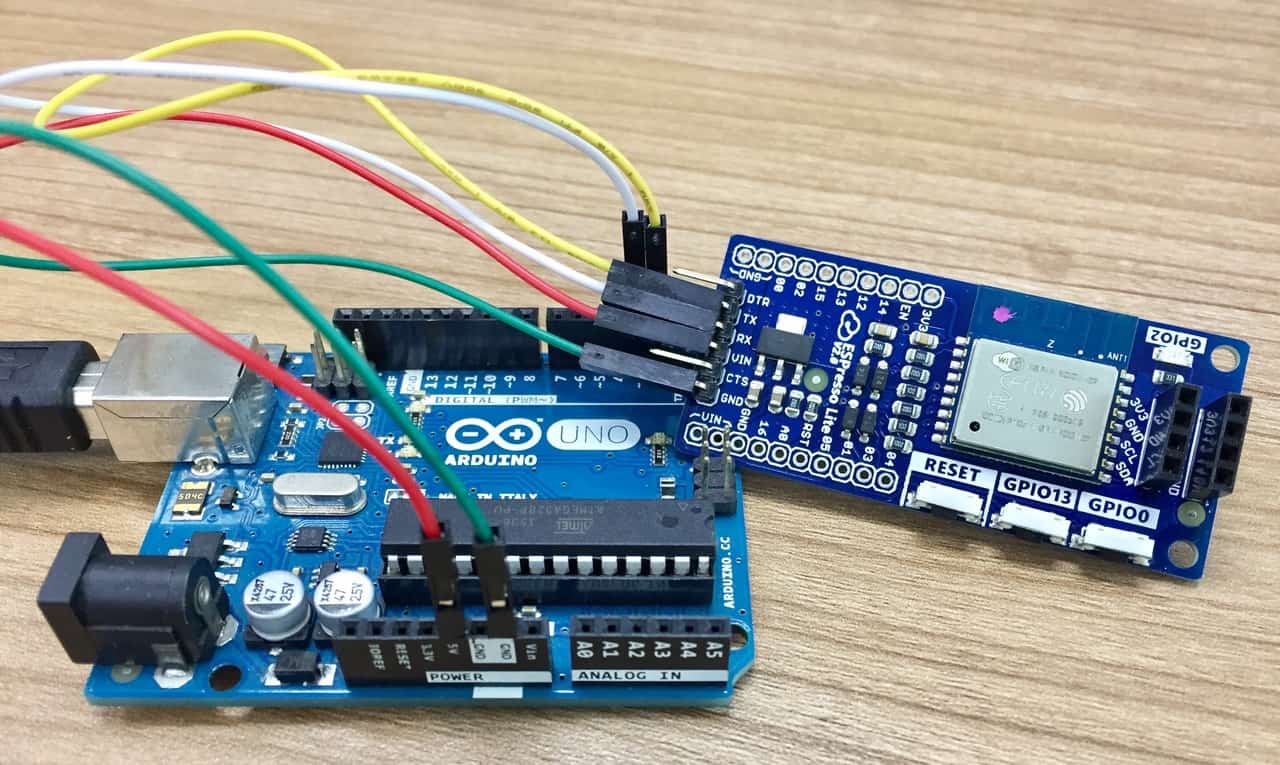
1. Now we want to create a simple IoT application using Arduino Uno (as main controller) and ESPresso Lite (as WiFi module). Make the following connections.

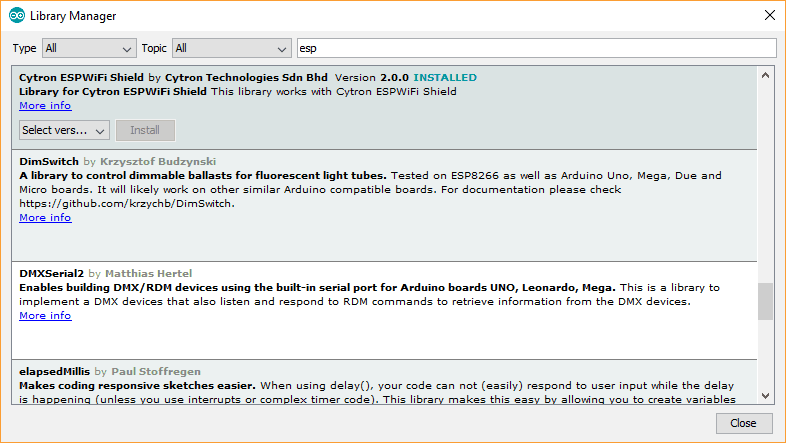
2. Open Arduino IDE. Go to Sketch - Include Library - Manage Libraries... Search and install Cytron ESPWiFi Shield library.
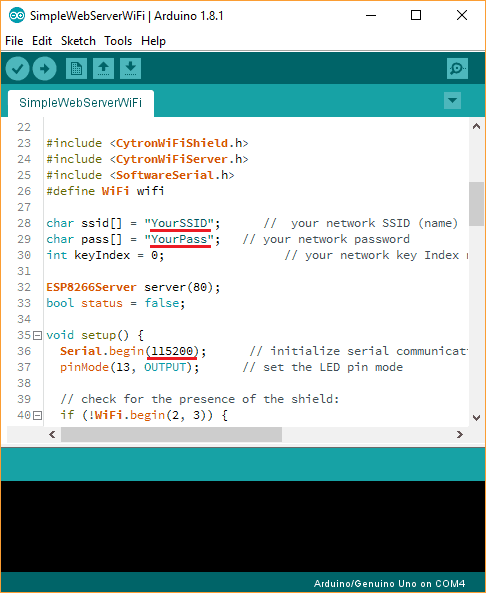
3. Once installed, close Library Manager window. Click File - Examples - Cytron ESPWiFi Shield and open SimpleWebServerWiFi. Please edit SSID and password to the WIFI that you are connected to. Set the baudrate to 9600 (optional).
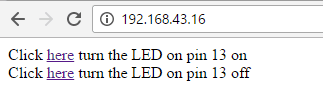
4. All the status will be displayed at Serial Monitor. If the connection to internet succeed, it will provide you with an IP address.
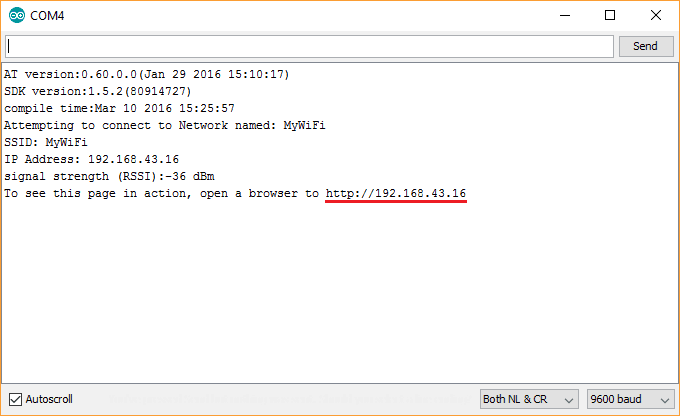
5. Open a browser and enter the provided IP address. Click " here " to turn on or off LED in Arduino Uno board.
Nice! Now you can try other examples and fully utilize your Arduino Uno board. Thanks for visit and I hope this tutorial helps. Please let me know if it is working or not. :)
Note: For further inquiry, kindly visit to Cytron Technical Forum as we seldom check the comment here.