Your shopping cart is empty!
PROJECT 3
LED CHASER
| Back to Project 2 | Go to Project 4 |
Dice, which all of us are normally will use it when playing a games especially monopoly. But have we ever head of LED dice? LED dice, one of the interesting project using LED except from LED blinking. In here, we going to experience on how to make an LED dice with a few LEDs interface with Arduino Duemilanove.
———————————————————————————————————————————————————-
COMPONENT NEEDED
———————————————————————————————————————————————————-
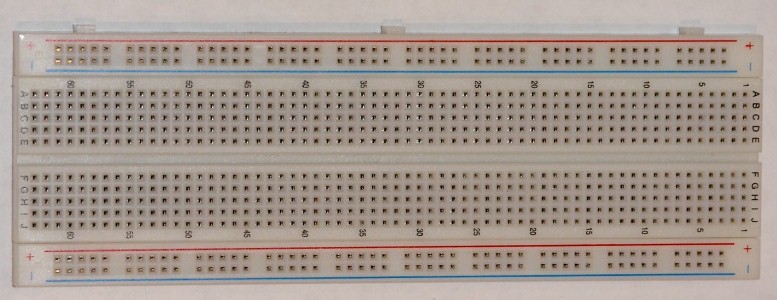 | BREADBOARD |
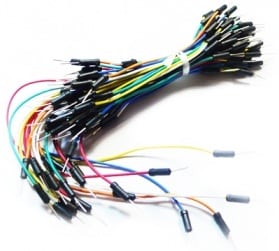 | JUMPER WIRE |
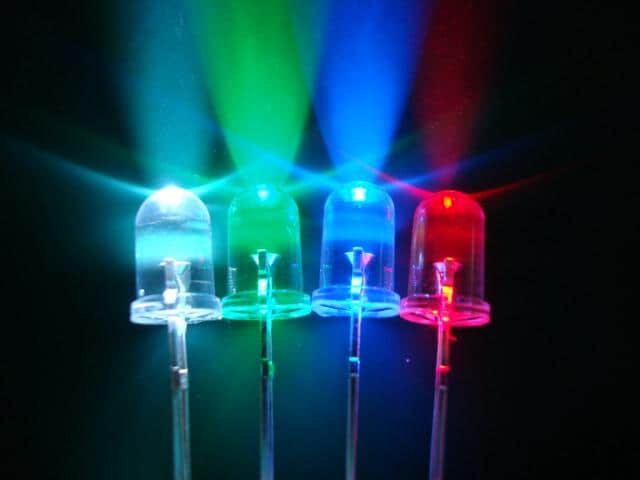 | LEDs |
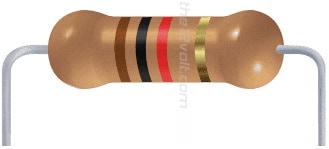 | 1K RESISTOR |
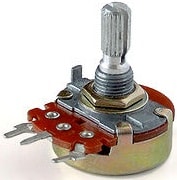 | 5K POTENTIALMETER |
———————————————————————————————————————————————————-
CONNECTION
———————————————————————————————————————————————————-
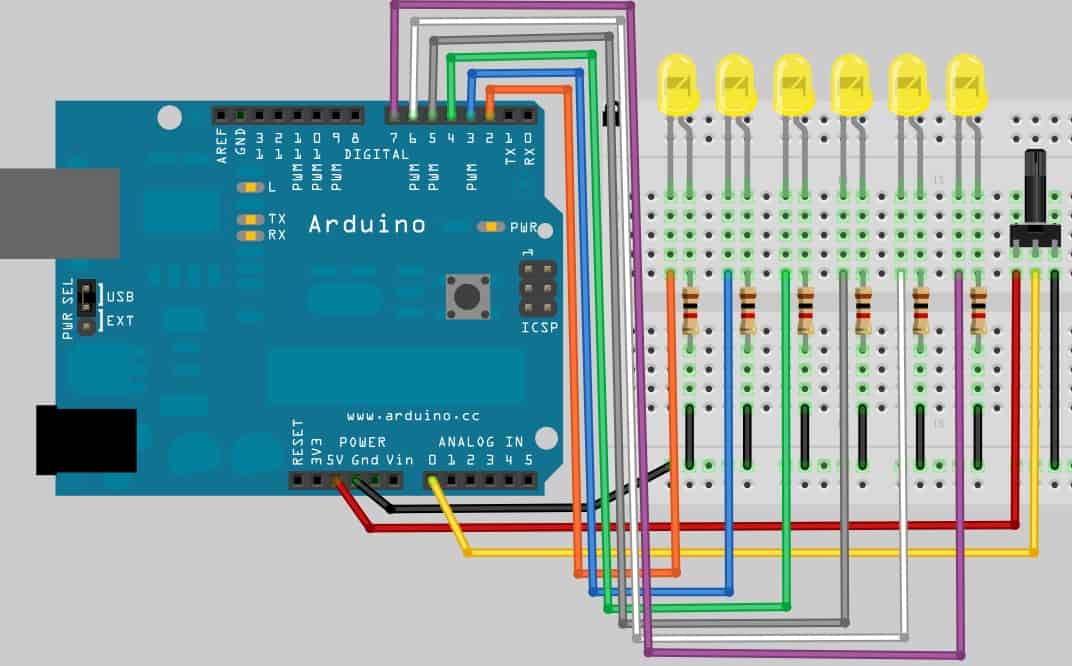
Referring to the figure below, there are total 6 LEDs which is anode are connected to digital port (2,3,4,5,6,7). While other end are connected to 1K resistor and to ground GND. Next, connect the potentialmeter which one end RED wire to VDD(5V), the other end BLACK wire connected to ground GND while the middle pin YELLOW wire is connect to analog input A0.
———————————————————————————————————————————————————-
ADDITIONAL INFORMATION
———————————————————————————————————————————————————-
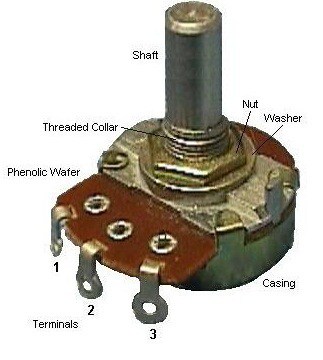
Potentiometer Basics
A potentiometer is a type of variable resistor, made so that it can be easily adjusted. A resistor is an electronic component whose function is to resist the flow of electricity. The more resistance, the slower the electric current flows. Because a potentiometer allows a user to adjust the resistance, it can be used to adjust a circuit while it is running.
Potentiometer Structure
A potentiometer has three contacts – two fixed contacts on either end and a movable one called a wiper. As the wiper moves closer to one fixed contact, it moves further away from the other, decreasing the resistance with the closer one and increasing it with the further one. Some potentiometers, called rheostats only have two contacts – a fixed one and a wiper. In both cases, the position of the wiper is usually adjusted by turning a knob or moving a slider.
———————————————————————————————————————————————————-
CODE OVERVIEW
———————————————————————————————————————————————————-
![]()
byte pinLeds[] = {2,3,4,5,6,7};
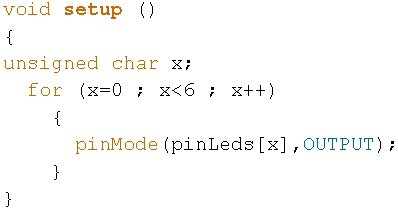
Define the pin using in array . Which in this project, the pin using are pin 2,3,4,5,6 and pin 7.
for (x=0 ; x<6 ; x++)
{
pinMode (pinLeds[x],OUTPUT)
}
Loop from x=0 until x=5 and assign the pin to output.
E.g: When x = 3. pinMode(pinLeds[3],OUTPUT);
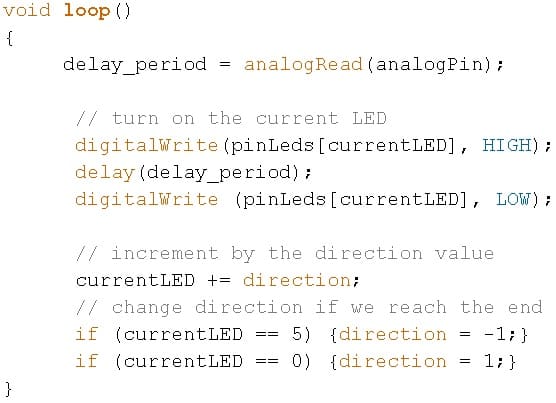
delay_period = analogRead(analogPin);
Read the ADC value from analogPin,A0, by assigning the code analogRead. After that store the value in delay_period. The ADC for Arduino microcontroller (ATMEGA398P) containing 10 bits of ADC so the output value may between 0 to 1022 which will be taken as an delay value.
CurrentLED += direction;
Decide the LED direction by assigning the value by +1 or -1.
if (currentLED == 5) {direction = -1;}
if (currentLED == 0) {direction = 1;}
Check the LED location and decide whether is 5 or 0. If is 5, then assign -1. If is 0, then add 1.
| Back to Project 2 | Go to Project 4 |
———————————————————————————————————————————————————-
 International
 Singapore
 Malaysia
 Thailand
 Vietnam
